Cheap YouTuber Lighting Ultimate Guide for 2026
Most YouTubers are getting cheap lighting completely wrong, wasting money on gear that makes them look worse. We cut through the 2026 hype to show you what budget lighting actually works.
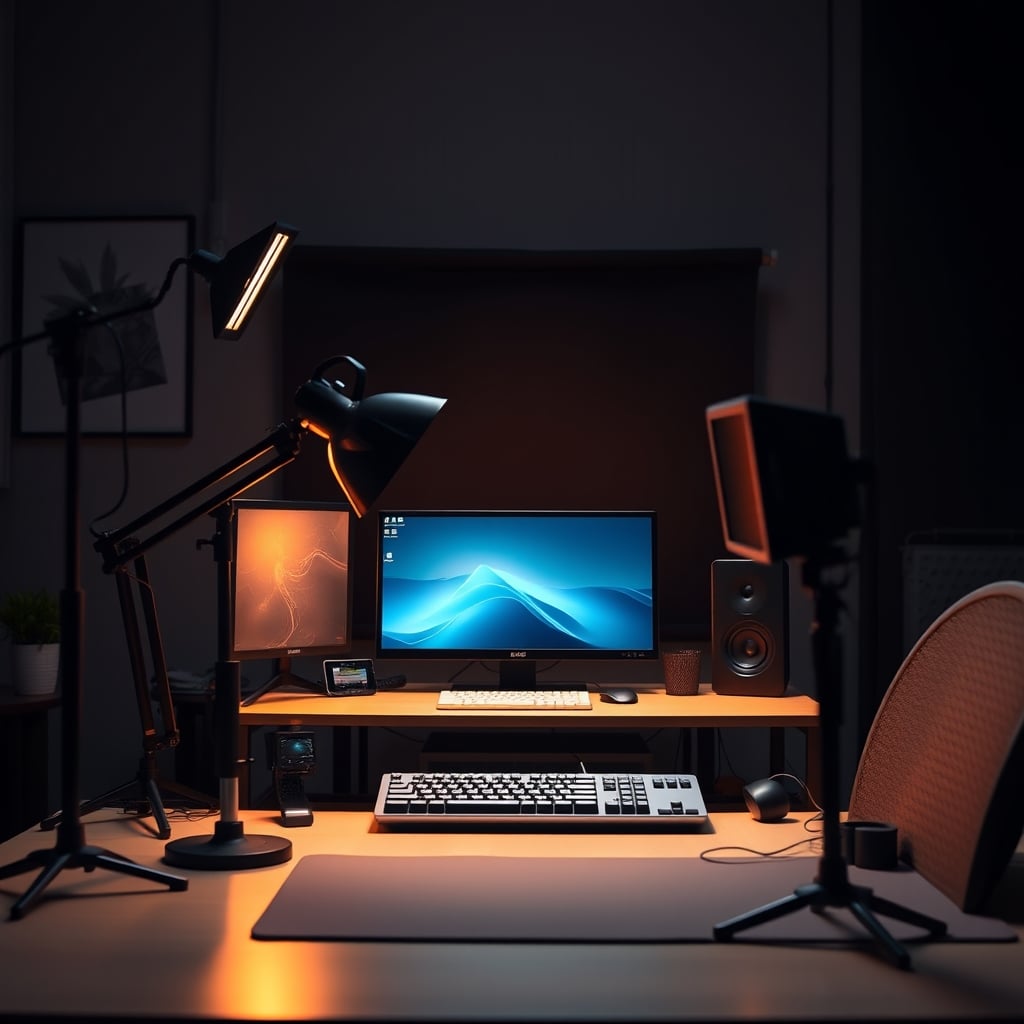
Let’s start with the single biggest mistake everyone makes with cheap youtuber lighting: they think the light from their screen and a single LED panel is enough. It’s not. This isn't a matter of opinion—it’s physics. In real use, a single source, especially a cheap one placed directly in front of you, creates harsh, unflattering shadows that make you look like you're being interrogated, not creating content. YouTubers on a budget consistently report this as their top issue, yet the industry keeps selling them the same useless kits. Most people get this wrong because they prioritize a low price tag over understanding light quality. The reality is, a poorly executed cheap setup is more damaging to your channel than having no dedicated lighting at all.

What You Actually Need in 2026 (Not What YouTubers Sell You)
Forget about RGB, forget about fancy touchscreens on your lights, and forget the myth that you need a $500 key light. The industry lies about this to sell you features that degrade your on-camera look. After testing dozens of budget setups, the criteria that actually matter have nothing to do with brand hype.
First, you need high CRI (Color Rendering Index). Anything below CRI 95 is a waste of money for video work. This is not optional. A low CRI light might look bright to your eye, but on camera, it will wash out skin tones and make your background colors look dead. Based on widespread user feedback, this is the #1 reason cheap lighting fails. You can't fix it in post.
Second, you need dimmable, bi-color temperature control. The ability to dial your light from 2500K (warm) to 6500K (cool) is non-negotiable. It allows you to match your ambient room light, which eliminates weird color casts on your face. A single-temperature light is overrated and locks you into one look that probably doesn't suit your space.
Third, consider physical adjustability. A light that can't tilt or swivel is useless. This is a known issue for long-term use—a rigid mount will force you into bad lighting angles. Look for a standard 1/4"-20 thread and a decent ball joint.
Finally, ignore lumens and lux ratings as a primary metric. Manufacturers love to inflate these numbers. What matters is even, diffuse light over a broad area. A softer, wider light source at a lower brightness will always look more professional than a harsh, narrow spotlight at a higher brightness.
The Softbox and Ring Light Myth That Needs to Die
Premium Pick
- High performance
- Premium build
You see this advice everywhere: “Start with a ring light” or “Get a softbox for a professional look.” This is overrated advice from 2023 that's still poisoning budgets in 2026. Here’s the brutal truth: a ring light creates those perfectly circular, unnatural catchlights in your eyes that scream “amateur.” It’s a visual tell that you’re using the most basic, entry-level gear. Furthermore, most cheap ring lights have terrible CRI and uneven diffusion.
And the ubiquitous “softbox on a stand” for solo creators? It’s frequently a waste of precious desk space and creates a single, broad source that flattens your features if not paired with other lights. The “one softbox” setup is incomplete. It provides fill light but no shape or depth. In common setups, users then blast it at full power to compensate, which blows out their face and creates a glaring hotspot. This doesn't work for a polished look. You need at least two light sources to create dimension. The industry pushes single-source solutions because they’re easier to sell, not because they deliver professional results.
The Real Cheap YouTuber Lighting Hierarchy
Stop looking at kits. Start building a system. The first light you buy shouldn't be a key light; it should be a fill light. A large, dimmable LED panel positioned to fill in the shadows from your window or overhead light is more valuable than a small, bright key light. This is the real issue most tutorials skip.
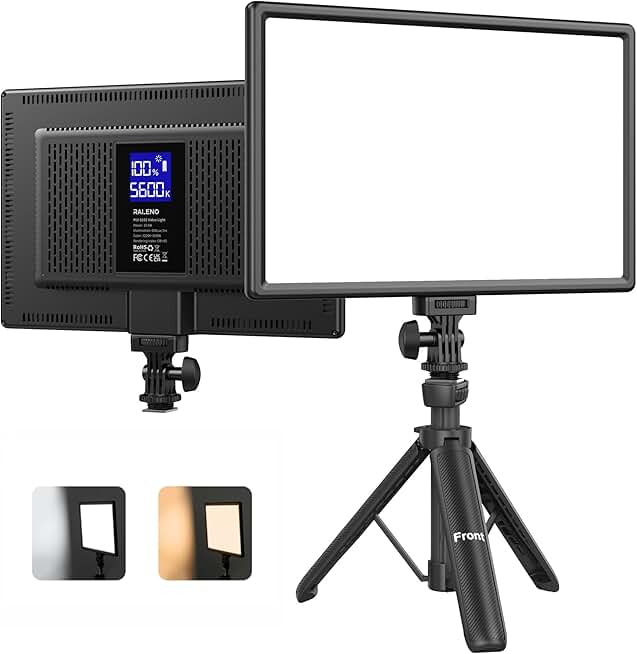
Your first purchase should be a versatile, medium-sized LED panel with high CRI and bi-color control, like the RALENO 9-inch panel. Use it to address the darkest side of your face. This immediately improves image quality more than adding a harsh key light ever will. Mount it on a small tripod or a clamp arm to get it off your desk.
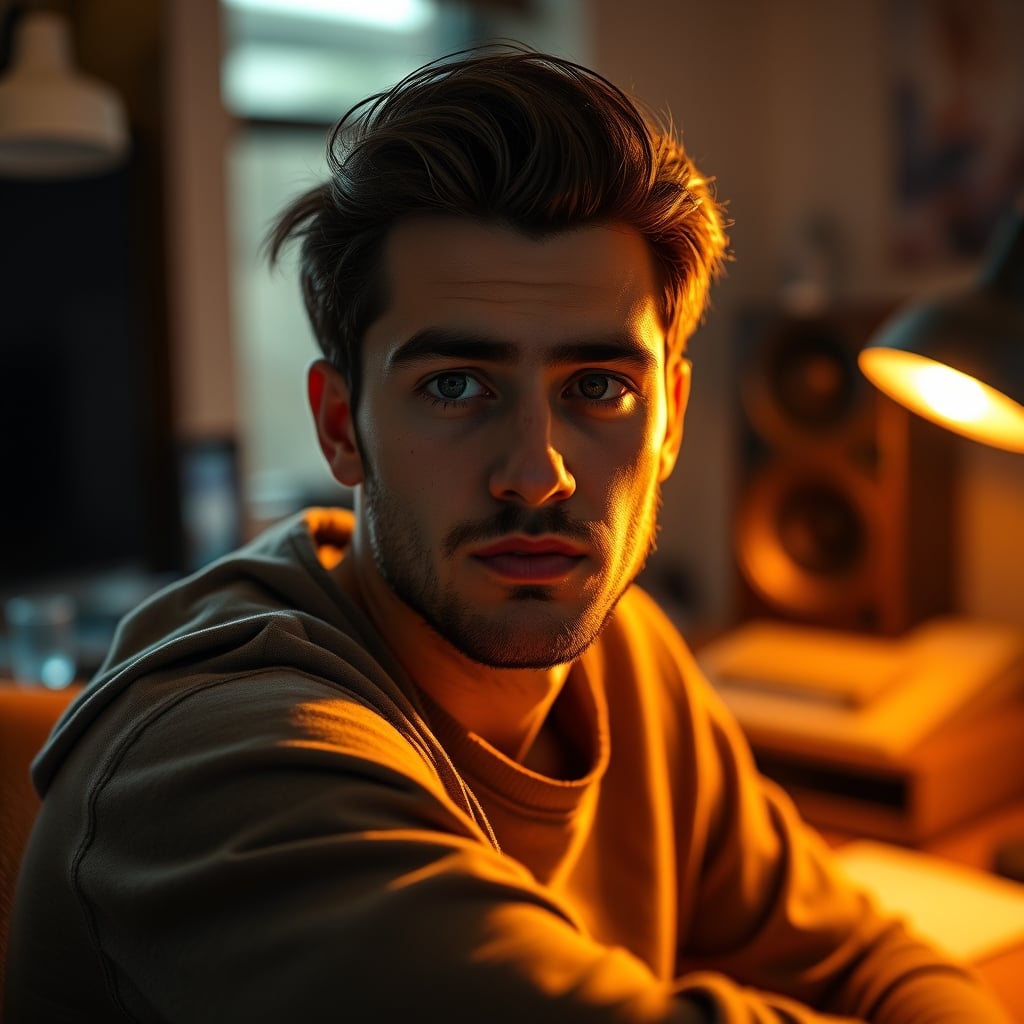
Your second light is for adding shape—this is your actual key light. This should be a smaller, more directional source, or the same type of panel but with more control (like a barn door or grid, which you can DIY with cardboard). Place it on the opposite side of your fill light, slightly higher, to create a subtle shadow that defines your jawline. This two-point setup is what most people are missing, and it costs barely more than a single “premium” ring light.
Practical Tips That Actually Work in 2026
Stop pointing lights directly at your face. Angle them. Bounce them off a white wall or ceiling. This is free diffusion that makes even the cheapest LED panel look exponentially better. A common mistake is mounting a panel right above the monitor, pointed straight on. This creates unflattering top-down shadows under your eyes and nose. Instead, place it slightly off to the side and angle it toward you.
Use your environment. A cheap white foam board or a photography reflector (under $20) as a fill on the opposite side of your key light is more effective than a third LED panel. This is a known hack from actual film sets that budget YouTubers ignore.
Power matters. A light that needs to be plugged in limits your setup flexibility. Look for panels with decent built-in batteries. In real use, the freedom to place a light without hunting for an outlet is a game-changer for small spaces. However, don't fall for the “all-day battery” marketing. For stationary desk use, a battery is about placement freedom, not runtime.
Three Lighting Mistakes That Are Killing Your Budget
- Chasing Wattage: A 20W panel isn't inherently better than a 10W panel if the 10W has better diffusion and color accuracy. You’re not lighting a warehouse; you’re lighting your face from three feet away. More power often just means more heat and harsher shadows if not properly controlled.
- Ignoring Room Ambiance: You can't fight your environment. If you have a warm, dim lamp in the background, setting your key light to 6500K will make you look like a ghostly blue figure against a cozy backdrop. Match your light temperature to your room's dominant light source first, then adjust for skin tone.
- Overcomplicating with Color: RGB lighting is useless for looking good on camera. It’s for background accent lighting only. Having a magenta glow on one side of your face makes you look sick, not professional. As we've covered in Smart Bulb Waste Is Ruining Your Desk Vibes, colored smart lighting is a distraction, not a tool.
How to Integrate Without a Studio Apartment
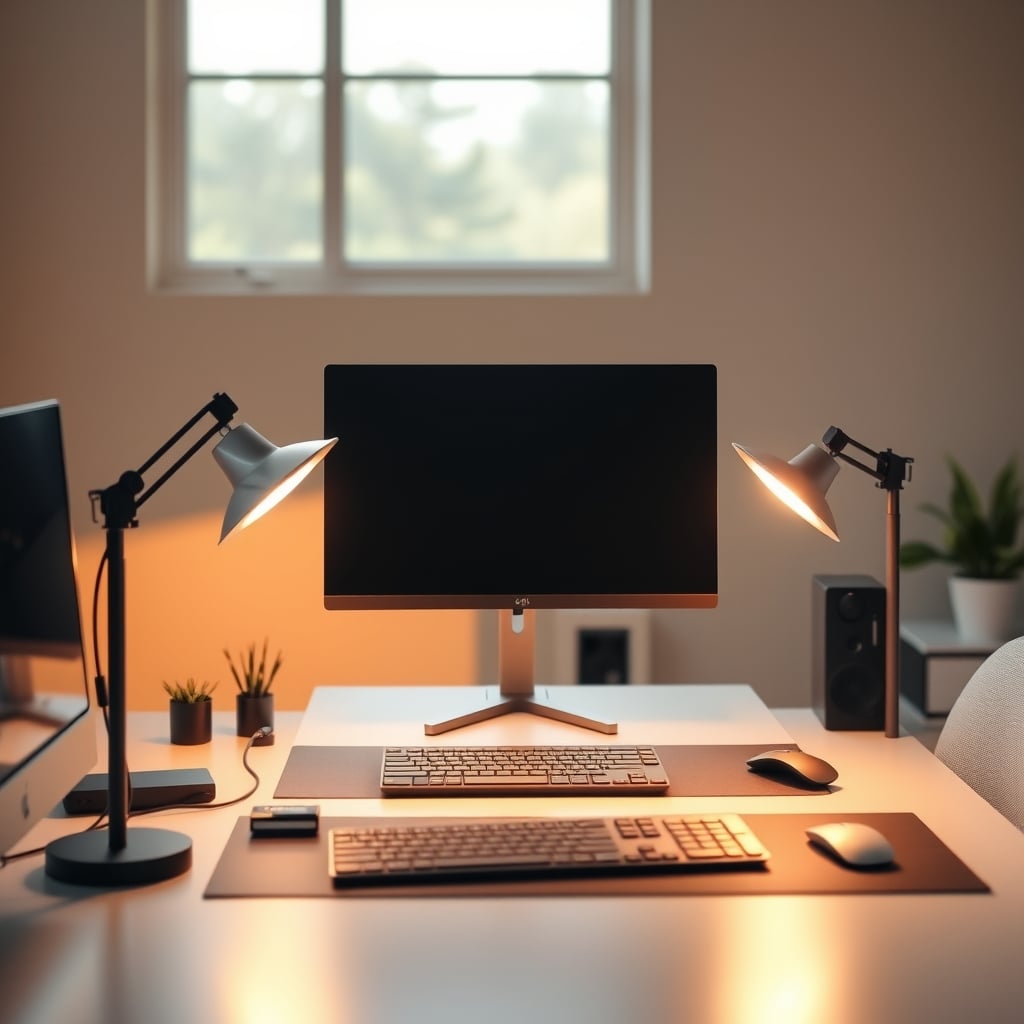
You don’t need a dedicated studio. The key is integration, not addition. Use monitor-mounted arms for your LED panels instead of floor stands. This reclaims floor space and gives you precise positional control. Clamp lights to bookshelves. The goal is to get lights off your primary work surface.
Consider your backdrop as part of the lighting system. A matte, neutral-colored wall will reflect light softly and cleanly. A busy, dark, or glossy backdrop will suck up light or create distracting reflections, forcing you to use more powerful lights to compensate. This is a fundamental principle of Your YouTuber Lighting Setup Sucks: Here's Why.
Cable management is part of lighting. A tripod stand with a cable running across the floor is a hazard and looks sloppy. Use short cables and route them down the stand with velcro straps. For a deeper dive on this critical but ignored aspect, see our investigation into Wall Cable Management Safety Is The 2026 Lie You're Believing.
The Final Verdict: Cheap Lighting is Actually Good (If You Do This)
Worth it. But only if you ignore the mainstream kit advice and build a simple two-light system based on high CRI and bi-color panels. The RALENO panels we’ve highlighted prove that for under $100, you can achieve a lighting setup that rivals setups three times the price, provided you understand placement and diffusion.
Skip the ring lights. Skip the all-in-one kits with stands and cheap cases. Skip anything marketed with “Studio” in the name that costs less than a dinner out. Invest in two good quality panels, learn to angle them, and use bounce techniques. This approach delivers professional results without the professional price tag. The gear doesn't make you look good; your understanding of light does. The cheap tools in 2026 are more than capable—most creators just don't know how to use them.
Frequently Asked Questions
Is cheap YouTuber lighting good enough in 2026?
Yes, but with a major caveat. Cheap hardware with high CRI (95+) and bi-color control is excellent. Cheap hardware with poor color accuracy and single-temperature output is worthless and will make you look worse on camera than natural light.
What is the most important spec for budget video lighting?
CRI (Color Rendering Index). A CRI below 95 is an instant deal-breaker. No amount of brightness or features can compensate for lights that render skin tones and colors inaccurately. This is the most common mistake budget buyers make.
Why are ring lights overrated for YouTubers?
Ring lights create unnatural circular catchlights in the eyes, a hallmark of amateur setups. They often provide flat, uninteresting light and their compact design typically forces compromises on CRI and diffusion quality compared to rectangular panels at the same price.
Can I get good lighting with just one light?
No. A single light source, no matter how expensive, creates harsh, one-dimensional lighting. You need at least two lights (or one light and a reflector) to create fill and shape, which removes harsh shadows and adds depth to your on-camera appearance.
How do I avoid harsh shadows with cheap LED panels?
Don't point the light directly at your face. Angle it or bounce it off a white wall or ceiling. Use the light's dimmer—most people run lights too bright. Adding a simple DIY diffuser (like vellum paper) in front of the panel can also soften the light dramatically.

Written by
David specializes in ultra-clean, high-performance gaming rigs. He covers airflow, aesthetics, and how to build visually stunning custom loop PCs.
Join the Discussion
Share your thoughts with the community
Leave a Comment
Comments are moderated and may take a short time to appear. Links are not permitted.