Your YouTuber Lighting Setup Sucks: Here's Why
You've bought the softboxes, the ring lights, the RGB panels. You still look washed out, shadowy, or worse—like you're broadcasting from a cheap motel. Let's cut the marketing fluff and fix your YouTuber lighting setup with what the pros actually use in 2026.
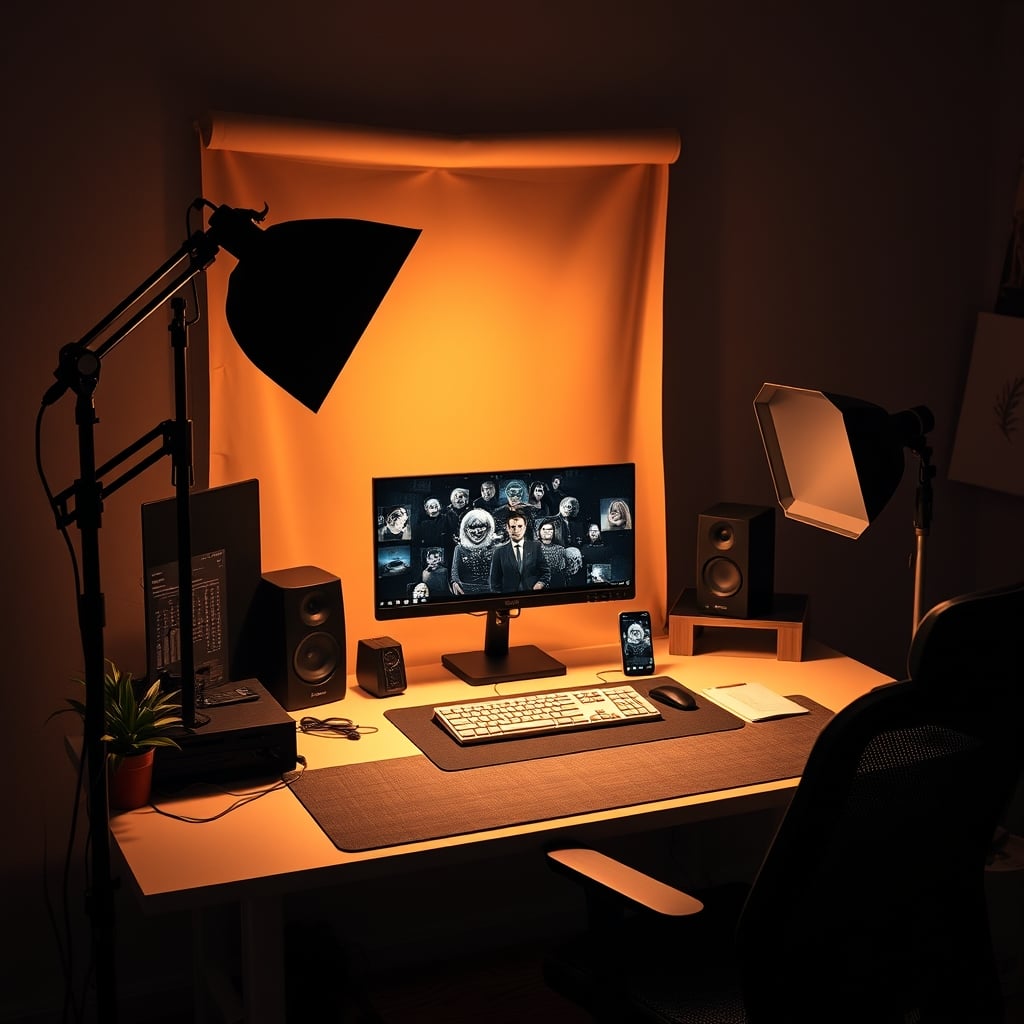
You know the feeling. You spent $200 on a two-softbox kit with “studio-grade” LED bulbs. You set them up at 45-degree angles, just like the YouTube tutorial said. And you still look like a ghost who’s been interrogated under fluorescent lights. Your youtuber lighting setup is failing, and the industry is lying to you about why.
After years of reviewing gear and seeing what actually works in real creators' spaces, the pattern is painfully obvious. The problem isn't your camera. It's the mountain of overpriced, overhyped lighting garbage you've been sold. This guide isn't about adding more gear. It's about dismantling the lies and building something that actually flatters you on camera.
The Biggest Lie: More Expensive Lights Make You Look Better
This is the foundational myth of the entire creator gear industry, and it needs to die today. You are not a Hollywood cinematographer lighting a three-walled set. You are one person in a room, likely against a wall. Throwing $500 at a three-point lighting kit with CRI ratings you don't understand is like using a sledgehammer to hang a picture.
In real use, the single biggest failure point isn't light quality—it's light placement and modification. Users consistently report that after “upgrading” to expensive panel lights, their skin looks oily and highlights get blown out. The industry lies about this because specs sell easier than skill. This is overrated. A well-placed $100 light with a cheap diffuser will outperform a poorly placed $500 light every single time. Your money is better spent on things that shape light, not just emit it.
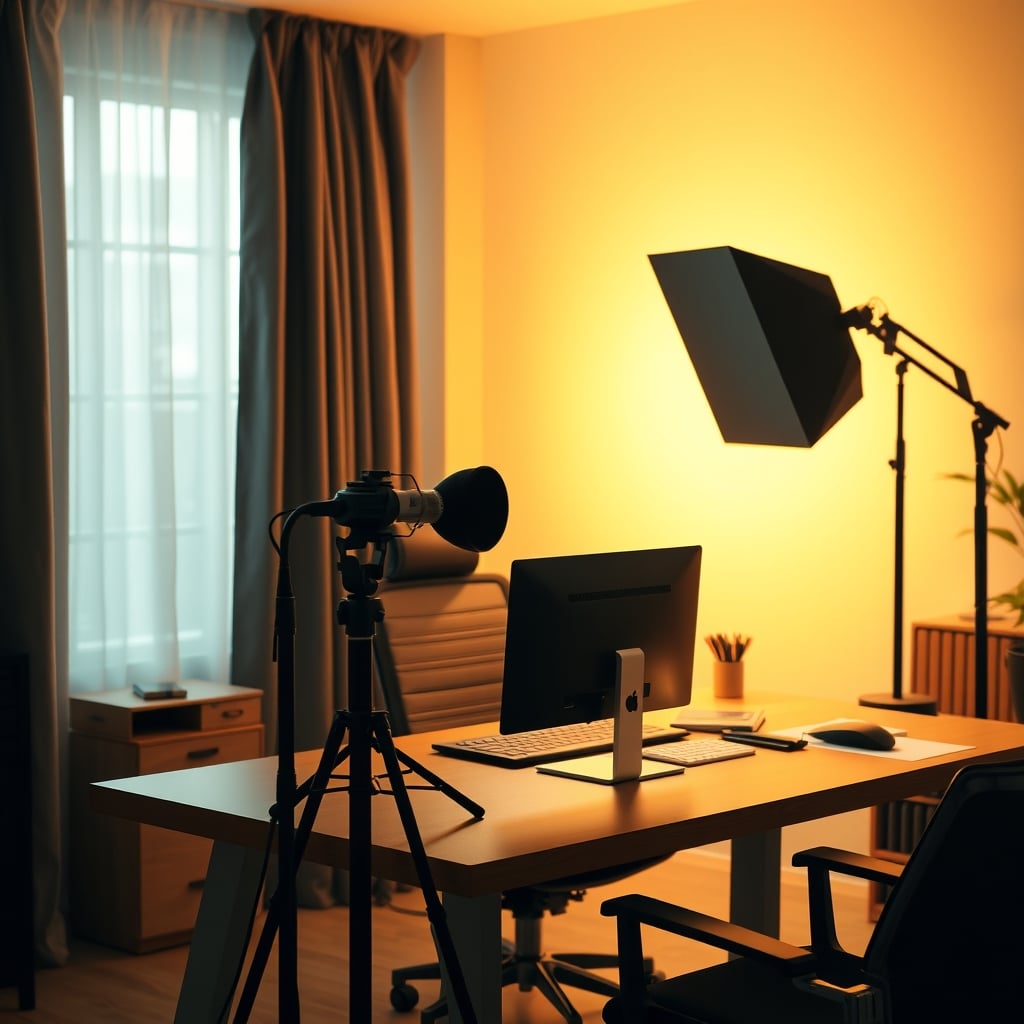
Why Softbox Kits Are A Waste Of Money For Most Creators
Premium Pick
- High performance
- Premium build
Let's attack the sacred cow head-on. That softbox kit you see in every “budget studio” video? It’s a trap. For the solo YouTuber, a traditional softbox is often the wrong tool. They're bulky, they're a pain to adjust, and they cast a wide, flat light that kills all depth and definition in your face.
Most people get this wrong. They think a bigger softbox means “softer” light. In a small room, it just means you're illuminating your messy bookshelf and the wall behind you with the same intensity as your face, creating a flat, lifeless image. Based on widespread user feedback, the constant tweaking needed to position two heavy softboxes leads to creators just giving up and settling for mediocre lighting. The promise of “studio quality” is a marketing sham for a desktop setup. This doesn't work for the quick, adaptable, solo workflow you actually have.
The YouTuber Lighting Setup Myth That Needs To Die
Here it is: The “Perfect” Three-Point Lighting Setup.
You've seen the diagram: Key light at 45 degrees, fill light on the other side, hair light from behind. It's presented as gospel. For a talking-head YouTuber in a home office, it's often completely wrong.
This rigid formula ignores your room's actual geometry, your background, and your camera's dynamic range. It frequently causes issues with unwanted shadows on the wall behind you, creates conflicting light temperatures if your room has a window, and turns your background into a distracting, over-lit mess. The “fill” light often just washes out your key, making you look two-dimensional. This is not worth it. You are not a news anchor. You need a flexible, single-source-centric approach that works with your space, not against it.
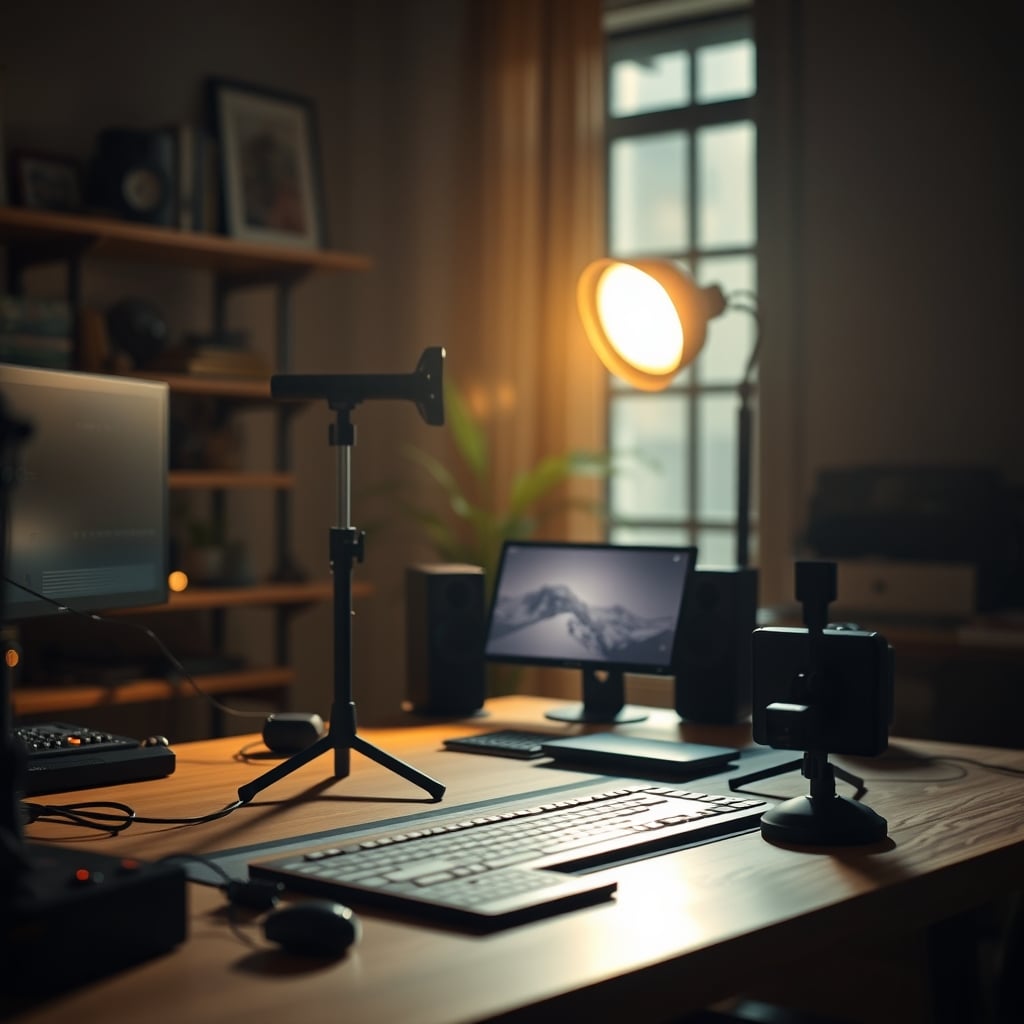
What Actually Works: The Single Light Mastery Method
Forget three points. In 2026, the smartest creators are mastering one. A single, high-quality, highly controllable key light is the foundation. Your goal isn't to eliminate shadows; it's to control them to add shape and depth to your face.
The real secret weapon isn't a second light—it's a reflector. A $20 piece of foamcore or a collapsible reflector panel used to bounce your single key light back as fill gives you infinitely more control than a second LED panel. You can adjust its angle and distance by inches, not just on/off and brightness. This is what pros mean by “shaping light.” Your one light becomes your sculptor's chisel.
Ditch The RGB: Why Colored Lights Are A Gimmick
Unless your brand is “cyberpunk DJ,” RGB lighting panels are a distraction masquerading as a tool. They produce inferior quality light for skin tones (look up the spectral power distribution if you don't believe me) and are a nightmare to color-match to your camera's white balance.
This is overrated. YouTubers buy them for the “vibe,” then spend hours in post trying to correct their sickly green or purple skin tint. A clean, high-CRI white light source gives you a perfect canvas. You can add any color you want in editing with precision, without ruining your base exposure. RGB lights are for gamers’ desks, not for creators who need accurate, flattering light. Buying them for a serious youtuber lighting setup is an amateur move.
Your Real Enemy: Ambient Light Contamination
Here’s what most tutorial videos never show: the battle against your ceiling lights and your window. This is the real issue. You can have a $1000 key light, but if your ugly overhead LED fixture is casting a hard shadow from your nose downward, you'll look terrible.
You must become a lighting tyrant. Turn off every single ambient light source in the room when you record. Block the window with blackout curtains. The only light hitting you and your background should be from your intentional sources. This one step will do more for your image quality than buying another light. Based on widespread user feedback, this is the single most overlooked step that immediately separates a pro look from an amateur one.
Practical Tips From Real, Long-Term Use
Stop chasing specs. Here’s what matters after the camera is rolling for months:
- Control is King: Prioritize lights with physical barn doors or grids over those with just a brightness dial. The ability to literally block light from spilling onto your background is more valuable than 100 extra LEDs.
- Color Consistency is Non-Negotiable: Buy lights from the same manufacturer and the same product line if you need more than one. Mixing brands, even with the same Kelvin setting, leads to subtle green/magenta shifts that make you look ill.
- Height Beats Angle: Everyone obsesses over the 45-degree rule. More important is getting your key light HIGH. Position it above your eyeline, pointing down. This mimics natural light (the sun) and creates much more flattering shadows under your chin and cheeks than a light at head height.
The Biggest Mistakes We Still See in 2026
- Lighting the Background First: You are the subject. Set your key light on YOU until you look perfect. Then, and only then, decide if the background needs a separate accent light. Most of the time, it doesn't.
- Ignoring the Power of a Dimmer: A light at 100% power is often too harsh. Running a light at 50-70% power through a diffuser creates a smoother, more forgiving quality of light than a cheaper light at 100%.
- Forgetting the Backdrop: A wrinkled green screen or a cluttered bookshelf will undermine perfect facial lighting. Your backdrop is part of the lighting equation. A simple, matte, neutral-colored wall often works better than a busy one you have to over-light. For deeper dives on managing your environment, see our guide on The Ultimate Guide to Focus Distractions Environment.
The Verdict: What's Actually Worth It?
Stop buying lighting kits. Start building a lighting system based on control.
Your money should flow in this order: 1) One excellent, adjustable key light with a high CRI (95+) and good color consistency. 2) Light modification tools—a sturdy stand, a large diffuser, and barn doors or a grid. 3) A simple 5-in-1 reflector for fill. 4) Maybe a small, dedicated hair/background light only if your single-source setup demands it.
Skip the all-in-one softbox kits, the tiny ring lights, and the RGB panels marketed to streamers. They solve the wrong problems. For a clean, professional, and adaptable look that will last you for years, a single powerful, controllable source is the foundation. That's the youtuber lighting setup truth nobody making affiliate commissions wants to tell you. Actually good lighting isn't about quantity. It's about precision.
Want to see how this minimalist approach applies to your entire workflow? Check out why Single Camera Streaming Is The Only Setup You Need and the truth about Audio Interface Alternatives Your Youtuber Setup Is Missing.
Frequently Asked Questions
What's the single most important piece of lighting gear for a YouTuber?
A single, high-quality key light with excellent color accuracy (CRI 95+) and physical controls like barn doors. Control over one light is more valuable than multiple cheap, uncontrollable sources.
Are ring lights good for YouTubers?
Most ring lights are overrated for serious content. They create a flat, shadowless look with unnatural circular catchlights in the eyes. For a more professional, dimensional look, a traditional key light placed high is almost always superior.
Why do I still look bad even with expensive lights?
The issue is almost always placement and ambient light contamination, not the light's cost. Turn off all room lights/close blinds, position your key light high and in front of you, and use a diffuser. Most people place lights too low and don't eliminate competing light sources.
Do I need a 3-point lighting setup?
No, and it's often detrimental. For a home setup, mastering a single key light with a reflector for fill is more flexible and effective. The classic 3-point setup frequently over-lights the scene and creates conflicting shadows in a small room.
What color temperature (Kelvin) should I use for YouTube?
Stick to daylight-balanced light, around 5600K. This provides a clean, neutral white that matches natural window light and gives you the most accurate color for skin tones and your environment. Avoid mixing temperatures.

Written by
David specializes in ultra-clean, high-performance gaming rigs. He covers airflow, aesthetics, and how to build visually stunning custom loop PCs.
2 Comments
Share your thoughts with the community
Upgraded my youtuber lighting setup setup after reading something similar and the difference was immediate.
Honestly thought this would be overhyped but there are some genuinely useful points here about youtuber lighting setup.
Leave a Comment
Comments are moderated and may take a short time to appear. Links are not permitted.