How To Build a Cozy Podcast Setup
You’ve bought the expensive mic and the acoustic foam. So why do your recordings still sound stiff and unnatural? The industry lies about what makes a good podcast. This is the real setup guide.
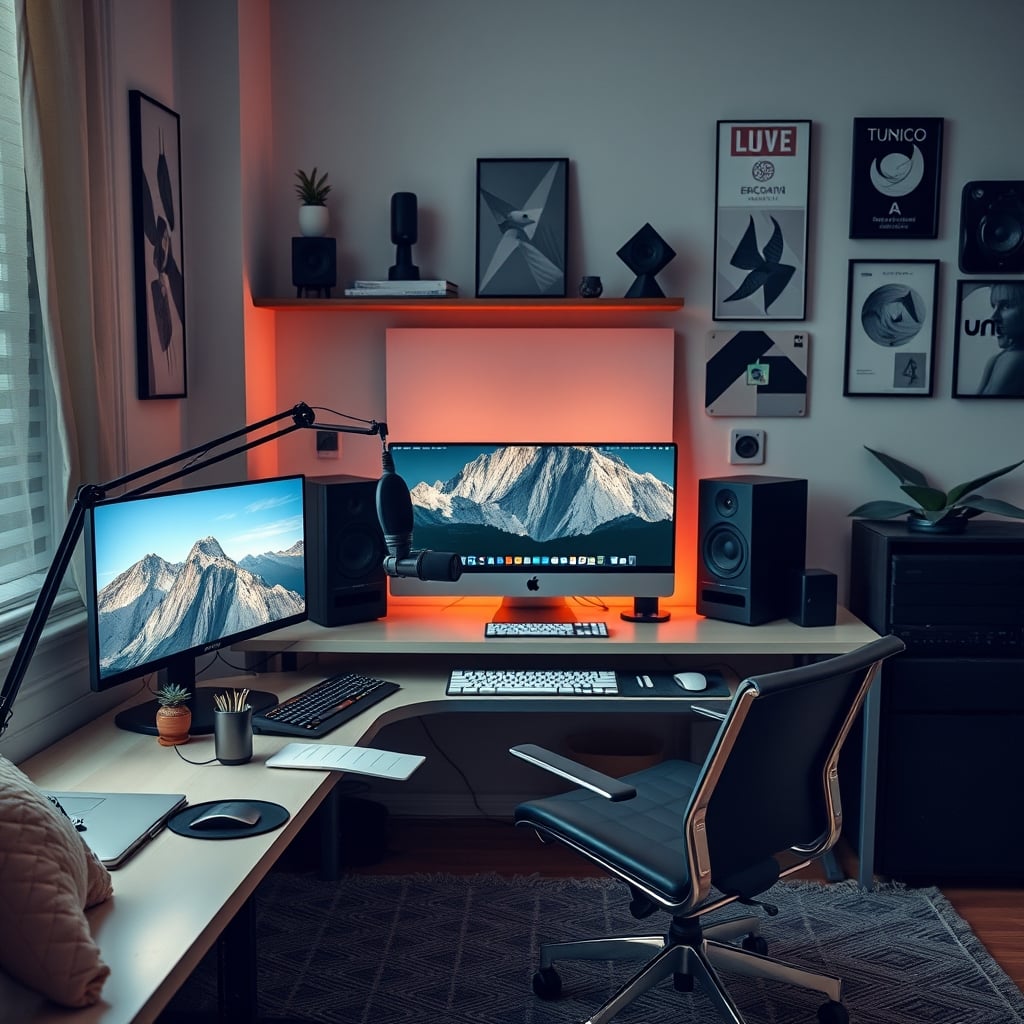
You followed every piece of generic podcasting advice. You bought the 'prosumer' USB microphone, slapped up a grid of acoustic foam, and positioned yourself in a clinically empty room. The result? Audio that’s technically clean but emotionally dead. Your guests sound nervous. Your solo episodes feel like a lecture. You built a broadcast booth when you needed a living room.
The most common failure point isn't your gear—it's your environment. A cozy podcast setup isn't about aesthetics; it's an acoustic and psychological tool. Most people get this wrong by chasing technical perfection and killing the human element. This guide is about fixing that.
What You Actually Need for a Cozy Podcast Setup
Forget the 20-item gear lists. You need a foundation that prioritizes comfort and natural sound, not specs. Here’s the short list.
- A Dynamic Microphone: An XLR dynamic mic (like a Shure SM7B or a Rode PodMic) is non-negotiable. It rejects room noise better than any condenser. This is the real issue with most home setups.
- A Proper Audio Interface: A simple 2-input interface with clean preamps. We're not talking about a $1,000 channel strip. A Focusrite Scarlett 2i2 is actually good and gets the job done.
- Headphones: Closed-back headphones for monitoring. Doesn't need to be fancy.
- One Real Comfortable Chair: Not a 'gaming' throne or a rigid 'ergonomic' torture device. A chair you can sink into for an hour without thinking about it.
- Soft, Textured Surfaces: Think a thick rug, heavy curtains, a upholstered chair, and maybe a couch. These are your real acoustic treatment.
- Controlled, Warm Lighting: A single warm-toned lamp (2700K-3000K) is better than overhead LEDs. Harsh light creates a harsh vibe.
What to do: Turn off every ceiling light and any cool-white (5000K+) LED in the room. Position a single warm-white table or floor lamp to the side of your recording space, casting a soft, indirect glow. If you have a window, use blinds or curtains to diffuse the light, not block it entirely.
Why it matters: Fluorescent and bright LED lighting is psychologically linked to offices and interrogation rooms. It puts everyone on edge. A single warm source tells your brain (and your guest's brain) that this is a relaxed, informal space. In real use, this single change reduces vocal tension more than any microphone technique. We’ve seen users consistently report that guests open up faster the moment the harsh lights go off.
What can go wrong: You use a lamp with a exposed bulb, creating harsh shadows and glare. The fix? Use a lamp with a fabric or paper shade to diffuse the light evenly. Don’t point it at your face or your guest's face.
⚠️ Warning: Do not use 'smart' color-changing bulbs set to a warm tone. The PWM (Pulse Width Modulation) drivers in many cheap smart bulbs can create a faint, audible whine that your microphone will pick up. Use a dumb bulb with a physical switch.
Step 2: Ditch the Desk, Embrace the Table
What to do: Get your microphone off a giant, echoing office desk. Place it on a smaller, sturdier side table or a dedicated mic stand positioned away from large, hard surfaces. If you must use a desk, cover it with a thick, felt desk pad or even a folded blanket.
Why it matters: Large, flat desk surfaces are echo chambers. They create early reflections that make your voice sound thin and hollow, a phenomenon known as comb filtering. A smaller surface or a soft-covered one kills this reflection at the source. This is a known issue for long-term users who can't figure out why their voice lacks body.
What can go wrong: You use a wobbly, lightweight table that transmits every bump and vibration. Invest in something solid. The industry lies about needing a fancy broadcast desk. A $50 IKEA side table with some weight to it works better than a $500 glass-top gaming desk.
Step 3: Acoustic Treatment is Furniture, Not Foam
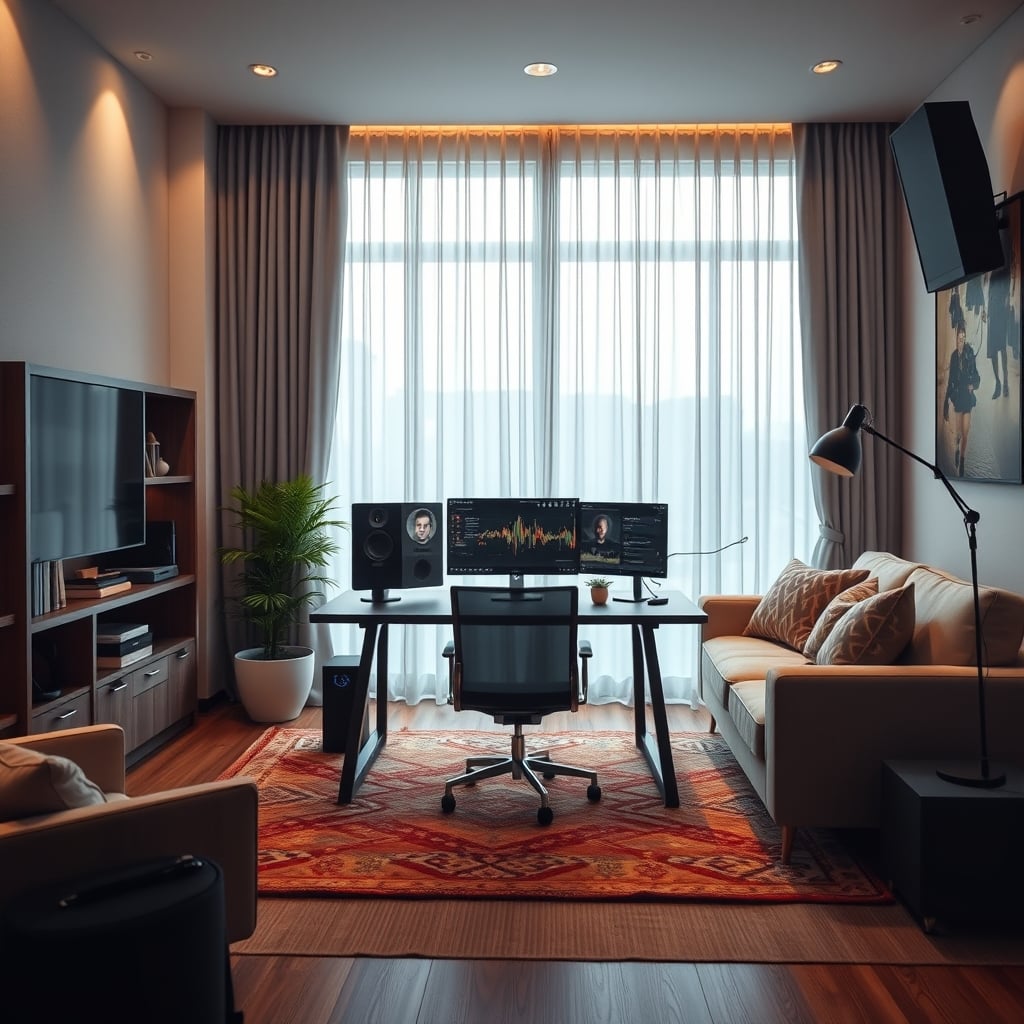
What to do: Stop buying pyramid foam. Instead, bring in soft, dense objects. Place a large, full bookcase (with books, not empty) on the wall behind you. Put a thick area rug on the floor. Hang a heavy curtain over the largest window or blank wall. Add an upholstered chair or a small sofa to the room, even if it's not in the shot.
Why it matters: Decorative acoustic foam is overrated snake oil for the frequency range of the human voice. It absorbs some high-end sibilance but does nothing for the muddy low-mid frequencies that make a room sound 'boxy.' Furniture and textiles are broadband absorbers. A packed bookcase is a brilliant diffuser. A couch absorbs a massive amount of sound energy. This is the real pro secret.
What can go wrong: You overdo it and create a dead, anechoic chamber that feels suffocating. You need a balance of absorption and diffusion. The goal is a 'lively but controlled' room, like a comfortable living room, not a padded cell.
Step 4: Cable Management is a Psychological Trick
What to do: Run your single XLR cable neatly along the floor against the wall, or down your mic stand. Use a single, elegant Velcro strap. For the love of all that is holy, do not use a cable management box or a rats' nest of ties under the table.
Why it matters: Visible, chaotic cables subconsciously signal disorganization and technical anxiety to both you and your guest. One clean, visible cable signals "this is simple and under control." The obsessive hiding of all cables is a distraction-free desk lie that backfires. Knowing your single cable is routed cleanly reduces mental load more than hiding a mess you know is there.
What can go wrong: You use zip ties, which are a pain to adjust and create waste. You run cables where people might trip. Keep it simple, safe, and adjustable.
Step 5: The One-Gadget Rule for On-Desk Items
What to do: On your recording surface, you are allowed exactly one non-essential item. This could be a small plant (fake is fine, avoid condensation risks), a meaningful trinket, or a coaster for your water. Everything else (phone, notepad, controller) goes out of immediate sight, preferably on a shelf behind you.
Why it matters: Visual clutter in your immediate sightline is cognitive load. It pulls your focus. Your brain has to process the notebook reminder, the blinking phone light, the unused gadget. A clean sightline keeps you present in the conversation. This isn't about minimalism for Instagram; it's about cognitive hygiene for performance.
What can go wrong: You choose a gadget with blinking LEDs or a reflective surface. Your one item should be visually calm. No blinking, no glaring reflections into your eyes or the camera.
Why The "Professional Studio" Look Is Wrong
This is the myth that needs to die. You are not the BBC. Your listeners are not tuning in for pristine, sterile audio captured in an acoustically dead bunker. They're tuning in for a connection. They want to feel like they're in the room with you, having a compelling conversation. The pursuit of the "pro studio" sound in a home environment leads directly to the two things that kill podcasts: awkwardness and inauthenticity.
That grid of foam behind every YouTuber? It’s mostly a visual signifier—a decorative placebo that does little for actual voice audio. The massive shock mount and elaborate boom arm? Often overkill that introduces more compliance and potential for noise than a simple, sturdy stand. The industry sells you this image because it's easier to sell gear than it is to sell understanding.
A cozy podcast setup works because it focuses on the human elements first: comfort, psychological safety, and natural acoustics. The gear is just there to capture that honestly. This is overrated: treating your spare bedroom like a recording studio. This is actually good: treating it like a comfortable room where talking happens easily.
Troubleshooting Your Cozy Setup
Problem: Voice still sounds a bit "roomy" or hollow. Solution: You likely have two large, parallel bare walls creating a flutter echo. Break up one of them. Hang a tapestry, a heavy curtain, or place that full bookcase perpendicular to the other wall. Don't add more foam.
Problem: Guest still seems stiff or formal. Solution: Offer them a beverage before you start setting levels. The act of holding a mug or glass gives people something to do with their hands and subconsciously signals "this is a chat, not an interview." Also, double-check your lighting—is there a harsh source shining in their eyes?
Problem: Picking up low-end rumble or computer noise. Solution: This is where your dynamic microphone and its proximity effect are your friend. Use a high-pass filter (HPF) on your interface or in your recording software (set it to around 80-100Hz). This cuts out the junk without affecting your voice. Also, ensure your computer is under the table, not on it.
Problem: The "cozy" vibe feels forced or cluttered. Solution: You've likely added things for the sake of adding them. Remove everything, then add back only the items that serve a clear acoustic or comfort purpose. A rug, a curtain, a soft chair, a warm light. That's often enough.
Pro Tips They Won't Tell You
- Record a "Vibe Test" First: Before any real episode, hit record and have a 2-minute fake conversation with your guest about their journey to your place, the weather, anything. Then listen back. You're not checking levels—you're checking for nervous tension in the voices. If it's there, adjust the environment (lights, seating) before you start for real.
- The Seating Angle: Don't sit directly across from a guest. Sit at a slight angle (90-120 degrees). This feels less confrontational and is more natural for turning your head to speak into the mic, which also gives a more dynamic, radio-like sound.
- Background Noise Isn't Always the Enemy: The complete, deafening silence of an over-treated room is unnerving. The gentle, consistent hum of a PC fan or distant street noise is a masking noise that often feels more natural than pure silence. Don't kill yourself trying to eliminate every last decibel.
The Final Verdict
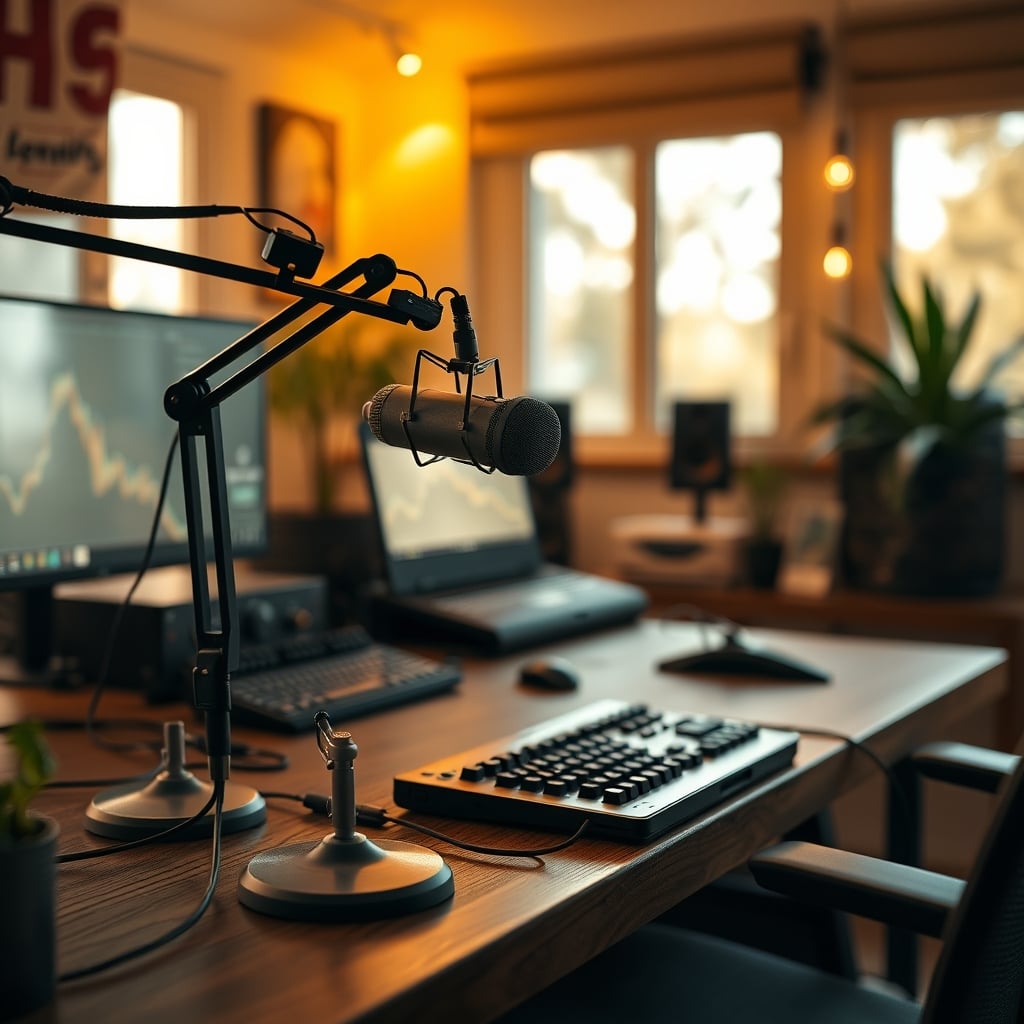
Building a cozy podcast setup is worth it. Full stop. It’s not an aesthetic choice; it’s a performance upgrade that you can’t buy in a gear package. It lowers the barrier to authentic conversation, which is the only thing that matters. You can have a $10,000 microphone in a sterile box and sound worse than someone with a $200 dynamic mic in a comfortable, thoughtfully treated room.
Skip the foam tile kits. Skip the complicated, multi-light RGB setups. Skip the obsession with creating a visual "studio" backdrop. Invest in a good dynamic microphone, a simple interface, and then invest your effort in the room itself. Make it a place where people want to talk. The audio—and more importantly, the content—will follow.
For more on why your current layout might be working against you, read about The Desk Ergonomics Myth Sabotaging Your 2026 Setup and the brutal truth about Streaming Audio Interfaces.
Frequently Asked Questions
Do I need acoustic foam for a cozy podcast setup?
No, acoustic foam is largely overrated for voice recording. It treats only very high frequencies, creating a deceptively 'dead' sound that lacks low-end control. Real furniture like bookcases, sofas, rugs, and heavy curtains are far more effective broadband absorbers and diffusers.
What's the most important piece of gear for a cozy setup?
A dynamic microphone (XLR, like a Shure SM7B or Rode PodMic). It rejects room noise and plosives inherently better than condenser mics, allowing you to focus on creating a comfortable environment instead of fighting your room's acoustics.
Can I use a USB microphone for this?
You can, but you're making it harder on yourself. Most good USB mics are condensers, which are overly sensitive to room sound. The industry pushes them because they're simple, but for a real, reliable setup that focuses on comfort over clinical perfection, a dynamic XLR mic into an interface is the better path.
How do I deal with background noise in a home environment?
First, use a dynamic mic placed close to your mouth. Second, use a high-pass filter (HPF). Third, understand that total silence is unnatural. A consistent, low-level background hum (like HVAC) is often less distracting than the stark, pressurized silence of an over-treated room. Close windows during recording, but don't panic about every tiny sound.
Written by
GlowRig Editorial researches and writes practical guides about desk setups and home office gear. Our articles are produced with the help of AI research tools and are reviewed for accuracy against manufacturer specifications and public user feedback. We may earn a commission from affiliate links, which never affects our recommendations.
Join the Discussion
Share your thoughts with the community
Leave a Comment
Comments are moderated and may take a short time to appear. Links are not permitted.