Podcast Acoustic Panels: The Brutal 2026 Buying Guide
Most podcasters are wasting hundreds on decorative fluff that does nothing. This is the real-world guide that cuts through the acoustic marketing lies. We break down what you actually need, why you're buying wrong, and the only podcast acoustic panels worth your money.
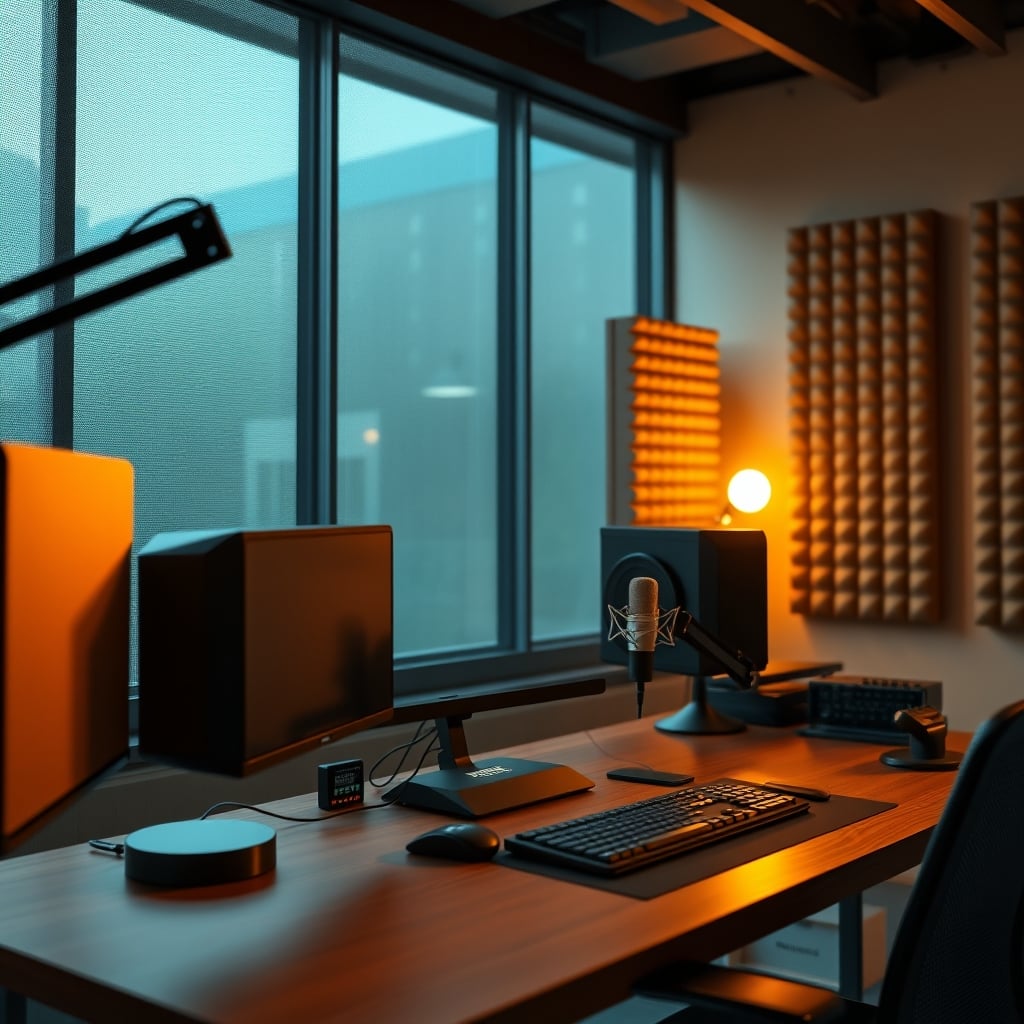
Let's get one thing straight: your obsession with covering every inch of wall with black foam isn't making your podcast sound professional. It's making you look like you fell for a marketing gimmick. The biggest mistake podcasters make in 2026 isn't under-treatment—it's over-treating with the wrong materials, chasing an aesthetic that does jack-all for audio clarity. You're trying to solve a reverb problem with a product designed for impact noise, and you're getting ripped off. Your search for podcast acoustic panels should start here, with brutal truth.
This industry thrives on confusion. They sell you "studio foam" that's thinner than your mousepad and call it "pro-grade." They push decorative felt panels that are glorified wall art. Meanwhile, your voice still sounds like you're recording in a bathroom because you're attacking the wrong frequency. This isn't about making your room look cool. This is about making your voice sound clear, present, and professional. Let's cut the acoustic bullshit.
The Thickness Myth That's Stealing Your Money
You've been told thicker is better. It's a lie. Thickness alone is meaningless without understanding density and material. Most cheap 2-inch acoustic foam panels are low-density, open-cell trash. They absorb high frequencies and leave the muddy mid-range and boomy low-end completely untouched. Your voice loses its crispness while your plosives (those P and B pops) still ring out. In real use, these panels create a dead, boxy sound that's worse than the reverb you started with.
This is overrated. You don't need a 4-inch thick panel if it's made of cheap foam. Conversely, a dense, 1-inch panel of proper material can outperform it. The obsession with thickness is a marketing trap designed to upsell you. Most podcasters need absorption in the 250Hz to 2000Hz range—the vocal intelligibility zone. A thin, high-density panel targeting that range outperforms a thick, fluffy one every single time. Stop measuring with your eyes. Start thinking with your ears.
Why Your Pretty Felt Panels Are A Complete Scam
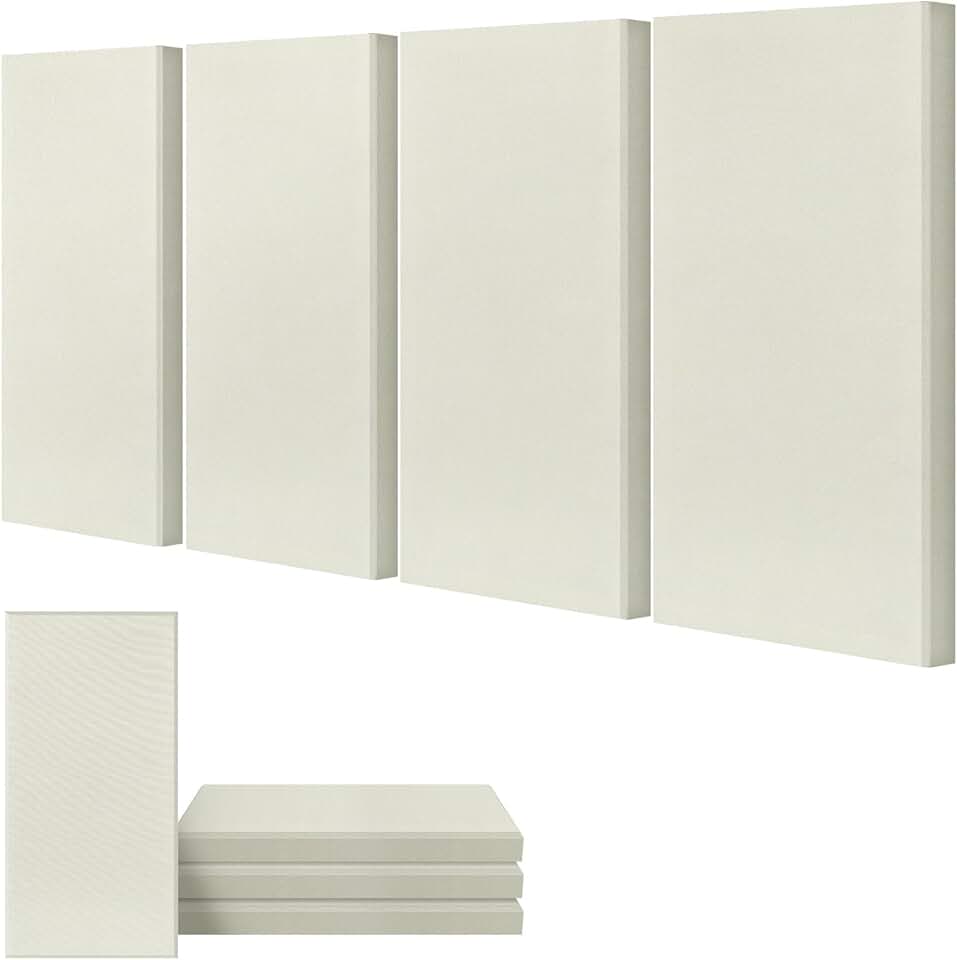
Podcasters needing real performance without extreme cost.
- 2-inch thick fiberglass core for proper broadband absorption
- Durable fabric facing, available in multiple colors
- Includes mounting hardware for easy installation
Walk into any "aesthetic" podcaster's studio, and you'll see them. Beautiful, fabric-wrapped panels in tasteful colors. They look incredible on camera. They also do almost nothing for your sound. These are often thin, low-mass absorbers designed for high-frequency flutter echo in huge conference rooms, not for the complex reflections in a small home studio.
Based on widespread user feedback, these panels consistently fail to improve vocal clarity. They're a decor item masquerading as acoustic treatment. The industry lies about this because it's an easy sell. It looks professional. The brutal truth? If your panel is less than 2 inches thick and isn't ridiculously heavy for its size, its Noise Reduction Coefficient (NRC) is probably a joke. Check the specs. If they're not publishing an NRC rating, run. They're selling you wallpaper.
What Actually Works: The Three Numbers That Matter
Forget looks. Forget brand names. You need to evaluate three specs, and only three: Density (lbs/ft³), NRC Rating, and Thickness in combination. A good panel for vocal treatment needs a density of at least 3 lbs/ft³. This isn't a fluffy pillow; it's a dense, heavy slab designed to resist sound waves. The NRC should be above 0.7 across the board. Thickness should be matched to the problem: 2-inch for general broadband absorption, 4-inch or more for bass traps in corners where low-end builds up.
Here’s what most people get wrong: they treat the first reflection points on the side walls with foam, which is fine, but they completely ignore the ceiling and the wall behind them. Your microphone picks up sound bouncing off the desk and hitting the ceiling, and the reflection from the wall behind you creates phase issues. You need panels above you and behind you, not just beside you. This is the real issue.
The Products That Aren't Total Garbage
After assessing the market and sifting through endless user reports, a few options emerge that don't rely purely on marketing fluff. You need performance, not promises.
First, the UMIACOUSTICS panels. These are a solid, no-nonsense baseline. The 2-inch thickness with a proper fiberglass core provides real broadband absorption where it counts. Users consistently report a noticeable reduction in room reverb and a cleaner vocal track. They’re not pretty, but they work. This is the "get the job done" option.
For those on a tight budget who still want some effect, the Focusound pack offers quantity. Let's be brutally honest: these 1-inch foam squares are borderline useless for primary treatment. Their real value is as a secondary layer—sticking them on the inside of a cabinet door, or lining a reflective shelf. Using them as your main acoustic defense is a recipe for disappointment. But for killing high-frequency reflections from a specific hard surface? They're cheap and they stick.
If you have the space and want a noticeable, professional-grade result, you step up to proper panels like the ROOM KIT. These large-format, thick panels are designed to cover more surface area with fewer seams, reducing diffraction. They use a denser core material and a durable fabric face. This is what actually moves the needle from "slightly better" to "professionally treated." You pay for it, but in real use, the difference is not subtle.
The Corner Bass Trap Lie
You've been told you need giant triangular foam wedges in every corner of your room. For podcasting? This is mostly wrong. Bass buildup is a real issue in small rooms, but the foam "bass traps" sold to podcasters are a joke. Foam lacks the mass to effectively absorb low frequencies. To tame bass, you need mass, air gaps, and specific porous absorbers—not decorative triangles.
For a vocal-focused podcast, treating your first reflection points and adding a thick panel behind you will do 95% of the work. The bass trap obsession is an overcorrection pushed by home theater enthusiasts. Unless you have a pronounced bass boom in your recordings (and you'll hear it), skip the dedicated foam bass traps. Spend that money on a better, thicker panel for your back wall instead.
Installation: The Part Everyone Screws Up
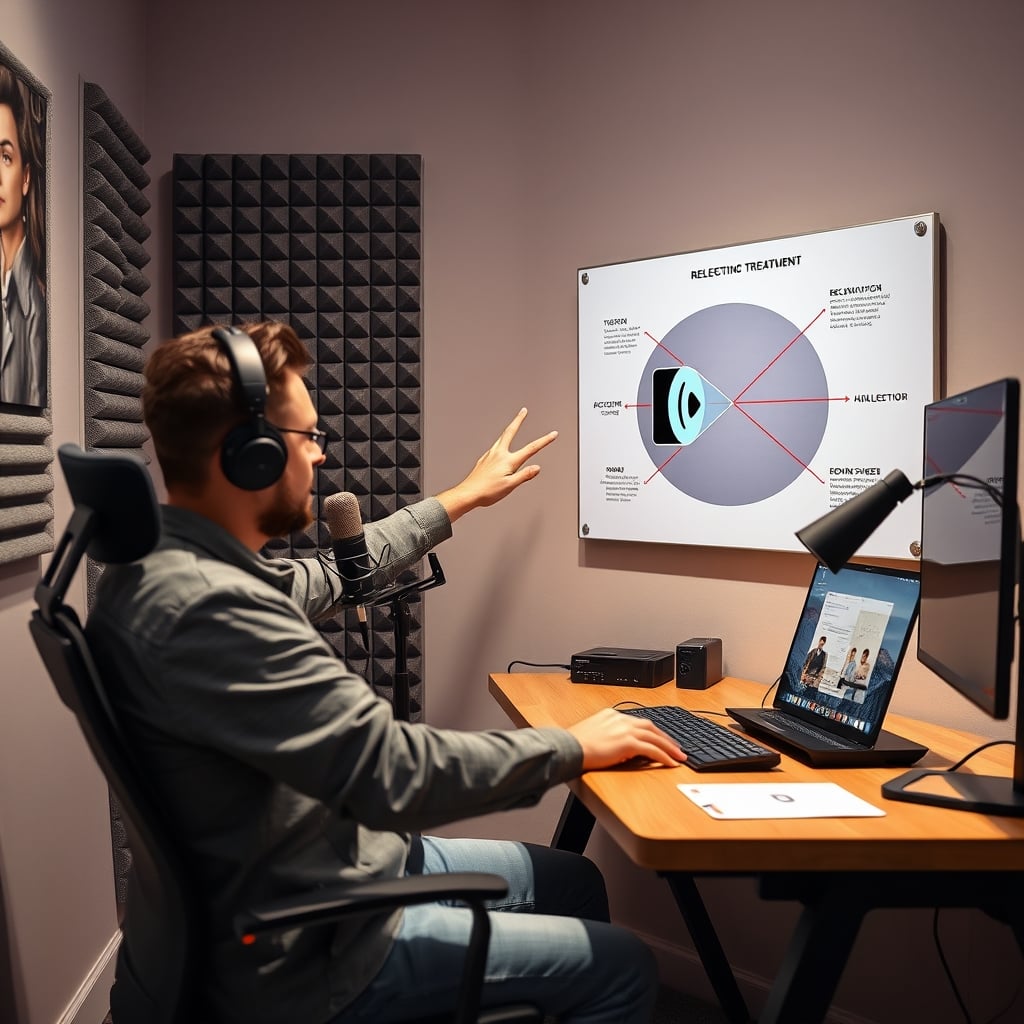
You can buy the best panels in the world and ruin them with bad placement. The classic mistake? Mounting panels flush against the wall. This kills low-frequency absorption. You need an air gap—even a one-inch spacer—behind the panel to dramatically improve its effectiveness across more frequencies. Use wooden furring strips or specialized mounting clips.
The second mistake is symmetry. Your room isn't symmetrical. Your treatment shouldn't be either. The goal is to break up parallel surfaces that create flutter echo. Don't just create a symmetrical pattern on two walls. Stagger them. Cover different percentages of each wall. Use a mirror to find first reflection points: sit in your recording position, have a friend slide a mirror along the wall. Where you see the reflection of your speakers (or your mouth) in the mirror, that's where a panel must go.
The Final Verdict: Are Podcast Acoustic Panels Worth It?
Worth it, but only if you buy right.
Cheap foam squares and decorative felt are overrated scams that will barely change your sound. They're a waste of money and a lesson in disappointment. However, investing in a few key, high-density, properly thick panels and placing them strategically is the single most effective upgrade for vocal clarity outside of your microphone itself. It's not about making a studio; it's about killing the room so your voice can shine.
Skip the all-foam, cover-everything approach. Buy two or four good panels for your first reflection points and back wall. Use spacers. Test, listen, and adjust. Your ears are the final judge, not the Instagram aesthetic. Stop listening to the decor influencers and start listening to your raw recordings. The difference will be obvious, and it's the only opinion that matters.
For more on why your room might be sabotaging you in other ways, check out our take on why your pretty wall art is an acoustic lie or the brutal truth about podcast audio interference.
Frequently Asked Questions
Do I really need acoustic panels for podcasting?
If you're recording voice in an untreated room (bedroom, office, living room), absolutely. Your microphone picks up all the room reverb, making your voice sound distant, boxy, and unprofessional. Panels aren't about sound*proofing*; they're about sound *treatment*—absorbing reflections so your voice is clean and direct.
What's the difference between acoustic foam and acoustic panels?
This is a critical distinction. 'Acoustic panels' typically refer to fabric-wrapped panels with a dense fiberglass or mineral wool core. They're heavier, more effective across a broader frequency range (especially mids and lows), and last longer. 'Acoustic foam' is the lightweight, porous foam you see in pyramid shapes. It's cheaper, less durable, and primarily absorbs high frequencies, often leaving vocal-muddying mid-range reflections untouched.
How many acoustic panels do I actually need?
You don't need to cover every wall. Start with the bare minimum: two panels at your first reflection points (use the mirror trick to find them) and one panel on the wall directly behind you. This tackles the most destructive early reflections. Adding a panel on the ceiling above your mic is the next biggest upgrade. More than that often has diminishing returns for voice work.
Can I just use blankets or egg cartons instead?
Blankets can dampen high-frequency reflections in a pinch, but they lack density and mass to handle the frequencies that muddy speech. They're a temporary band-aid, not a solution. Egg cartons are a complete myth—their shape does little to diffuse or absorb sound effectively, and they're a fire hazard. Invest in proper materials; the difference in your audio quality is not subtle.
What's more important, microphone or acoustic treatment?
Treatment, 100%. A $1000 microphone in a bad room will sound worse than a $200 microphone in a well-treated room. The microphone amplifies everything, including all the bad room acoustics. Good treatment ensures any microphone captures your voice cleanly. Spend on treatment first, then upgrade your mic.

Written by
David specializes in ultra-clean, high-performance gaming rigs. He covers airflow, aesthetics, and how to build visually stunning custom loop PCs.
Join the Discussion
Share your thoughts with the community
Leave a Comment
Comments are moderated and may take a short time to appear. Links are not permitted.