Your Podcast Mic Placement Mistake Is Destroying Your Audio
You bought the perfect microphone, yet your voice still sounds thin and reflective. The problem isn't your gear—it's a fundamental podcast mic placement mistake everyone makes. We break down why your desk is your biggest acoustic enemy.
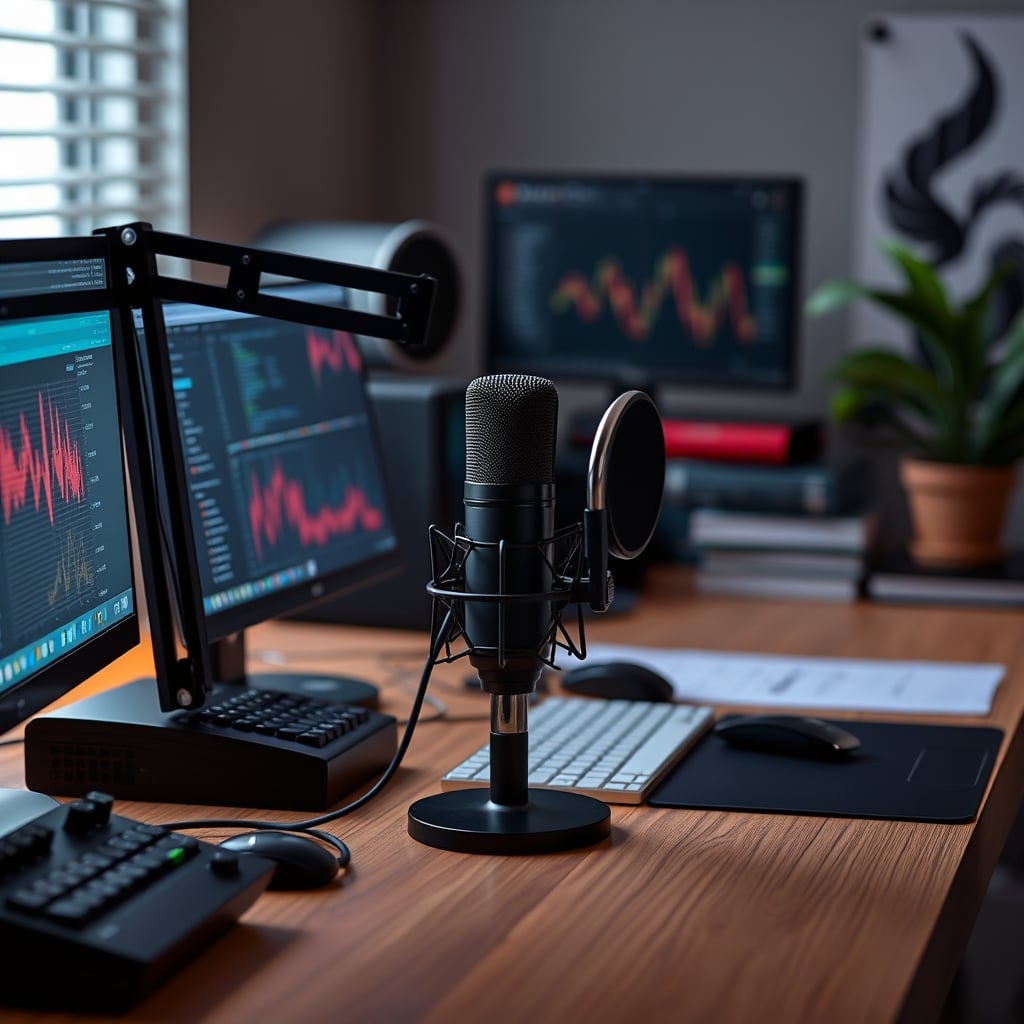
Here’s a harsh truth: that $400 podcast microphone you just unboxed sounds like garbage. Not because it’s a bad mic. Because you’ve committed the cardinal podcast mic placement mistake by putting it right on your desk. You’re hearing more of your laminated oak desktop than your actual voice. The industry is obsessed with selling you better capsules and preamps, but they’re silent on the one variable that actually matters: physics. Your desk is an acoustic mirror, and your microphone is pointing right at it.
After listening to hundreds of amateur podcast setups, the pattern is universal. People treat their microphone like a desk ornament, placing it neatly next to their monitor, often right at the hard front edge. This isn't just suboptimal; it's actively destructive. You get a hollow, boxy tone filled with high-frequency reflections that no software can fully remove. You then waste hours EQing and adding plugins, chasing a problem you built into your room. The real issue is placement, not processing.
Why Your Desk Is an Acoustic Enemy, Not a Stand
Your desk is not a microphone stand. It's a large, rigid, reflective surface. When you speak, sound doesn't just travel in a straight line from your mouth to the mic capsule. It radiates outwards, hits the desk surface right in front of you, and bounces straight up into the microphone's pickup pattern. This creates comb filtering—a phase cancellation that sucks out body and warmth, leaving you with a thin, nasal, and distinctly “amateur” sound.
Most people get this wrong. They think a pop filter and a shock mount are enough. They’re not. The shock mount only handles physical vibration; it does nothing about airborne sound reflecting off the desk. In common setups, this reflection path is shorter than the direct path from your mouth, meaning the reflected sound arrives at the mic almost instantly, causing immediate phase issues. This doesn't just sound bad; it makes your voice fundamentally harder to edit and mix. It’s the real issue.
The Proximity Myth That's Sabotaging Your Sound
Premium Pick
- High performance
- Premium build
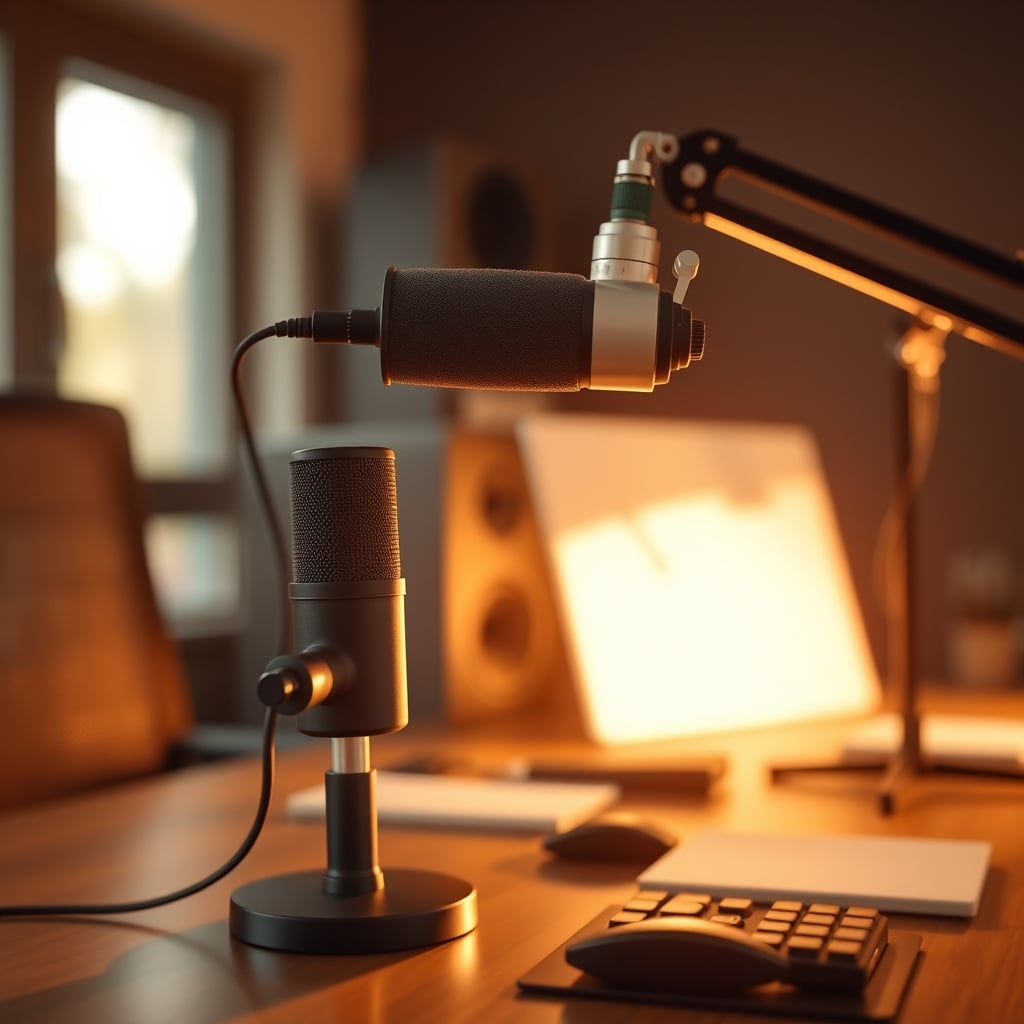
There's a pervasive myth that getting the microphone as close as possible to your mouth is always better. This is overrated. For dynamic microphones, yes, proximity helps with gain and noise floor. But for the large-diaphragm condensers favored by podcasters, jamming the mic six inches from your face often means you're also positioning it six inches from a massive reflective plane. You're amplifying the problem. The sweet spot isn't just about distance from you; it's about distance from all reflective surfaces, especially the one directly beneath it.
Based on widespread user feedback, people who pull their mic back to 10-12 inches and lift it properly report a dramatic increase in clarity and a reduction in “roominess” or boxiness. They’re not getting less signal; they're getting less garbage. The industry lies about this by pushing “broadcast” style close-talking as the only professional technique. For a treated studio booth, fine. For your hardwood desk in a spare room? It’s a recipe for reflective mud.
The One Cable That Matters More Than Your XLR
You’re obsessing over gold-plated XLR cables while ignoring the most critical connection: the acoustic path between your mouth, the desk, and the mic. Think of it as a literal triangle. Sound from your mouth travels Path A (direct to mic) and Path B (down to desk, reflect up into mic). If Path B is only a few inches longer than Path A, you get cancellation at specific frequencies. This actually causes a hollow, cheap microphone effect regardless of your actual mic’s quality.
This is a known issue for long-term users. After months of frustration, they finally try the radical fix: breaking the triangle. You don't need expensive acoustic foam. You need to get the mic the hell away from the desk surface. The real cable you need to manage is the sound’s reflection path.
The Podcast Mic Placement Mistake Everyone Makes (And How to Fix It)
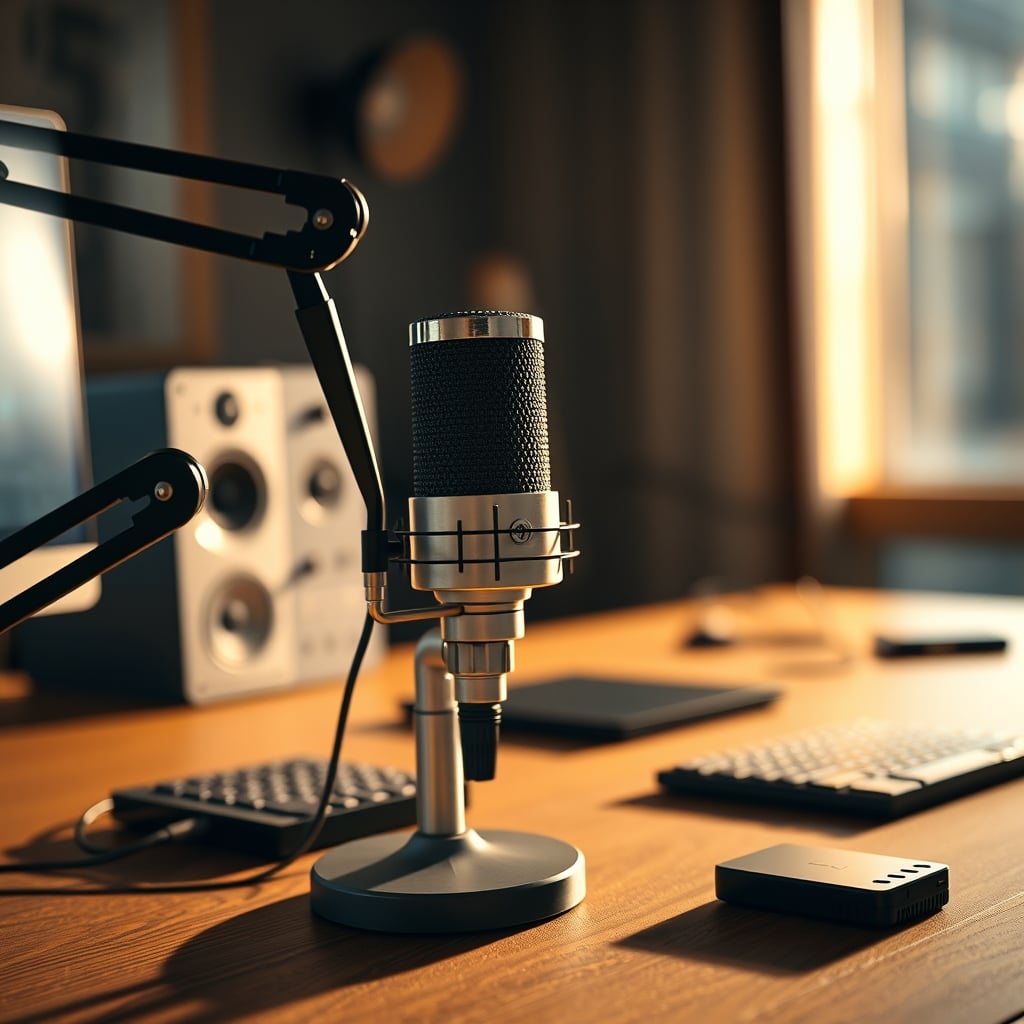
Let's cut the abstract theory. Here is the exact, physical podcast mic placement mistake you are almost certainly making: You have your microphone mounted on a short desk stand or a cheap boom arm that positions the capsule directly over, and within 12 inches of, the hard front edge of your desk. The fix is not subtle.
You need vertical separation. A lot of it. The goal is to get the microphone capsule to a point where the primary reflection path from the desk is so long and angled that its energy is drastically reduced and its arrival time is delayed enough to minimize phase destruction. In practice, this means one thing: a proper, extending boom arm that allows you to position the mic in the center of your desk space, suspended in air, with at least 18-24 inches of clear air between the capsule and any part of the desk surface.
This isn't just advice; it's non-negotiable. Your microphone should look like it’s floating. The boom arm should come from the side or behind you, not from the front edge of the desk. If your mic is dangling over your keyboard, you're on the right track. If it's hovering near your monitor bezel, you're still wrong.
Why Expensive Shock Mounts Are Mostly Overrated
Shock mounts are brilliant at isolating footsteps and keyboard taps. They are useless against the problem we're discussing. A shock mount still places the capsule perilously close to the desk. Marketing wants you to believe a $80 rubber band cage solves acoustics. It doesn't. This is overrated. Spending on a superior boom arm with greater reach and articulation will yield a far greater acoustic improvement than upgrading from a decent shock mount to a “pro” one. The arm provides the essential distance; the shock mount just keeps it steady. Prioritize the arm.
Your Alternative to Acoustic Foam (It's Not What You Think)
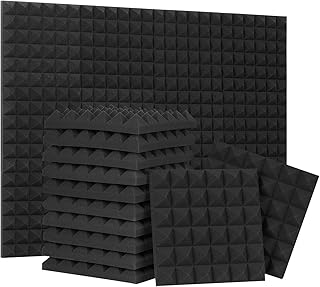
Before you click over to Amazon and order a box of those pyramid foam tiles, stop. Throwing foam on your desk under the mic is a band-aid with severe limitations. It might dampen some high-frequency chatter, but it won't address the fundamental phase cancellation from the longer wavelength low-mids that make your voice sound thin. A better, simpler, and free first step is to just get the mic higher and further into the room. If you absolutely must have something on the desk, a thick, dense desk pad (like a felt wool mat) is more effective than thin foam because it provides broader frequency absorption. But really, just move the mic. For a deeper dive on why basic acoustic panels are often a waste, read our take in Acoustic Panels Overpriced: The Brutal Truth About Your Studio Decor.

The Verdict: Worth the Radical Reshuffle
Is fixing this podcast mic placement mistake worth it? Absolutely. It’s the single highest-return, zero-cost (or low-cost, if you need a better arm) upgrade you can make to your podcast audio. You will hear an immediate transformation: more presence, less boxiness, and a voice that sits more naturally in the mix. It eliminates a problem that processing can only mask.
Skip the next microphone upgrade. Skip the fancy new preamp. First, master placement. Get that microphone suspended in free air, away from your desk's reflective plane. It’s the brutal truth the gear reviewers won't lead with because it doesn't sell new units. But it's the difference between sounding like you're in a closet and sounding like you're in control. For more on how your entire layout might be working against you, see Why Your 'Perfect' Podcast Layout is Secretly Sabotaging Your Audio Quality. Your gear is capable. Stop sabotaging it with a fundamental physics error.
Frequently Asked Questions
What is the most common podcast mic placement mistake?
The most common and damaging mistake is placing the microphone directly on or very near the hard surface of the desk, often at the front edge. This turns the desk into a reflective soundboard, causing phase cancellation and a hollow, boxy tone in your recording.
Will a shock mount fix desk reflection problems?
No. A shock mount only isolates the microphone from physical vibrations like bumps and keyboard taps. It does nothing to prevent airborne sound waves from reflecting off the desk surface and back into the microphone capsule. For that, you need distance and positioning.
How far should my microphone be from my desk?
For a significant reduction in desk reflections, aim for at least 18-24 inches of clear air space between the microphone's capsule and any part of the desk surface. This usually requires a long, articulated boom arm that can position the mic centrally over the desk.
Is close mic technique bad for podcasting?
It can be if your microphone is also close to a reflective desk. The classic "broadcast" proximity of 6-8 inches amplifies the reflected sound problem. Pulling back to 10-12 inches while also raising the mic high above the desk often yields a much cleaner, more natural sound in untreated rooms.
Should I put foam on my desk under the microphone?
It's a weak band-aid. Thin foam only absorbs the highest frequencies. The problematic reflections that cause phase cancellation and thin-sounding voice are in the low-mid frequencies, which foam does little to stop. Proper microphone positioning is a far more effective solution.

Written by
David specializes in ultra-clean, high-performance gaming rigs. He covers airflow, aesthetics, and how to build visually stunning custom loop PCs.
Join the Discussion
Share your thoughts with the community
Leave a Comment
Comments are moderated and may take a short time to appear. Links are not permitted.