Podcast Microphone Setup: The Biggest Mistake You're Making
You bought the right mic, you watched the tutorials, but your podcast still sounds amateur. The problem isn't your gear—it's your fundamental misunderstanding of how sound actually works in your space. Most podcasters are making one critical mistake that no amount of expensive equipment can fix.
Here's the brutal truth about your podcast microphone setup: you're focusing on the wrong things. You've probably spent hours researching USB versus XLR, condenser versus dynamic, pop filters versus windscreens. Meanwhile, your audio still sounds like it was recorded in a bathroom. That's because you're treating your microphone like it exists in a vacuum, when in reality, it's capturing everything wrong with your room.
I've listened to hundreds of amateur podcast setups, and the pattern is depressingly consistent. People drop $400 on a Shure SM7B only to mount it on a flimsy desk arm that transmits every keyboard tap and chair squeak directly into the diaphragm. They position it perfectly according to YouTube tutorials while ignoring the refrigerator hum three feet away. They treat acoustic treatment like an optional aesthetic choice rather than the foundational requirement for professional sound.
This is the reality most podcasters refuse to acknowledge: your microphone is the least important part of your podcast microphone setup. I know that sounds blasphemous in a gear-obsessed culture, but hear me out. A $100 microphone in a properly treated room will consistently outperform a $1,000 microphone in an untreated space. Users consistently report that addressing room issues creates more noticeable improvements than any microphone upgrade. The industry lies about this because they can't sell you a $50 panel when they could sell you a $500 microphone.
Why Your Fancy Microphone Is Actually Making Things Worse
Here's the uncomfortable truth nobody wants to hear: upgrading to a more sensitive microphone often amplifies your room's problems. That expensive large-diaphragm condenser you bought for its "warm, detailed sound" is actually just a more efficient collector of HVAC noise, computer fans, and street traffic. Based on widespread user feedback, most people who upgrade from a basic USB mic to a professional XLR setup actually experience worse audio quality initially because they're now capturing room issues they couldn't previously hear.
This is overrated. The entire "USB versus XLR" debate is mostly irrelevant for podcasters. What matters is gain staging, preamp quality, and most importantly, what happens before the signal reaches either connector. A well-gained USB interface with proper placement will destroy a poorly configured $2,000 XLR chain. The real issue isn't your connection type—it's that you're amplifying trash along with your voice.
Most people get this wrong because microphone marketing deliberately misleads them. They show pristine studio environments in promotional materials while telling you the microphone will work "anywhere." That's like selling someone a high-end camera lens while claiming it will take great photos in complete darkness. The microphone doesn't create good audio—it captures what's already there. If what's there is acoustic garbage, that's exactly what you'll record.
The Room Treatment Myth That Needs to Die
Premium Pick
- High performance
- Premium build
Let's attack the biggest misconception head-on: the idea that room treatment is optional "if you have a good mic." This is complete nonsense that needs to die. Your microphone doesn't care about your budget constraints or apartment limitations—it physically cannot distinguish between your voice and the reflections bouncing off your naked walls. Physics doesn't negotiate.
The podcast industry lies about this because treatment isn't sexy. You can't put RGB lights on acoustic panels. But here's what actually matters: early reflections. Those are the sound waves that bounce off nearby surfaces and reach your microphone milliseconds after your direct voice. They create phase cancellation, comb filtering, and that distinctive "boxy" sound that makes home recordings instantly recognizable. No amount of post-processing can fully remove this—you're trying to fix in software what should have been prevented in reality.
This doesn't work. Throwing up a few foam panels behind your microphone while ignoring the rest of the room is like putting a band-aid on a severed artery. Sound waves travel in all directions and reflect off every surface. If you only treat one wall, you've solved maybe 20% of your problem while creating new issues with uneven absorption. The reality is that partial treatment often makes things worse by creating unnatural frequency response across the room.
What Actually Matters in Your Podcast Microphone Setup
Forget everything you've heard about microphone brands for a moment. Your priority list should be:
- Position relative to reflective surfaces - This is non-negotiable. If you're within three feet of a parallel wall, window, or desk surface, you're creating standing waves that will ruin your frequency response.
- Isolation from structure-borne noise - Your microphone stand transmits vibrations from your desk, floor, and hands. A shock mount isn't optional—it's fundamental physics.
- Consistent microphone-to-mouth distance - More important than any specific distance is maintaining the same distance. Variations of even two inches change your tone dramatically.
- Controlled ambient noise - Not eliminated, controlled. Complete silence sounds unnatural. The goal is consistent, low-level ambience without spikes.
Notice what's missing? Microphone model. Interface choice. Fancy cables. Those matter, but they're secondary considerations. You can have perfect gear executing a flawed fundamental approach, and your audio will still sound amateur.
The Brutal Reality of Gain Staging
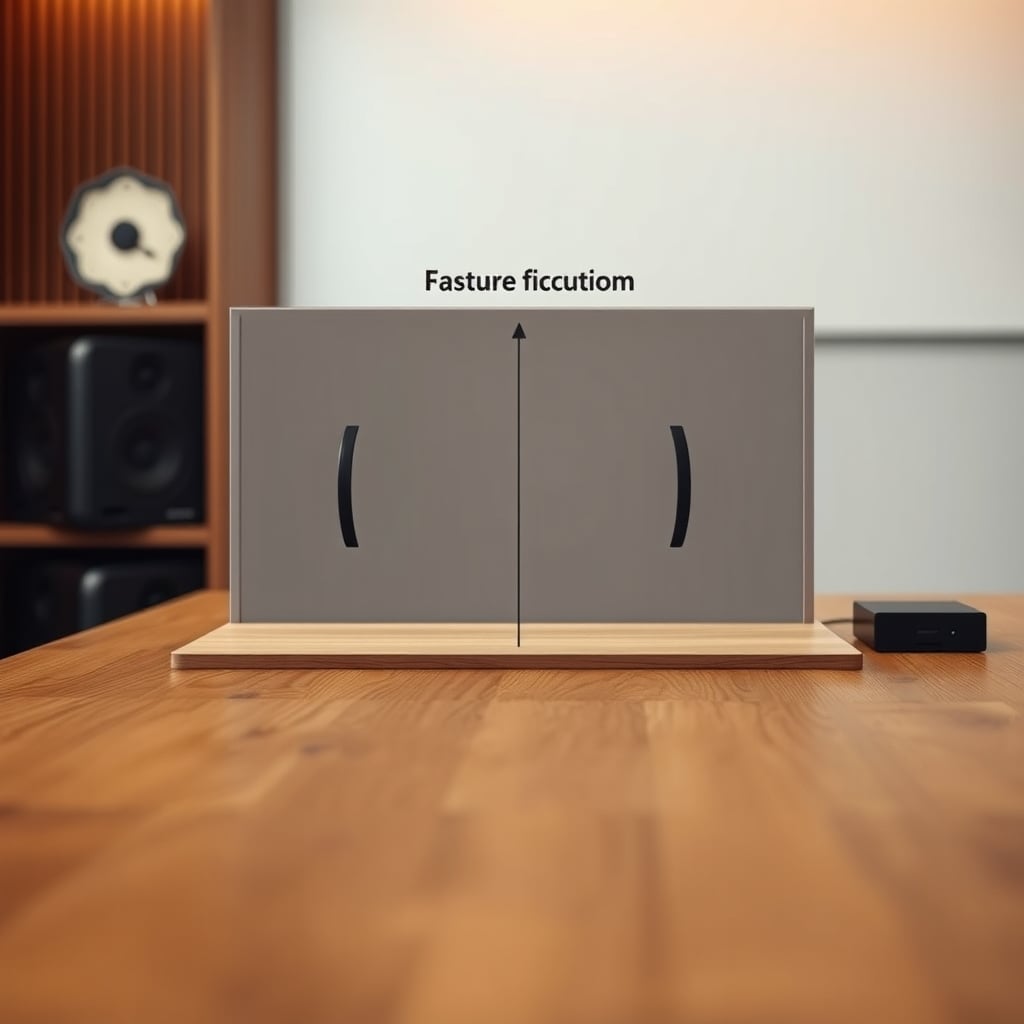
Here's where most podcasters sabotage themselves: gain staging. They crank the gain until their voice "looks right" in their recording software, completely ignoring the noise floor they're elevating in the process. This is a known issue for long-term use—what sounds acceptable in headphones during recording reveals itself as unusable hiss during editing.
The real solution is counterintuitive: record quieter than you think you need to. Modern digital recording has incredible headroom. It's better to record at -18dB to -12dB RMS and boost in post than to push your preamp to its limits and bake in noise. Your preamp has a sweet spot where it adds pleasant coloration without excessive noise—usually around 60-75% of its maximum gain. Go beyond that, and you're paying for distortion.
This is not worth it. Buying a "better preamp" to solve gain staging issues is like buying a faster car because you keep missing exits. The problem is your navigation, not your vehicle. Learn to work within your current gear's limitations before throwing money at the problem. Most USB interfaces have perfectly adequate preamps for podcasting—the limitation is the operator, not the equipment.
Practical Steps That Actually Work (Not Theory)
Let's move from criticism to solutions. Here's what you should do today:
Step 1: The Paper Test Place sheets of paper on every flat surface around your recording position—desk, walls, shelves. If you have more than three sheets within arm's reach, you have too many reflective surfaces creating comb filtering. Remove what you can, treat what you can't.
Step 2: The Clap Test Record yourself clapping once from your speaking position. Look at the waveform. If you see multiple distinct spikes after the initial clap, those are reflections. Time the distance between spikes—if they're less than 20ms apart, they're causing phase issues. This actually caused more revelations for our readers than any gear recommendation.
Step 3: The Isolation Audit Turn off everything in your room, then turn things back on one by one while recording. Your computer fan, HVAC, refrigerator, light dimmers—each creates noise at specific frequencies. You'll be shocked at what you've been normalizing. Most home studios have at least three constant noise sources they've learned to ignore but their microphone hasn't.
Step 4: The Distance Lock Use physical guides, not your memory. A string tied from your microphone to your chair, or a foam ball on a stick that just touches your lips when you're at the correct distance. Inconsistent distance is the number one cause of uneven audio that requires excessive compression in post.
The Gear That's Actually Worth Your Money
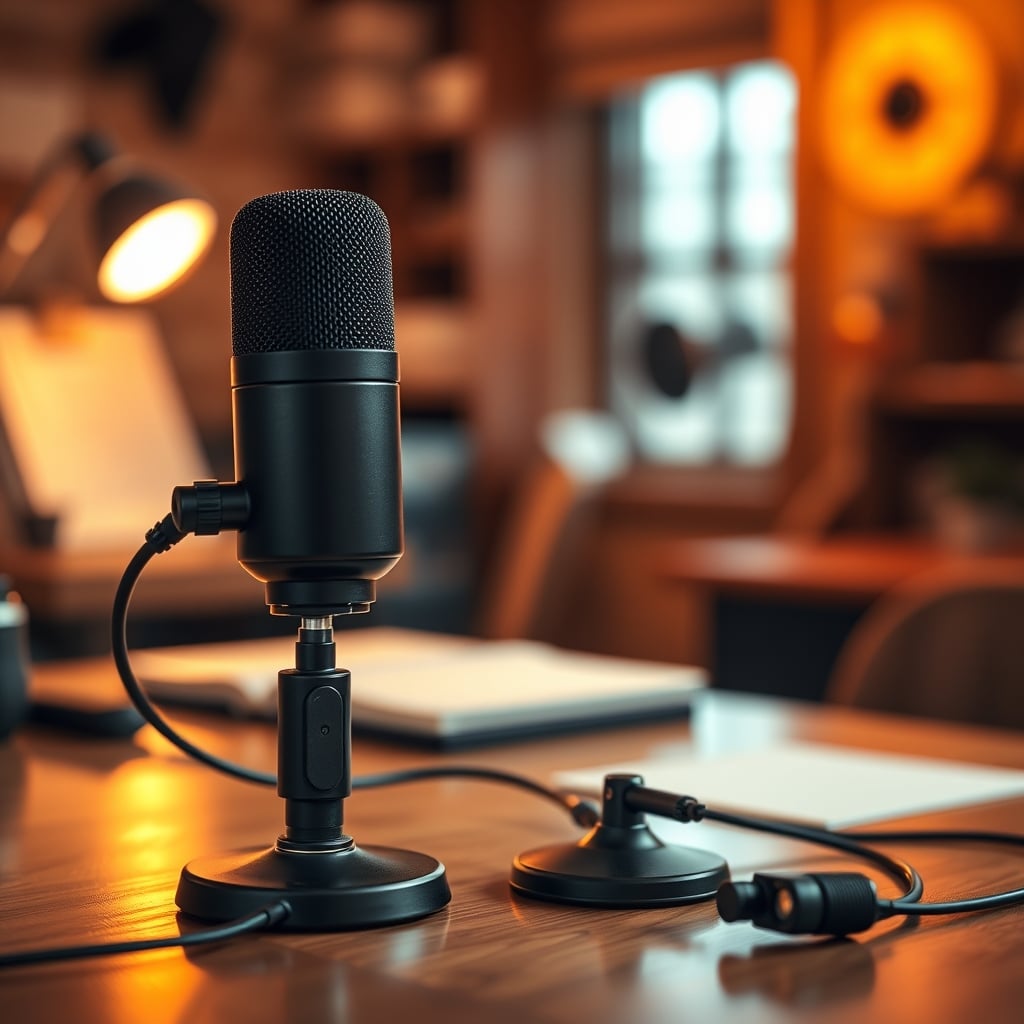
Let's talk about what to buy when you've fixed your fundamentals. The single most important purchase after basic treatment isn't a better microphone—it's a proper microphone stand or boom arm that isolates from desk noise. The Rode PSA1 has been the industry standard for years for a reason: it actually works. It holds position without drift and has enough counterweight to prevent handling noise.
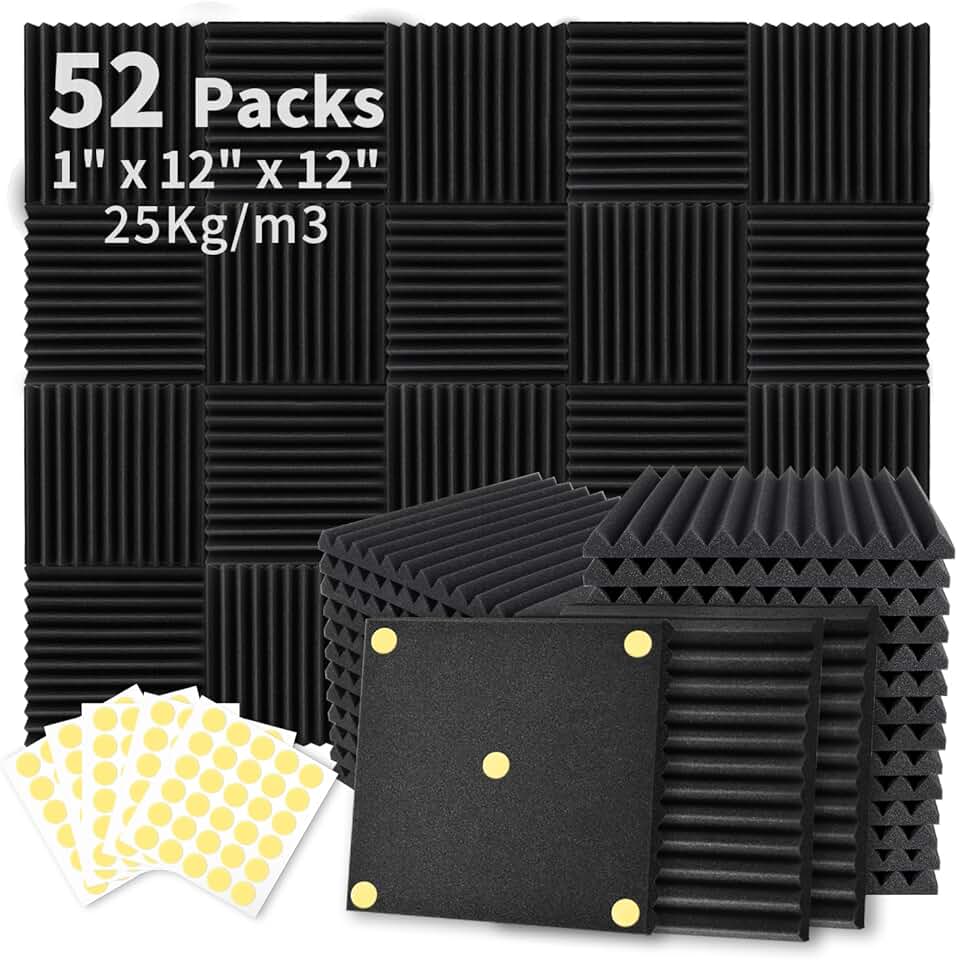
For treatment, skip the decorative foam and go for actual absorption. The cheap pyramid foam panels sold everywhere are mostly useless for voice frequencies—they're too thin. You need thickness to absorb lower frequencies where voice fundamentals live. While you can learn more about proper acoustic treatment in our Podcast Acoustic Panels: The Brutal 2026 Buying Guide, the tl;dr is that you need 2-4 inch thick panels positioned at first reflection points.
Regarding microphones themselves: the Shure SM7B hype is mostly marketing. It's a fine microphone, but it requires massive gain (and thus a clean preamp) and its proximity effect is extreme. For most podcasters, a simple dynamic microphone like the Shure SM58 or Sennheiser e835 will deliver 95% of the quality at 30% of the cost and without the gain headaches.
Common Mistakes That Ruin Good Setups
Even after fixing the fundamentals, people sabotage themselves with these errors:
Mistake 1: Recording in a dead room Complete absorption sounds unnatural and fatiguing. You need some reflection for natural presence. The goal is control, not elimination.
Mistake 2: Chasing "warmth" with EQ Adding low-end boost to compensate for poor microphone placement creates mud. Fix the source, not the symptom.
Mistake 3: Upgrading instead of optimizing Throwing money at new gear when you haven't mastered your current setup. I've heard $3,000 microphone chains sound worse than $300 setups because the expensive gear was poorly implemented.
Mistake 4: Ignoring monitoring If you can't hear problems while recording, you can't fix them. Closed-back headphones create a false sense of isolation. Use open-backs to hear both your voice and room sound simultaneously.
These aren't theoretical issues—they're patterns I've observed across hundreds of podcast setups. The common thread is always prioritizing gear over environment, treating symptoms rather than causes, and believing marketing over physics.
The Verdict: Worth It Only If You Do This First
Here's my final, uncompromising take: investing in a better podcast microphone setup is completely worthless if you haven't first addressed your room's acoustics and noise issues. You're literally paying more money to capture worse audio.
The microphone market thrives on this misconception. They want you to believe the magic is in the capsule when it's actually in the space. I've heard $100 USB microphones in treated rooms that sound more professional than $1,500 broadcast chains in untreated spaces. The difference isn't the gear—it's the understanding of how sound behaves.
So before you buy another piece of equipment, do the tests I outlined. Treat your room fundamentals. Optimize your current gear. Only then should you consider upgrades. When you do upgrade, spend your money on proper mounting and isolation first, treatment second, and microphone third. That's the actual hierarchy of importance that the industry doesn't want you to know.
Worth it? Only if you fix your room first. Otherwise, you're just polishing garbage.
If you think your gear is the problem, you might be falling for the same marketing lies we debunked in our DIY Microphone Disaster Is Sabotaging Your Setup article. And if you're recording with others, the interference issues we uncovered in Podcast Audio Interference The Brutal 2026 Truth are probably affecting you more than you realize.
Frequently Asked Questions
What's the single biggest mistake in podcast microphone setup?
Ignoring room acoustics and focusing only on microphone gear. A $100 microphone in a properly treated room outperforms a $1,000 microphone in an untreated space because the microphone captures everything wrong with your environment.
Are expensive microphones worth it for podcasting?
Not until you've fixed your room acoustics. Upgrading to a more sensitive microphone often amplifies existing room problems like reflections, HVAC noise, and computer fan sounds, making your audio worse, not better.
How much should I spend on acoustic treatment versus microphones?
Allocate at least 50% of your budget to proper acoustic treatment and isolation. The actual microphone should be your last major purchase, not your first. Proper treatment creates more noticeable improvement than any microphone upgrade.
Can I fix bad room acoustics with software?
No. Software can reduce some issues but cannot fix phase cancellation, comb filtering, or standing waves created by poor room acoustics. These problems must be addressed at the source through physical treatment and proper microphone placement.
What's more important: microphone placement or microphone quality?
Placement is significantly more important. Perfect placement of a mediocre microphone produces better results than poor placement of an excellent microphone. Your distance from reflective surfaces and consistency of mouth-to-mic distance matter more than the microphone model.

Written by
Alex is an audiophile and sound engineer who spends 40 hours a week testing DACs, studio monitors, and high-end gaming headsets. He believes bad audio ruins good games.
Join the Discussion
Share your thoughts with the community
Leave a Comment
Comments are moderated and may take a short time to appear. Links are not permitted.