Smart Desk Display Buying Guide for 2026
Most smart desk displays don't fail because of bad hardware — they fail because they can't show data you care about. Here's the spec and price-tier breakdown that separates a display you'll still use in a year from a $300 dust collector.
Buy a smart desk display from a promo shot, and you'll own an expensive nightlight within a month. The screen is almost never the problem. The problem is the buying order: most people pick the panel first and the data source second. A panel with nothing useful to show is just a colored rectangle sitting on your desk.
The Short Answer
Two things decide whether your smart desk display is still earning its space six months from now:
- Can it pull data from sources you choose? If it only works with the manufacturer's app, you're renting its usefulness.
- Do its resolution and pixel pitch match the distance you'll actually read it from? A sharp panel across the room is wasted detail; a coarse panel at arm's length is a missed opportunity.
Get both right and a $60 display outworks a $300 one. Get either wrong and the expensive one becomes clutter.
What Actually Decides Whether Your Smart Desk Display Earns Its Space
Every smart desk display on the market in 2026 solves the same basic problem: putting a small amount of glanceable information where your eyes already land. The differences that matter are boring and checkable.
1. Legibility at your real viewing distance
This is a function of pixel pitch and physical panel size, not pixel count. A 16x16 matrix with a roughly 4 mm pitch is only about 60–65 mm across. A 5x7 character on it lands around 20 mm tall—perfectly readable at arm's length, hopeless from across the room. The same font on a 32x32 panel with a similar pitch sits on a panel roughly 128 mm square, which is comfortable at 2–3 metres. Decide your viewing distance first, then your panel size.
2. Whether it can pull data you choose
Look for a documented HTTP endpoint, MQTT support, or an official Home Assistant integration. If the only way to change what's on screen is the vendor's app plus a cloud account, you don't own the display—you're renting its usefulness. Cloud services get retired. Local polling over your own network doesn't.
3. How it's powered
Nearly everything small runs 5 V over USB-C, so the question isn't the connector—it's the routing. Check whether the display needs only power or an active data connection to a host computer. A "smart" display that needs a PC running to show the weather has quietly become a second monitor.
4. Power supply headroom
Individually addressable 5 V RGB LEDs draw up to around 60 mA each at full white, per common datasheets. A 16x16 panel is 256 LEDs, so its theoretical worst-case draw is roughly 15 A. That's why manufacturers ship a small 5 V brick and cap brightness in software. A 32x32 panel is 1,024 LEDs, and the theoretical draw scales with it. In practice, multiplexing and firmware limits keep real draw lower, but if you plan on bright white content, budget for a 5 V/10 A supply and a brightness cap. If that sounds like a hassle, e-ink sidesteps it entirely.
5. Mounting
Larger panels commonly use a VESA FDMI MIS-D pattern of 75x75 mm or 100x100 mm. Small pixel clocks often use magnets or a 1/4"-20 camera thread instead. Check the back of the thing before you buy a mount for it.
Pixel Math: When 16x16 Beats 64x64 for a Desk
There's a real trap in assuming more pixels is always better. It isn't. Pixel count only helps if the panel grows with it or your viewing distance shrinks.
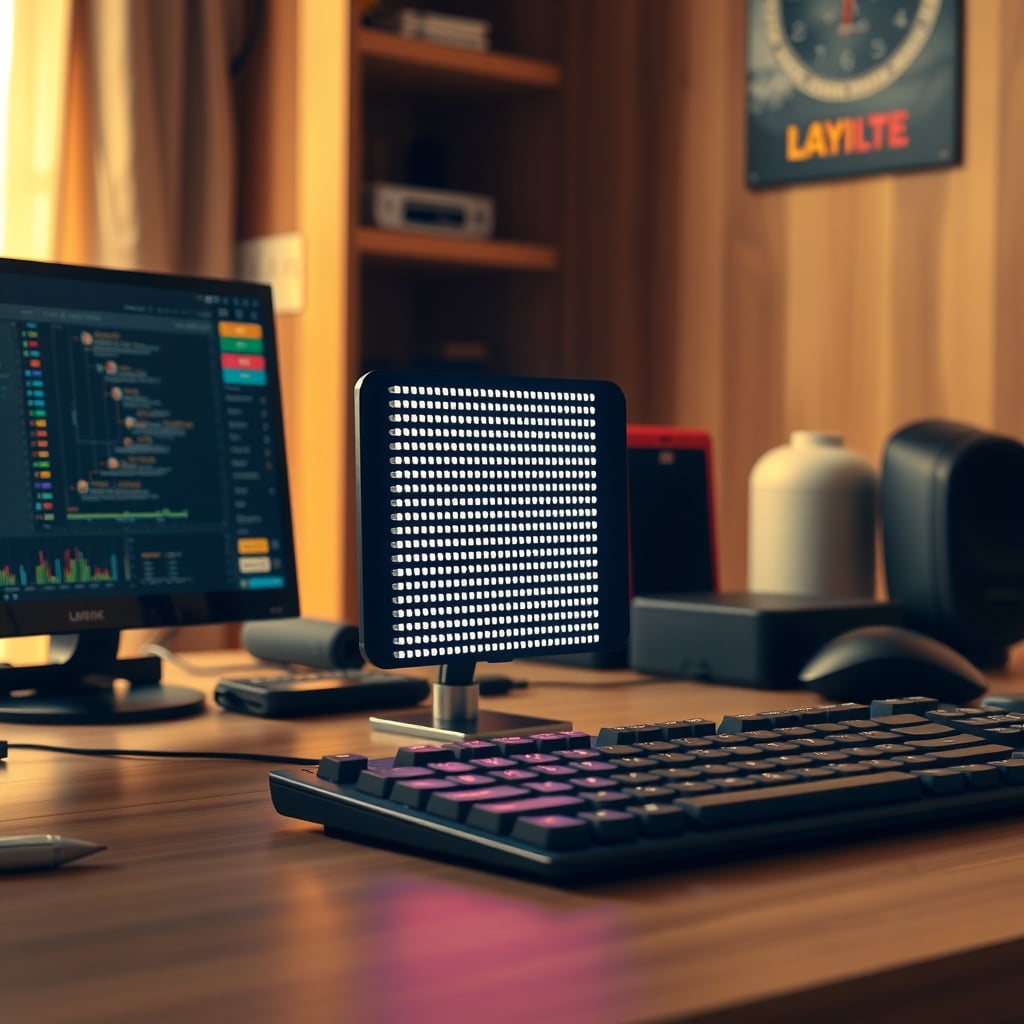
The counterintuitive part: a 16x16 and a 64x64 panel can be physically identical in size. The 64x64 version just packs four times as many LEDs into the same square, which means a tighter pitch and sharper text at close range. That's genuinely useful if you're reading it from 50 cm. At 3 metres, you can't resolve the difference, and you've paid for detail your eyes can't collect—plus you've quadrupled the LED count and the power draw for no visible benefit.
What actually changes your experience is character budget. On a 16x16 grid, two lines of 5x7 text plus spacing is basically your entire display. You get a clock and one short line. On a 32x32 grid you have room for text, an icon, and a small status bar. On a 64x64 you can render a real typeface, a graph, or a calendar block.
So the practical rule is simple: pick the panel size that matches your viewing distance, then pick the resolution that fits the amount of information you want to glance at. A 16x16 panel at arm's length showing temperature and time is a better product than a 64x64 panel doing the same thing from a metre further back.
One more physical detail that catches people out: LED matrices flicker. Panels driven at a low PWM refresh rate show banding on camera, which matters if the display sits behind you during video calls. Anything marketed as flicker-free is running its refresh high enough that a typical webcam shutter won't catch it.
The Data Source Test Most Buyers Skip
Most buyers miss this: the display is the cheap part. The integration is what determines whether you'll still care about it in a year.
Before buying, ask the seller's documentation three questions:
- Does it expose a local API?
- Does it support MQTT or an official Home Assistant integration?
- Can it accept arbitrary JSON or a webhook from something you already run?
If the answer to all three is no, you're limited to whatever widgets the vendor shipped in the app. That's fine for a clock-and-weather box. It's not fine if you wanted your build pipeline status, your calendar, your Home Assistant sensor values, or a countdown to something specific.
There's also a radio gotcha that trips people up constantly. Most ESP32-class microcontroller boards—the chip inside a huge share of open-API desk displays—are 2.4 GHz Wi-Fi only. If your router runs a single SSID with band steering and WPA3-only security, the display may simply refuse to join. The fix is boring but real: enable a dedicated 2.4 GHz SSID and set security to WPA2/WPA3 mixed mode. Users on long-term home-automation threads report this as the single most common first-day failure.
If you want the display's base to also charge your phone, coil alignment and thermal math is its own rabbit hole. Our Qi2 wireless charging hub buying guide covers why slim, well-ventilated bases matter more than wattage claims.
What Each Price Tier Actually Buys
Best budget: a 16x16 pixel clock appliance, roughly $35–60
This is the tier where you stop building and start using. These are finished, self-contained boxes: a 16x16 addressable LED panel, a Wi-Fi radio, and a companion app with a handful of widgets. Typical content is time, temperature, and a scrolling message—and that's honestly most of what people want.
What you're paying for is the enclosure and the app. And the spec sheet won't tell you this: app quality varies wildly at this price. Some have clean, responsive widgets; others bury a basic text-setting feature four menus deep. Read the app's recent reviews, not the product's.
Where this tier falls apart is integration. Most of these are app-only, cloud-tethered, and closed. If your widget wishlist is short and static, buy here and save $200. If you want it to react to anything happening on your network, keep reading.
If you're cross-shopping appliance-style options, our breakdown of desk pixel clocks and info displays that actually fit a setup covers the differences between the appliance and DIY paths in more depth.
Best overall: a 32x32 addressable LED matrix with a local API, roughly $80–140
This is the sweet spot for 2026. A 32x32 panel at roughly 128 mm square is legible from 2–3 metres, which covers sitting at your desk and glancing across the room. At this price you can find units that document a local HTTP API, support MQTT, or ship an official Home Assistant integration.
That combination is what turns a decoration into a tool. You can push your calendar's next event, a Home Assistant sensor, a build status, a pomodoro timer, or a weather alert to the same panel—and change your mind later without buying anything new.
Budget for the power supply. If the unit ships with a 5 V/4 A brick, it's capping brightness to stay inside that. If you want it readable in a bright room, you'll want a 5 V/10 A supply and the ability to raise the cap. That's a $15–20 add-on most listings don't mention.
When this is the wrong choice: if you'll only ever display the time. You'd be paying for an API you never call.
Best premium: a 64x64 or large-format panel, roughly $250–450
Above $250 you're buying either pixel density at close range or physical size at a distance. A 64x64 panel handles real typography, small graphs, and multi-line layouts without the chunky block-font compromise. Larger format panels get you a genuinely wall-scale object.
The honest caveat: at this tier, many panels are sold as bare HUB75 modules plus a separate controller, meaning you supply the driver board, the power supply, and the software. That's a project, not a purchase. If you want plug-and-play at $400, confirm a controller and enclosure are included before you commit.
Also check the power requirement in writing. A 64x64 panel is 4,096 addressable LEDs. Running bright white content on that is a serious current draw, and the supply that ships with a cheap listing is often the first thing to fail. This is the tier where undersizing the PSU is a genuine safety and reliability issue, not an inconvenience.
Best for bedrooms and low-light desks: an e-ink info display, roughly $150–280
If your desk is in a bedroom or you work with the lights low, an LED matrix is the wrong answer—it's a light source pointed at your face. An e-ink panel is reflective, needs no backlight, and only draws power when it changes. Typical units run 5–7.5 inches and sip roughly 0.1 A on average.
The trade-off is refresh speed. Full refreshes take on the order of a second or two, and partial refreshes are faster but leave ghosting behind. This is a display for text that changes on the scale of minutes: calendar, tasks, a dashboard summary, the weather. It is not a display for a ticking clock.
Where it wins decisively is at night. No glow, no flicker, no PWM, and nothing competing with your monitor's calibrated brightness. If you've ever fought with a desk light that wrecked your screen contrast, you already understand why this matters.
Best DIY: an ESP32-driven HUB75 panel build, roughly $25–45 in parts
If you can flash firmware, this is by far the best value in the category. A 32x32 HUB75 panel, an ESP32 board, and a 5 V supply lands under $45, and the resulting display supports any API, any webhook, and any font you want—because you're writing it. Open-source firmware for these panels is well documented and actively maintained.
Be honest about the time cost. Wiring HUB75, sizing the supply, configuring the network, and writing the layout is a weekend project at minimum. If that sounds enjoyable, it's the best deal here. If it sounds like a chore, the $120 finished unit is $75 well spent.
Side-by-Side: Specs, Prices, and What Each Tier Is For
Tier Typical panel Comfortable viewing distance Data input options Power Realistic price Budget pixel clock 16x16 addressable LED, ~4 mm pitch, ~60 mm square Arm's length Vendor app; a few expose a basic local HTTP endpoint 5 V USB-C, ~1–2 A $35–60 Step-up matrix 32x32, ~4 mm pitch, ~128 mm square 2–3 m Documented HTTP API, MQTT, or Home Assistant integration 5 V, 4–10 A depending on brightness $80–140 Large-format panel 64x64 or multi-panel, 3–6 mm pitch 4 m+ Usually HUB75 plus a controller you supply 5 V, high current; often needs its own supply $250–450 E-ink info display 5–7.5 in monochrome, reflective 50–80 cm Wi-Fi plus app or API; minutes-level refresh only USB-C, ~0.1 A average $150–280 DIY build 32x32 HUB75 plus ESP32 You decide Anything you can code Your problem to solve $25–45 in partsThree Mistakes That Cost You Money
Mistake 1: Buying pixels instead of legibility
People see "64x64" and assume it's four times better than "32x32." If both panels are the same physical size and you're reading from 3 metres, they're indistinguishable in practice—but the 64x64 version draws roughly four times the current and costs two to three times as much.
The fix: Measure how far you'll actually be sitting, then buy the panel size for that distance and the resolution for the content.
Mistake 2: Buying an app-only device and discovering the limits later
Cloud-tethered displays are fine until you want them to show something the vendor never imagined. Then you're stuck.
The fix: Before buying, search the product name plus "API" and "Home Assistant." If nothing comes up, assume it's a closed box and buy it only if its built-in widgets are genuinely all you want.
Mistake 3: Under-sizing the power supply
A 32x32 panel at full white pulls far more than the 4 A brick in the box can deliver, so firmware throttles brightness—and the display looks dim in daylight. Worse, a genuinely undersized supply on a large panel runs hot and fails early.
The fix: Check the rated current in the listing, keep total LED draw under about 80% of supply capacity, and cap brightness in software rather than relying on the PSU to save you.
Who Should Buy What
You want a clock and the weather, nothing else. Buy the $35–60 16x16 pixel clock. Don't let anyone upsell you into an API you'll never call. If you'd rather have something with a bit more personality, the visual timer buying guide covers the adjacent category where a screen genuinely changes behaviour.
You run a home server, homelab, or Home Assistant setup. Buy a 32x32 panel with a documented local API or MQTT support, around $120. This is the tier where the display stops being decoration and starts being a status surface. Nothing above this price improves the experience unless you have a specific reason.
You work in a bedroom or keep the lights low. Buy e-ink, $150–280. It's the only option here that doesn't add light to your room. If your concern is the light around your desk generally rather than the display itself, circadian-aware lighting setups that actually work is the more relevant read.
You want a wall-scale piece and don't mind a project. Buy a 64x64 HUB75 panel and a controller, $250–450. Just budget the power supply properly and confirm what's actually in the box.
You can write a bit of code. Build the DIY route, $25–45, and get more capability than anything off the shelf at that price.
Bottom Line: Buy the Data Source First
If you take one thing from this guide, take this: the display is the commodity, and the integration is the product. A 32x32 LED matrix with an open local API at around $120 will do more useful work over its lifetime than a $400 closed appliance with prettier packaging and no way in.
So here's the decision, stated plainly. For most desk setups in 2026, buy a 32x32 addressable LED matrix with a documented local API or MQTT support in the $80–140 range, and add a 5 V/10 A supply if you want real daylight brightness. If you only want a clock, spend $35–60 and stop there—that's a genuine recommendation, not a consolation prize. If your desk lives in a bedroom, skip LEDs entirely and buy e-ink at $150–280. And if you enjoy the build, the $25–45 DIY route beats everything else on capability and loses only on your time.
What to skip: anything above $250 that doesn't tell you what controller it uses, what its power draw is, and how you'd get custom data onto it. At that price, vagueness isn't minimalism—it's a warning.
Frequently Asked Questions
undefined
undefined
undefined
undefined
undefined
undefined
Written by
GlowRig Editorial researches and writes practical guides about desk setups and home office gear. Our articles are produced with the help of AI research tools and are reviewed for accuracy against manufacturer specifications and public user feedback. We may earn a commission from affiliate links, which never affects our recommendations.
Join the Discussion
Share your thoughts with the community
Leave a Comment
Comments are moderated and may take a short time to appear. Links are not permitted.