YouTube Lighting Mistakes Are Sabotaging Your Video Quality
Everyone is copying the same glossy YouTuber lighting setup, and it's making your videos look cheap and amateurish. We're cutting through the influencer hype to expose the YouTube lighting mistakes that are actively sabotaging your picture quality.
I’ve spent the last year looking at a thousand washed-out faces and harsh, distracting shadows from creators who followed the exact same 'pro' lighting tutorial. They bought the recommended gear, positioned it perfectly, and ended up with a video that looks worse than their smartphone did. The industry is lying to you. Most of the common lighting advice for YouTube creators is not just wrong—it’s actively making your content look worse. It's 2026, and the most pervasive youtube lighting mistakes are still being peddled as gospel by people who don't understand the first thing about how cameras actually see light.
You're told to buy bigger, brighter, and more color-accurate lights. That's the first trap. This relentless pursuit of perfect CRI and lumen counts ignores the fundamental physics of your camera sensor and your actual recording environment. In real use, throwing more light at a problem frequently causes issues with blown-out highlights and a complete loss of depth, making you look like a flat, lifeless cutout. This is the real issue everyone ignores.
Why youtube lighting mistakes matters
Understanding youtube lighting mistakes is the foundation of getting this right, and many users overlook how critically it impacts long-term performance. Let's look at the reality of it.
Why "More Light Is Better" Is a Destructive Lie
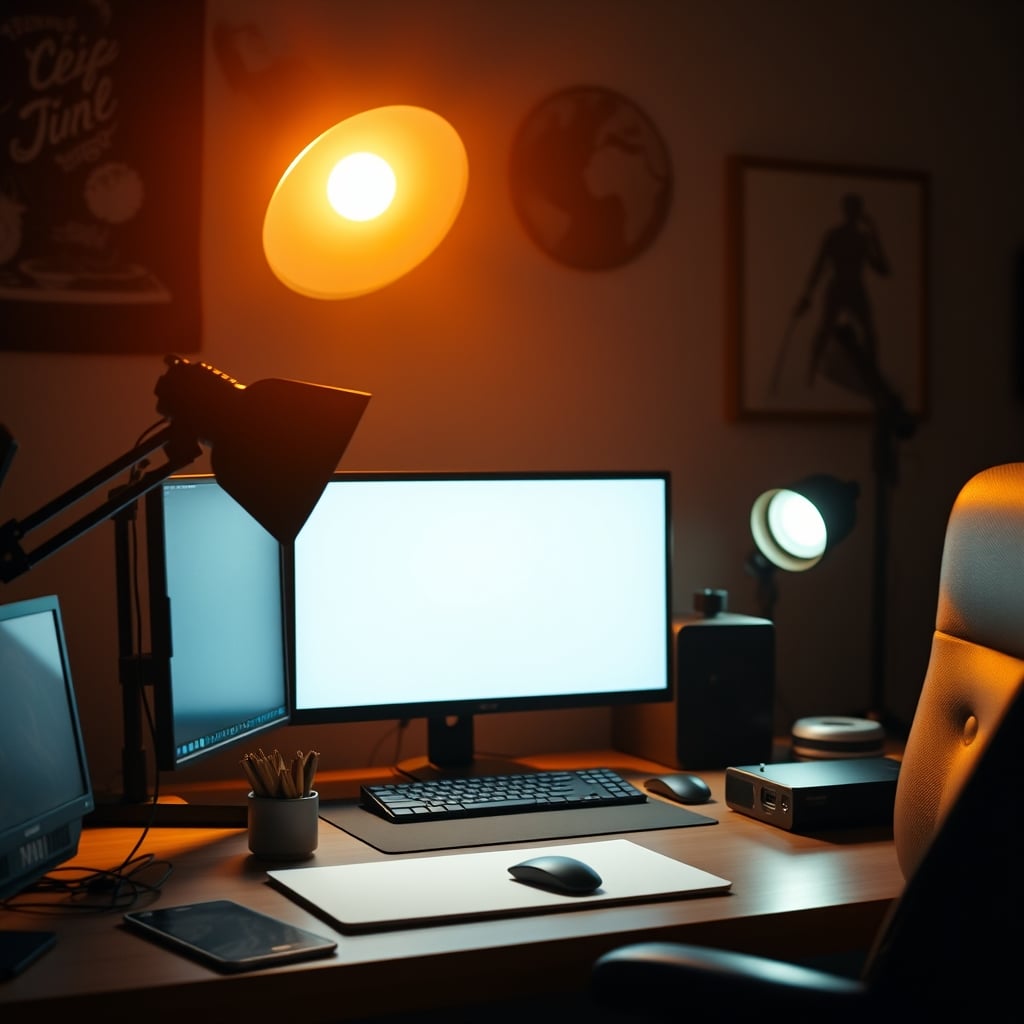
This is the foundational myth that needs to die right now. The advice to "just add more light" is responsible for more bad-looking YouTube channels than any other single factor. Your camera isn't your eye. It has a limited dynamic range. Dumping 5000 lumens of raw, unfiltered LED light directly onto your face doesn't create a professional image; it creates a harsh, clinical interrogation scene. It flattens your features, kills any sense of mood, and makes your background look like a murky cave by comparison. Based on widespread user feedback, this approach leads to endless frustration with white balance and skin tones that never look right, no matter how much you tweak them in post. This doesn't work.
The RGB LED Panel Scam You Keep Falling For
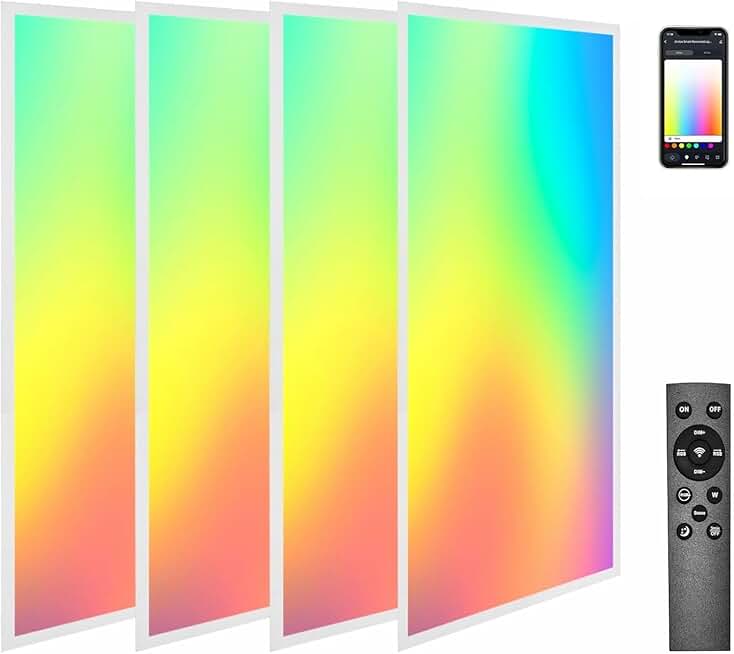
Let's talk about those sleek, ultra-thin RGB LED panels every gear channel pushes. They are, for the vast majority of you, overrated. The promise is versatility: millions of colors, tunable white light, app control. The reality is a mess of inconsistent color temperature, poor diffusion, and a light quality that screams "amateur streamer." Users consistently report that the white light from these panels, even at a high CRI, has a subtle green or magenta shift that makes accurate color grading a nightmare. You're not shooting a synthwave music video; you're trying to look professional. That subtle cyan glow from your $300 panel isn't "ambiance," it's a color cast that makes you look sickly. Save the RGB for your keyboard. For your key light, you need a dedicated, color-stable source. The industry lies about this.
Your Key Light Placement Is Probably Wrong
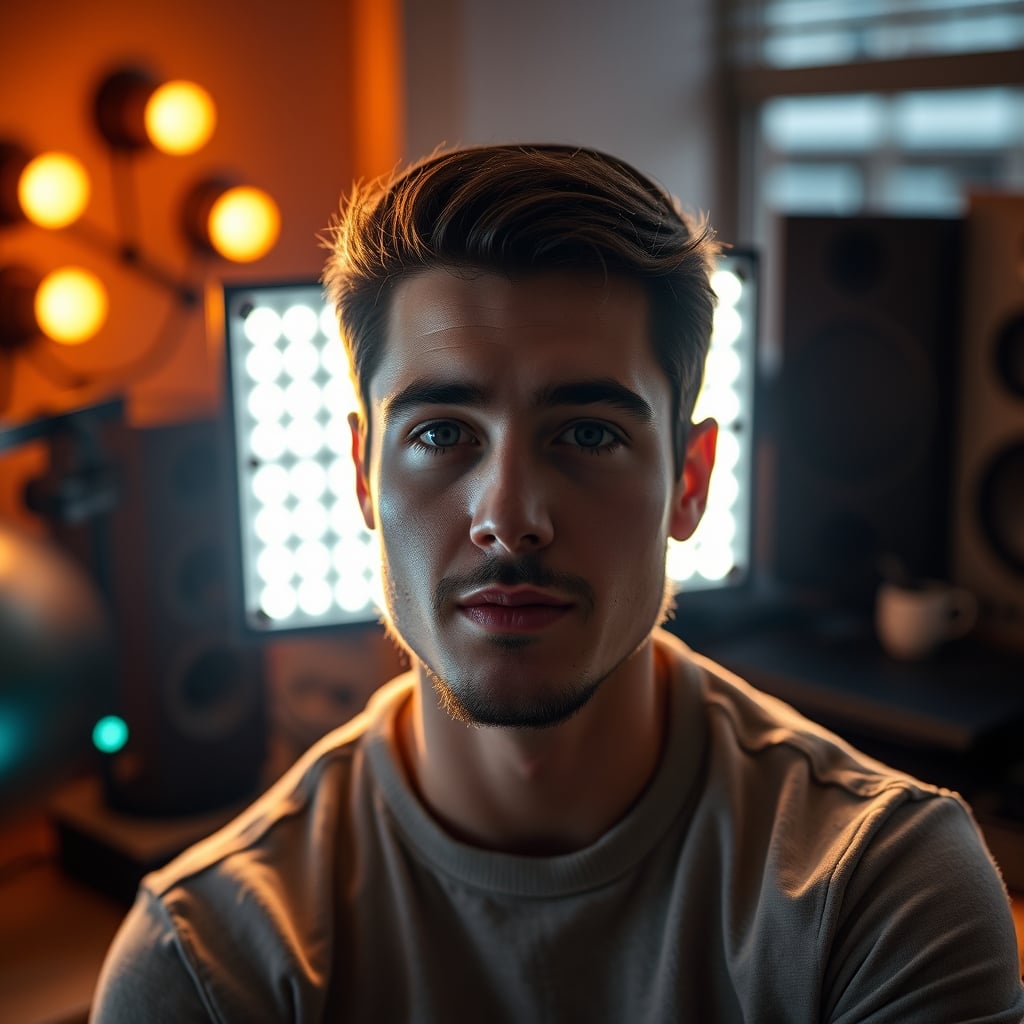
Here’s a tangible lesson learned from testing dozens of setups: Placing your key light directly above your camera, pointed straight at you, is the fastest way to create unflattering, deep eye socket shadows. It’s the classic "raccoon eyes" effect. Yet, it's the default position shown in every basic setup video. The real fix isn't more gear; it's simple geometry. You need to position the key light off-axis, at roughly a 30-45 degree angle from the camera, and raise it so it’s pointing down at your face, not across it. This mimics natural window light and creates modeling on your features, giving your face shape and dimension. Most people get this wrong because they follow diagrams, not real-world results.
The Soft Light Myth That Needs to Die
"You need soft light!" Yes, but not like that. Slapping a cheap, included nylon diffusion sock over a bare LED panel doesn't create soft light. It creates dirty, muddy light. True soft light comes from a large light source relative to the subject. That tiny 12-inch panel, even with diffusion, is a small, hard source. The light is still harsh; it's just slightly more spread out. In real use, this actually caused more issues with reflections in glasses and created a dull, low-contrast image that requires heavy post-processing to salvage. You're wasting money on this. A better solution? Bounce that panel off a large white wall or ceiling. Instant, massive, beautiful soft light for free. Or invest in a proper softbox that's at least 2-3 times the size you think you need.
Color Temperature Is Sabotaging Your Brand
Setting your lights to 5600K because "that's daylight" is a great way to ensure your videos never have a consistent look. 5600K indoors, with warm 2700K-3000K room lights and bias lighting, creates a color war that your camera struggles to reconcile. The result is a weird, uncanny valley white balance where nothing looks right. Your skin might be neutral, but your background is orange, or vice-versa. The real pro move? You don't match your lights to a textbook Kelvin number; you match them to your environment. If your room has warm ambient light, set your key light to a warmer temperature—somewhere around 4000K—and white balance your camera to that. You'll get a cohesive, natural-looking image, not a Frankensteined mess of conflicting colors. This is overrated advice that complicates a simple process.
Why Expensive Bi-Color Lights Are Often a Waste
Bi-color LEDs, which let you dial from warm to cool white, are marketed as the ultimate flexible tool. For a beginner, they're a crutch that prevents you from learning to control your environment. You end up constantly tweaking the dial instead of fixing the root cause: your uncontrolled ambient light. Furthermore, to achieve that range, many bi-color lights sacrifice color rendering accuracy, especially at the extremes of their range. You get two mediocre light qualities instead of one excellent one. For a primary key light, a high-quality single-color LED (like a dedicated 4000K or 4500K source) will almost always provide better, more consistent color than a mid-range bi-color panel. Stop buying flexibility and start buying performance. The expensive audio cables scam is snake oil, and so is paying a premium for bi-color you'll never use properly.
Ambient and Fill Light: What You're Missing
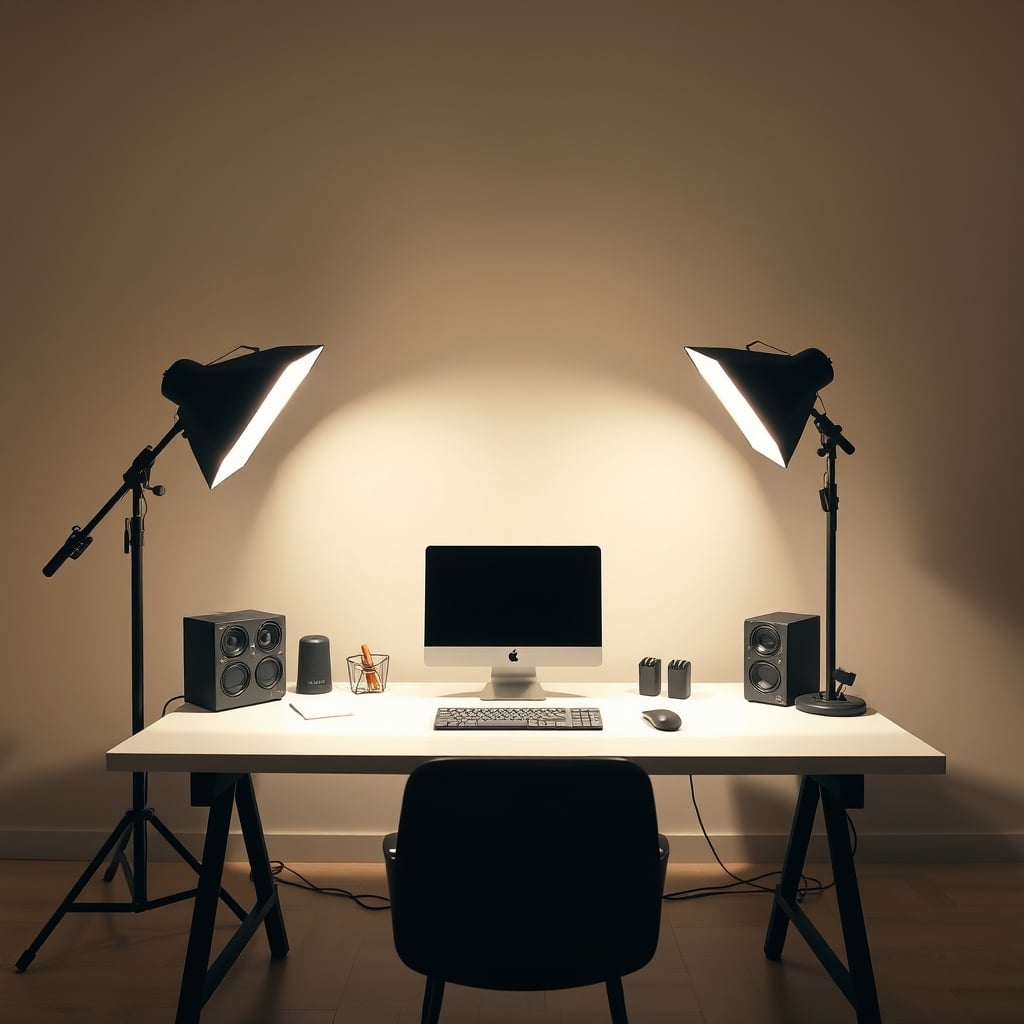
Your lighting setup isn't just one light. That single, massive key light creates harsh, contrasty shadows on the opposite side of your face. You need fill. But a second identical light is overkill and flattens the image again. The secret is a fill light that's significantly less powerful—often 1/4 or less the intensity of your key—and diffused. This could be a simple white foam board reflecting your key light back, or a small, dim LED panel. Its sole job is to lift the shadows just enough to reveal detail, not to eliminate them. Most setups either ignore fill completely or overdo it, both of which are common youtube lighting mistakes that kill the three-dimensionality of your shot.
The Final Verdict on YouTube Lighting
Worth it? The pursuit of better lighting is always worth it. But blindly following the popular, gear-centric advice is not. Skip the massive RGB panels and the bi-color hype. Invest instead in a single, high-quality, color-accurate LED panel with good diffusion options, a large reflector for fill, and take the time to control the ambient light in your room. Your biggest gains won't come from your next $200 light purchase; they'll come from correctly placing and modifying the light you already own. The difference between a good and a great video isn't measured in lumens—it's measured in your understanding of shadow, angle, and color. Master those, and your smartphone can look pro. Ignore them, and a $10,000 cinema light will make you look worse.
Want to avoid other setup pitfalls? Learn why your podcast layout might be sabotaging your sound and how your desk mat might be damaging your desk.
Frequently Asked Questions
What is the single biggest YouTube lighting mistake?
Using too much direct, harsh light. Most creators blast a bright LED panel directly at their face, which flattens features, creates harsh shadows, and makes the video look amateurish. Soft, diffused light from a larger source is almost always better.
Are expensive RGB LED panels worth it for YouTube?
For a primary key light, usually not. The RGB feature is a distraction, and the white light quality often suffers. You're better off with a dedicated, high-color-rendering single-color light panel and saving your money.
What color temperature should I use for my YouTube lighting?
Don't blindly use 5600K. Match your key light to your room's ambient light. If you have warm room lights, use a warmer key light (e.g., 4000K) and white balance to that for a cohesive look, not a conflicting one.
Do I really need a fill light?
Yes, but not a second strong light. A fill light's job is to gently lift shadows, not eliminate them. A simple white foam board reflector or a very dim, diffused light is often all you need to add crucial detail without killing contrast.

Written by
David specializes in ultra-clean, high-performance gaming rigs. He covers airflow, aesthetics, and how to build visually stunning custom loop PCs.
Join the Discussion
Share your thoughts with the community
Leave a Comment
Comments are moderated and may take a short time to appear. Links are not permitted.