Acoustic Panel Placement That Actually Fixes Your Room
Most people hang panels wrong. Here's a placement framework that actually tames echo without covering your entire wall.
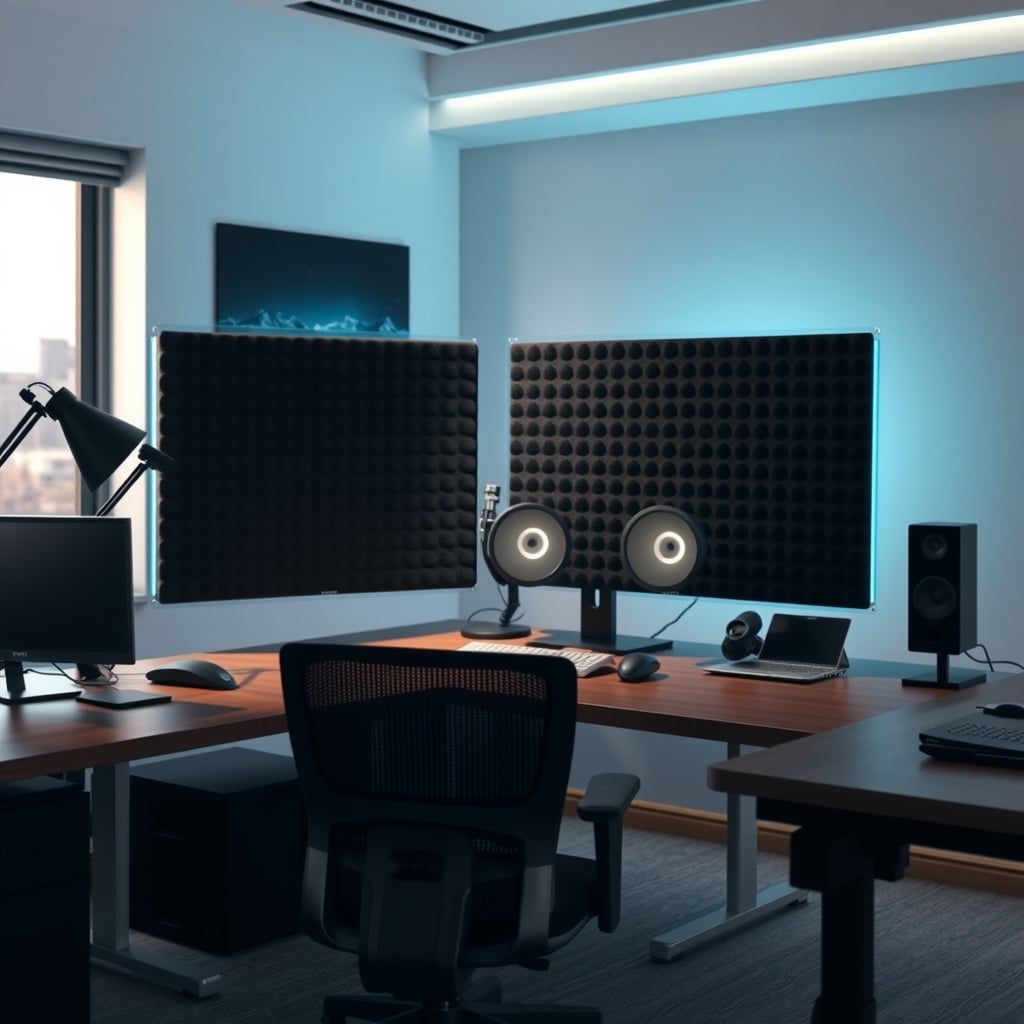
Most people hang acoustic panels on the wall behind their speakers, snap a photo, then wonder why the room still sounds like a bathroom. The answer isn't more panels. Acoustic panel placement matters more than the panel itself. Put a panel at the wrong spot and it might as well be a poster. Understanding where sound actually bounces is the difference between a dead room and a disappointing one.
This guide walks you through the physics, the common mistakes, and a coverage framework you can apply in a weekend. No lab equipment required.
Acoustic Panel Placement: The Physics You Can't Argue With
Sound travels in straight lines until it hits a surface. When it does, it reflects like light off a mirror — angle of incidence equals angle of reflection. For a desk setup, that means the most important spots aren't the walls behind your speakers. They're the spots between the speaker and your ears where the bounce lands.
The first reflection point is the exact location where a sound wave bounces off a wall and reaches your listening position. At this point, the reflected wave overlaps with the direct wave, creating comb filtering and a muddied soundstage. This is why a room with hard walls sounds echo-y and "boxy" — the reflections arrive a few milliseconds after the direct sound, and your brain can't quite decide which is real.
You don't need a laser pointer or an acoustic engineer. Use a mirror. Sit in your listening chair and have a helper slide a mirror along the left wall until you can see the speaker's face in the mirror from your position. That spot is the first reflection point. Mark it, move the mirror to the right wall, repeat. Do the same for the ceiling: place a mirror flat on the desk and slide it toward you until you see the ceiling reflection of the speaker.
These three spots — left wall, right wall, ceiling — are your highest priority. If you can only buy a few panels, put them there. The rear wall behind your head is the next most important if you're closer than three feet to it. Corners are for bass traps (thick, often wedge-shaped panels) but you can use regular 2-inch foam stacked vertically for a cheap approximation.
One catch: if your desk has a nice view and you don't want to cover the window, a thick curtain can absorb the reflection instead. But panels are more predictable. For video calls, the reflected sound from your voice can also reach your mic and make you sound like you're in a cavern. Placement for speech is the same as for monitors.
How Much Coverage Do You Actually Need?
A common misconception is that more panels equals a dead room. In reality, covering every inch of wall removes the natural acoustics and makes a space feel claustrophobic. For a small desk setup (up to 200 square feet), around 20–30% of the wall surface is more than enough for clear speech and music perception. For a dedicated podcast booth, you might push to 40% if you're chasing a broadcast feel, but most people find 25% plenty.
A quick way to estimate: take the total wall area of the room and multiply by 0.25. That's your target square footage of acoustic material. So, a 10 x 10 foot room with 8-foot ceilings has about 320 square feet of wall area. 25% is 80 square feet. That sounds like a lot, but most panels are 12x12 inches (one square foot) or 30x30 cm (about 1.08 sq ft). You'd need around 80 panels — which is why you should focus on first reflection points instead of raw coverage. For a typical desk alcove, 12–24 panels of 1-inch or 2-inch foam is usually enough, depending on the room.
Common Mistakes Even Detail-Oriented People Make
- Covering the entire wall in panels. This can create a "dead" room that sounds unnatural. Your brain expects some reflection to perceive space. Aim for 25% coverage, not 100%.
- Mounting panels too high. Panels at shoulder height are okay, but the first reflection points are usually at ear level. If you hang art-height panels, you'll miss the bounce.
- Ignoring the ceiling. The ceiling is often the first place sound reflects from above, causing that "tin can" sound. A single panel above your head can be the highest-impact fix.
- Using thin foam for bass. 1-inch foam does almost nothing for low frequencies. If you have boominess, buy 2-inch or thicker.
- Using adhesive that damages walls. Many cheap panels come with peel-and-stick adhesives that rip paint. Use removable adhesive strips or removable adhesive tape if you're renting. The pack's adhesive might be permanent.
- Misjudging the mirror method. You need a partner to help. A phone camera on the speaker won't work because the lens is in the wrong position.
Who Should Buy Panels and Who Should Skip Them
Acoustic panels are worth it if you: stream or record voice, mix music or do video calls regularly, or spend more than two hours a day in a room with tile, glass, or exposed drywall. The improvement in clarity and reduced ear fatigue is noticeable.
Skip them if you: expect them to block noise from outside (they absorb, not block), want to soundproof a room for a neighbor, or are primarily looking for a visual centerpiece — decorative panels might satisfy you, but the physics won't.
For a budget-conscious person, the 2-inch pyramid pack is the honest recommendation. It provides more usable absorption than the similarly-priced 1-inch set, and it's $12 cheaper than the self-adhesive panels (which are thinner and less effective). If you want to start even smaller, buy just enough for the three first reflection points you identified — that's often just four to six panels.
Bottom Line: Start With Four Panels, Not Twenty
The best acoustic panel placement strategy is to treat the reflections, not the walls. Use the mirror method to find first reflection points, cover those spots first, and only expand to corners and rear walls once the obvious flutter is gone.
For most desk setups, a set of 2-inch thick panels is the best value. The 24-pack pyramid foam (or any equivalent shape) will give you enough to test the framework without overspending. Start with one panel on each side wall, one on the ceiling, and one behind the mic — that's four panels that will do more than 20 panels placed randomly.
If you're still deciding between foam, fabric panels, or DIY solutions, check out our acoustic panel alternatives that actually work in 2026 — there might be a cheaper or more aesthetic option that fits your setup. And if you're building a podcast corner, avoid the common traps linked to microphone placement by reading our podcast desk layout mistake guide.
Now go move those panels. Your ears will thank you.
Frequently Asked Questions
What is the best acoustic panel placement for a small desk setup?
Place panels at first reflection points: side walls, ceiling, and behind your listening position. Use a mirror to find where the sound bounces. Start with left wall, right wall, and ceiling panels before covering other areas.
How many acoustic panels do I need for a home office?
Aim for coverage of about 20-30% of wall area, but for most desk setups, 12-24 panels of 1x12x12-inch foam is enough. Focus on first reflection points before expanding.
Do acoustic panels block outside noise?
No, acoustic panels absorb reflections inside the room. They reduce echo and flutter echo, but don't block sound from outside. For sound blocking, you need mass, like dense drywall or soundproofing barriers.
Written by
GlowRig Editorial researches and writes practical guides about desk setups and home office gear. Our articles are produced with the help of AI research tools and are reviewed for accuracy against manufacturer specifications and public user feedback. We may earn a commission from affiliate links, which never affects our recommendations.
Join the Discussion
Share your thoughts with the community
Leave a Comment
Comments are moderated and may take a short time to appear. Links are not permitted.