Podcast Desk Layout 5 Mistakes That Ruin Your Audio
Your mic arm, monitor, and desk position all shape your audio. Learn the five podcast desk layout mistakes that degrade your sound—and the cheap fixes.
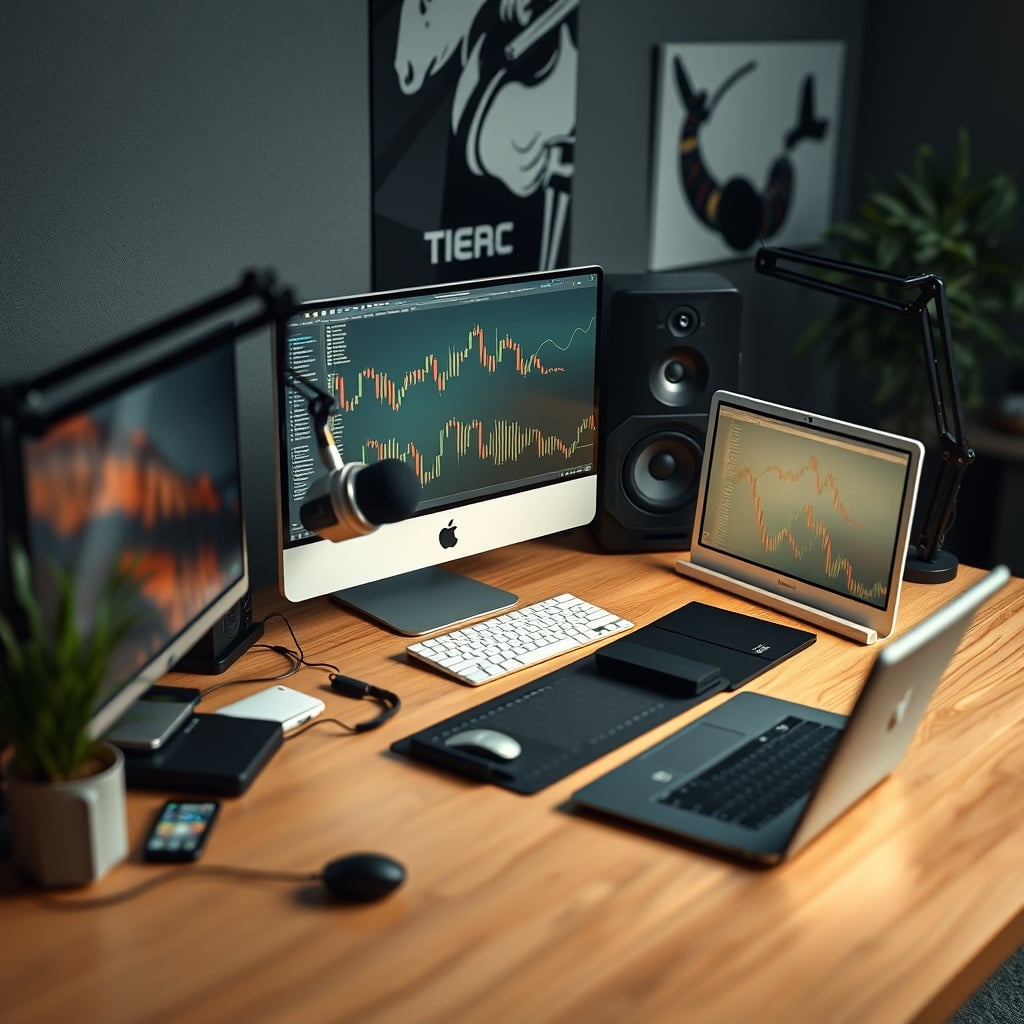
Does your desk actually matter for podcasting? Yes—but not for the reasons you think. It's not about looks or RGB. The right podcast desk layout puts your mic arm within comfortable reach, keeps your monitor out of the direct sound path, and routes cables where they can't hum or pop. And the wrong one can make a $500 microphone sound mediocre.
The problem is that most guides treat desk buying as a furniture decision. You'll hear "make sure your desk is 48 inches wide" or "get a standing desk for energy". That's not a framework. Here's the actual framework: start with the microphone arm, then choose a desk that supports it.
What a Podcast Desk Layout Actually Needs to Do
Before we talk about desks, let's define the job. In a typical podcast setup, your desk has three roles: hold the mic arm, hold your computer or interface, and give you space for notes. That's it. You're not building an editing suite; you're building an audio booth where you happen to sit.
The mic arm is the most demanding element because it clamps to the desk edge. Clamps have a maximum edge thickness, usually 2 inches. Most budget fixed-height desks have edge thickness around 1 inch, which is fine. But many "gaming" desks with a soft rubber surface or hollow honeycomb core can crush or flex when clamped. If you clamp to a hollow particleboard that's not supported underneath, the arm's tension can dimple the surface. So the first question isn't "how big?" but "is the edge solid?"
Surface material also affects sound. A hollow wooden desk resonates when you set down a pen; a solid core desk dampens it. For recording, you want a dense material. MDF is better than cheap melamine. If your desk is hollow, you can dampen it by placing a thick desk pad under the mic arm.
The depth matters too. A typical mic arm stretches 20 to 24 inches horizontally. If your desk is only 20 inches deep (front to back), running the arm from the back edge puts the mic closer to your mouth than expected—and forces you to lean in awkwardly. If the desk is 24 inches deep, you have room to angle the arm from the side. That's the ergonomic sweet spot for a solo podcast. If you want to record with a guest across the desk, you're looking at at least 63 inches wide to fit two (or a second arm clamps to the side).
One more consideration: a glossy desk creates a visible glare on camera and reflects a bit of sound. For a video podcast, choose a matte finish or lay down a felt desk pad. It's a $10 fix that improves the look of your environment dramatically.
Most desks marketed for podcasters are 24 inches deep. That's actually the minimum for a comfortable single-mic setup. The problem is that many 24-inch desks are also only 42 or 48 inches wide. Width matters less than depth for one person; you can always clamp a mic arm on the side. But if you plan to have a guest with their own mic, you'll need 63 inches just to avoid knocking arms.
Let's look at realistic specs from 2026 budget desks: a 55x24 straight desk is the default. It gives you a 3-foot-wide recording area, enough for a laptop or small monitor plus a USB interface. A 63x31 L-shaped desk offers a deeper corner—useful if you want to tuck a mic arm into the corner and keep a keyboard in front. However, the deeper surface (31 inches) means the mic arm must be mounted closer to you, or the mic ends up too far away.
There's a catch with L-shaped desks and mic arms: the corner has less edge access. You can't clamp on the back edge of the corner because there's a support beam or the desk is angled. So you usually end up clamping to the straight side. That works okay but wastes the corner. For a solo podcaster who also writes scripts, the extra surface is nice; for audio quality, it's neutral.
Desk height is another factor. Fixed-height desks are typically 29 inches, which matches OSHA's guidance for seated work. Standing desks adjust up to 48 inches, but the mic arm clamp can struggle if the desk surface is more than 42 inches unsupported. If you're recording while standing, test the arm's clamp at that height before committing.
If you record standing—fitness podcasts, video podcasting—a standing desk becomes less about ergonomics and more about stability. A budget standing desk in the $100-$150 range stiffens up at sitting height but reviewers consistently note a wobble at standing extension. That wobble isn't a dealbreaker, but it can transfer to your mic through the arm. If you're holding a mic instead of using an arm, wobble doesn't matter. If you're clamped, test it.
Shape Trade-offs: Straight vs L-Shaped vs Standing
Here's a comparison table for the three common shapes in 2026 price ranges. Prices are based on actual budget models you'll find online under $120 (we're not including hand-built teak desks here).
Shape Typical Width x Depth Price Range (2026) Stability at Mic Arm Best For Straight fixed height 55 x 24 in $50-$70 Excellent Solo podcasters, minimal gear L-shaped fixed height 63 x 31 in $100-$120 Excellent if weighted Multi-taskers, guest chair on long side Standing (electric) 48 x 24 in $100-$120 Good at sitting, fair at standing Hybrid sit/stand, camera setupThe straight 55x24 desk is the value king. At around $60, you get a 1-inch edge, metal legs, and enough depth for a mic arm. The Huuger 55 Computer Desk is a common choice; it's $56.99 and has thousands of positive reviews. The L-shaped Huuger 63 at $104.98 adds built-in power outlets and extra surface; it's worth the premium if you run a laptop charger, phone charger, and audio interface without a power strip. The ErGear standing desk at $104.99 gives you four memory presets, but its 48-inch width is cramped for a podcast with a guest. It's for a solo setup where you alternate between sitting and standing.
Five Podcast Desk Layout Mistakes That Ruin Your Audio
Here are five specific mistakes that show up in real setups—and the cheap fixes.
1. Clamping the mic arm to a hollow or flimsy desk edge. Fix: Run your hand along the underside. If there's paper honeycomb, screw a wood block or metal bracket to the top surface to act as a solid clamping point.
2. Pushing the desk tight against a wall. This creates a sound reflection from the wall right behind the mic, causing comb filtering. Pull the desk away 2-3 inches, or angle it slightly so the mic doesn't face the wall. This is part of the Podcast Mic Placement Mistake that matters more than the type of wood. If your desk is in a corner, the two walls create a "corner loading" effect that boosts bass frequencies. Angle the mic so it points diagonally into the room, not straight at the corner.
3. Letting cables dangle under the arm. When the mic arm moves, the XLR cable brushes against the desk leg and carries that rumble into the mic. Route the cable with velcro ties along the underside of the arm, then down the back leg. Use hook-and-loop cable wraps, not zip ties—they thicken the cable and can snag on the arm's joints. Read the Cable Management Fails You Keep Making in 2026 guide for the common traps.
4. Putting the monitor between your mouth and the mic. The laptop screen acts like a hard baffle that reflects voice back into the mic and blocks your sightline. Keep the monitor in front of you and the mic off to the side at 30-45 degrees—this is standard recording technique. Some podcasters put their monitor on a riser to raise it above the mic, but the back reflective surface still sits behind the mic. Better to move the mic laterally.
5. Ignoring floor wobble. If the desk rocks even slightly, every time you lean the arm moves. Fix chair and desk leveling first. Use felt pads or a twist of the leveler on uneven legs. On hardwood, rubber cups stop the slip. A wobbly desk adds low-frequency rumble, especially on wooden floors. Have a worst-case plan: Desk Wobbly Fix: Stop the Shake for Under $20.
Frequently Asked Questions
What is the best desk depth for podcasting?
24 inches is the practical minimum for a solo mic arm setup. 30 inches gives more flexibility but forces the mic arm to reach further, so you'll need a longer arm.
Do I need a standing desk for a podcast?
No. Fixed-height desks are sturdier for a clamped mic arm and cheaper. Standing desks add health benefits but can have a slight wobble that transfers to the microphone.
Can I use a gaming desk for podcasting?
Yes, if the edge is solid. Avoid desks with soft rubber surfaces or hollow honeycomb tops that can dimple under mic arm clamp pressure.
Written by
GlowRig Editorial researches and writes practical guides about desk setups and home office gear. Our articles are produced with the help of AI research tools and are reviewed for accuracy against manufacturer specifications and public user feedback. We may earn a commission from affiliate links, which never affects our recommendations.
Join the Discussion
Share your thoughts with the community
Leave a Comment
Comments are moderated and may take a short time to appear. Links are not permitted.