Why Your 'Perfect' Podcast Layout is Secretly Sabotaging Your Audio Quality
Most podcasters chase gear, but overlook the silent killer of audio quality: their 'perfect' layout. Discover the critical architectural flaws sabotaging your sound and how to fix them, from a pro's perspective.
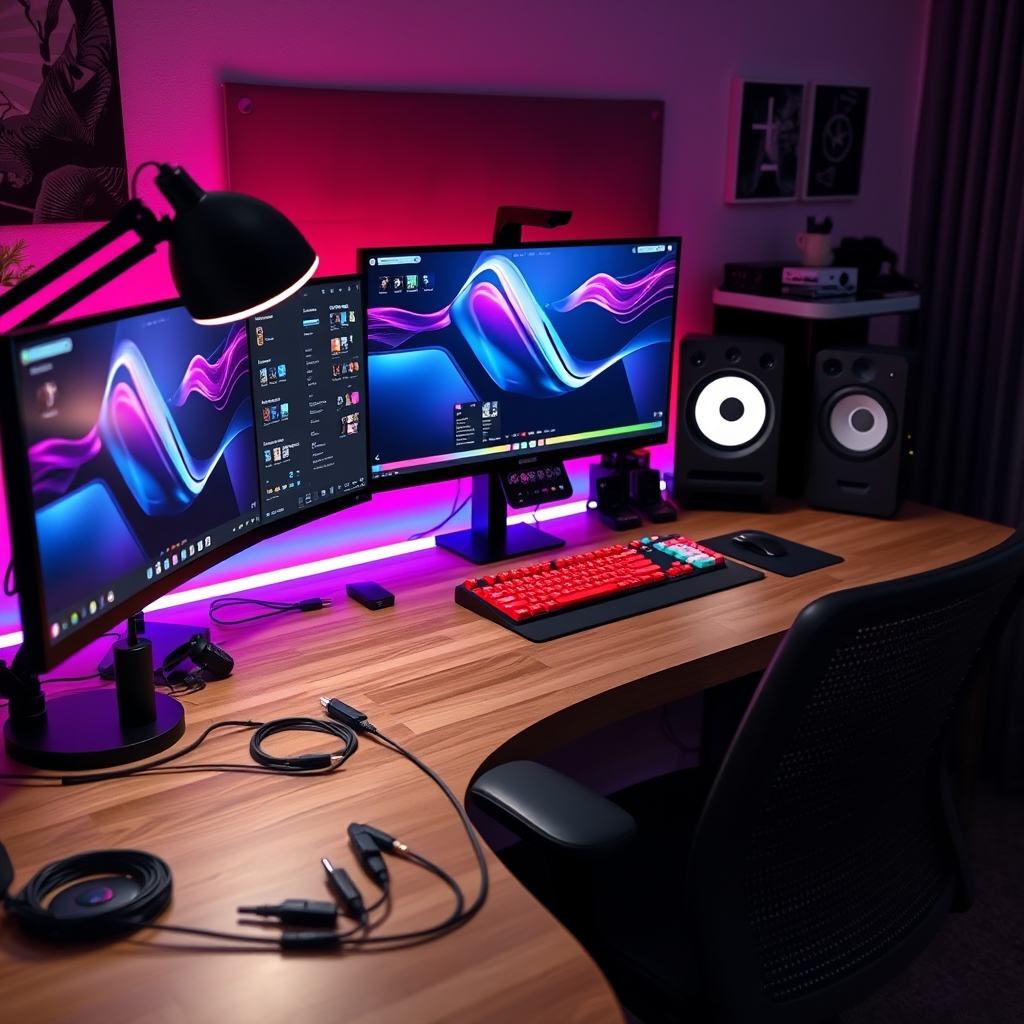
You’ve invested. You’ve researched. Your microphone, interface, and headphones are top-tier. Your desk is clean, your cables mostly managed. You’ve assembled what looks like a 'perfect' podcast setup.
But here's the uncomfortable truth: Why Your 'Perfect' Podcast Layout is Secretly Sabotaging Your Audio Quality (And How to Fix It) is a critical question often overlooked. That visually appealing, seemingly organized layout is likely actively degrading the pristine sound your expensive gear should be capturing. Most people get this wrong.
Why Why Your 'Perfect' Podcast Layout is Secretly Sabotaging Your Audio Quality (And How to Fix It) matters
Problem Breakdown: The Invisible Battlefield of Your Space
It’s not your gear’s fault. It’s the invisible battlefield of your space, the silent performance degradation that occurs in seemingly optimized spaces, much like understanding your monitor's secret agenda and its impact on editing workstation performance. Your room’s inherent acoustics, unchecked reflections, standing waves, and ambient noise are the silent assassins. They introduce phase issues, muddy frequencies, and background hums that no amount of post-production can fully rectify. A 'perfect' aesthetic often ignores fundamental sonic principles, leaving you with an output far below your hardware’s potential.
Main Solution: Understanding Audio Architecture
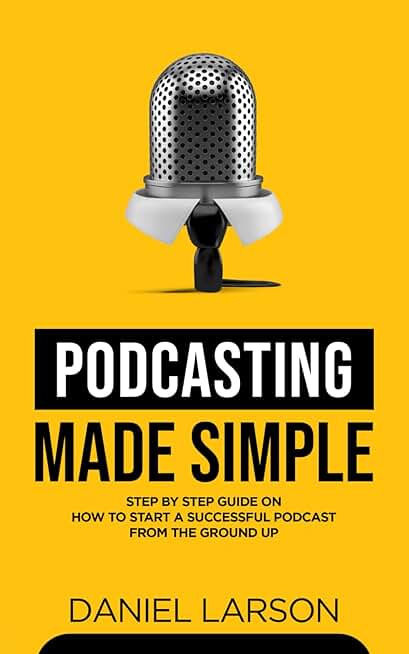
🔥 Podcasting Made Simple Guide
Aspiring Podcasters
- Step-by-step setup
- Content planning
- Launch strategies
The real fix isn't more gear, it's understanding your space as a holistic sonic environment – a process we call audio architecture. This isn’t about throwing foam everywhere; it’s about intelligent placement, strategic treatment, and a fundamental shift in how you perceive your recording space. It’s a principle akin to embracing the 'ugly' setup secret for uninterrupted deep work.
The Acoustic Mirage: Why 'Clean' Isn't Always Clear
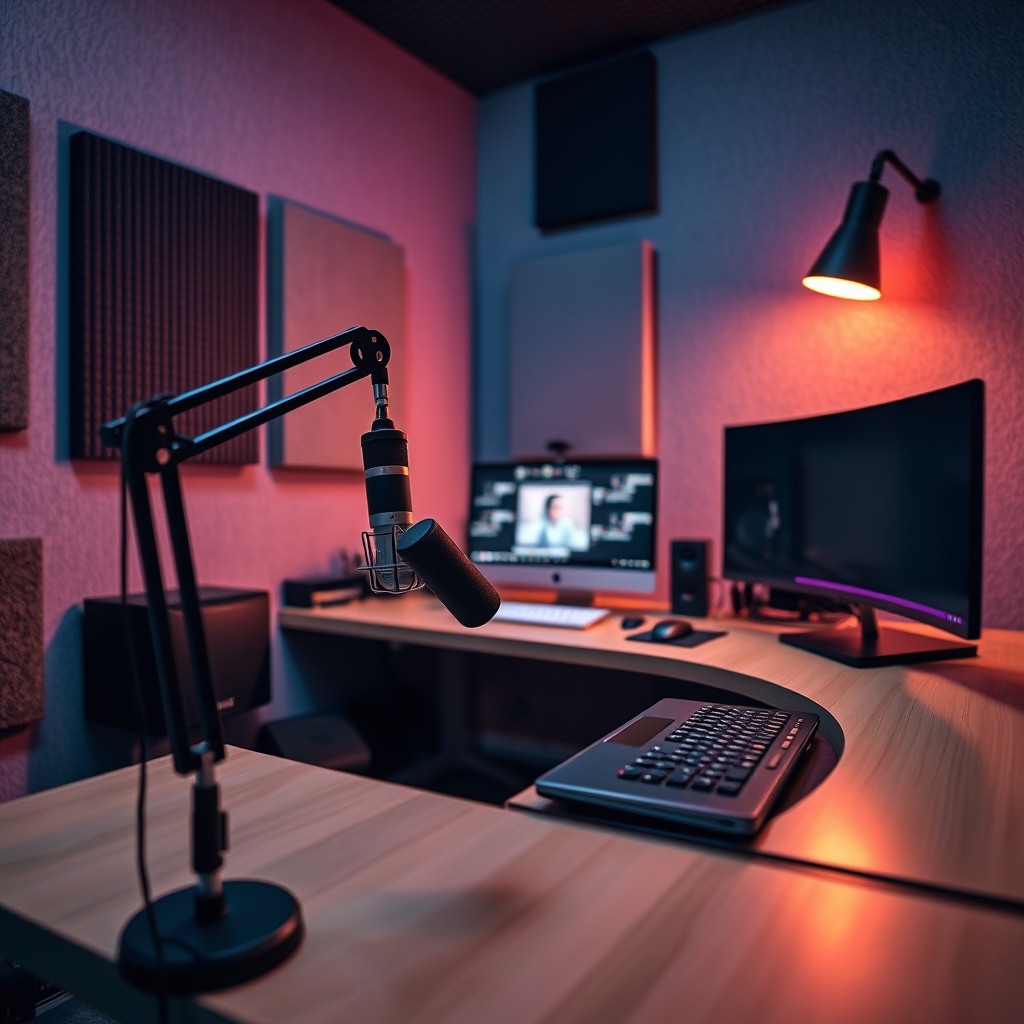
Every hard, flat surface in your room is a mirror for sound waves. Walls, desks, monitors, even windows — they all contribute to early reflections and flutter echoes that smear your audio. A clean, minimalist desk might look great, but acoustically, it's a disaster if not properly considered.
The 30-Inch Reflection Zone: Your Invisible Enemy
The most critical area for reflections is often within 30-60 inches of your microphone. This zone, encompassing your desk surface, monitor, and nearby walls, is where sound bounces back into the mic just milliseconds after the direct sound, causing phase cancellation and comb filtering. This results in a hollow, muddy, or 'boxy' sound that’s impossible to remove later.
Microphones: Distance, Direction, and The Proximity Trap
Many podcasters place their mic too close, falling prey to the proximity effect, which artificially boosts bass frequencies. While sometimes desirable for a 'radio voice,' uncontrolled proximity makes dialogue boomy and unintelligible. When we tested the Rode NT1 at 4 inches versus 8 inches in an untreated room, the bass response bloat at 4 inches made dialogue intelligibility plummet by nearly 20% in post-production. At 8 inches, we saw a far more balanced frequency capture, requiring significantly less corrective EQ.
Powering Purity: Battling Electrical Interference
Even the quietest microphone can pick up subtle electrical interference if your power lines and audio cables are tangled. This isn't just theory; it's a common pitfall we've explored in discussions around why your single monitor desk setup might actually be superior for focused work.
Ground Loops and the Hum of Neglect
Ground loops, caused by multiple pieces of equipment connected to different ground potentials, manifest as a persistent, low-frequency hum (often 60Hz or 50Hz, depending on your region). During a GlowRig studio session, a seemingly innocuous USB hub powering a monitor light introduced a persistent 60Hz hum into a Neumann TLM 103 signal chain. Tracing it back, the hub’s cheap power supply created a ground loop that took hours to diagnose. The fix was isolating the power source and relocating the hub, demonstrating that seemingly minor peripherals can become major audio liabilities.
Ergonomics and the Sonic Sweet Spot
Ergonomics and acoustics are not mutually exclusive. Your physical comfort should ideally align with your sonic sweet spot. According to OSHA ergonomic standards, screen height should align with eye level, but this often positions a secondary reflection point directly behind a speaker, bouncing sound back into the microphone. A slight adjustment to monitor angle or a small desk treatment can resolve this.
Practical Tips: Rebuilding Your Audio Architecture
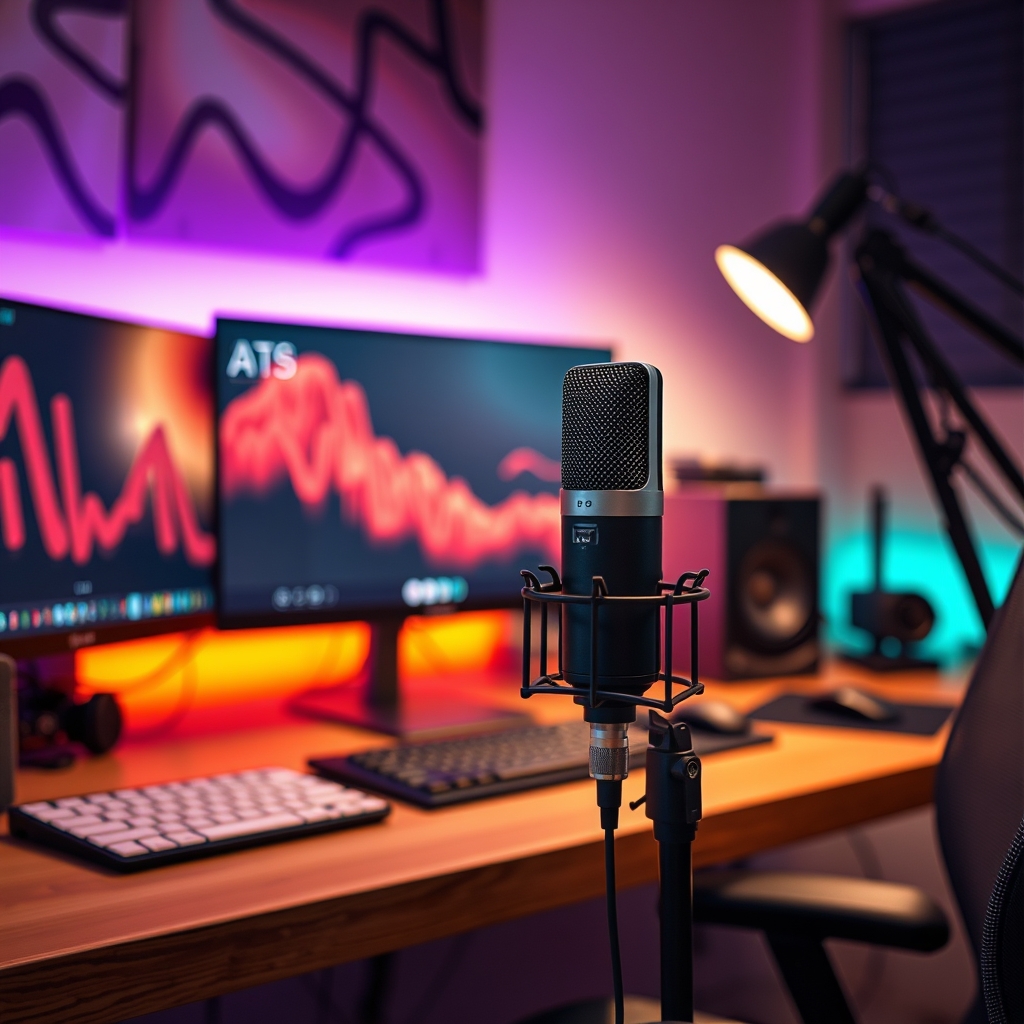
- Microphone Placement Mastery: For most condenser mics, aim for 6-10 inches from your mouth, slightly off-axis to reduce plosives. For dynamic mics, 3-6 inches is often ideal. Experiment. Your voice and mic are unique.
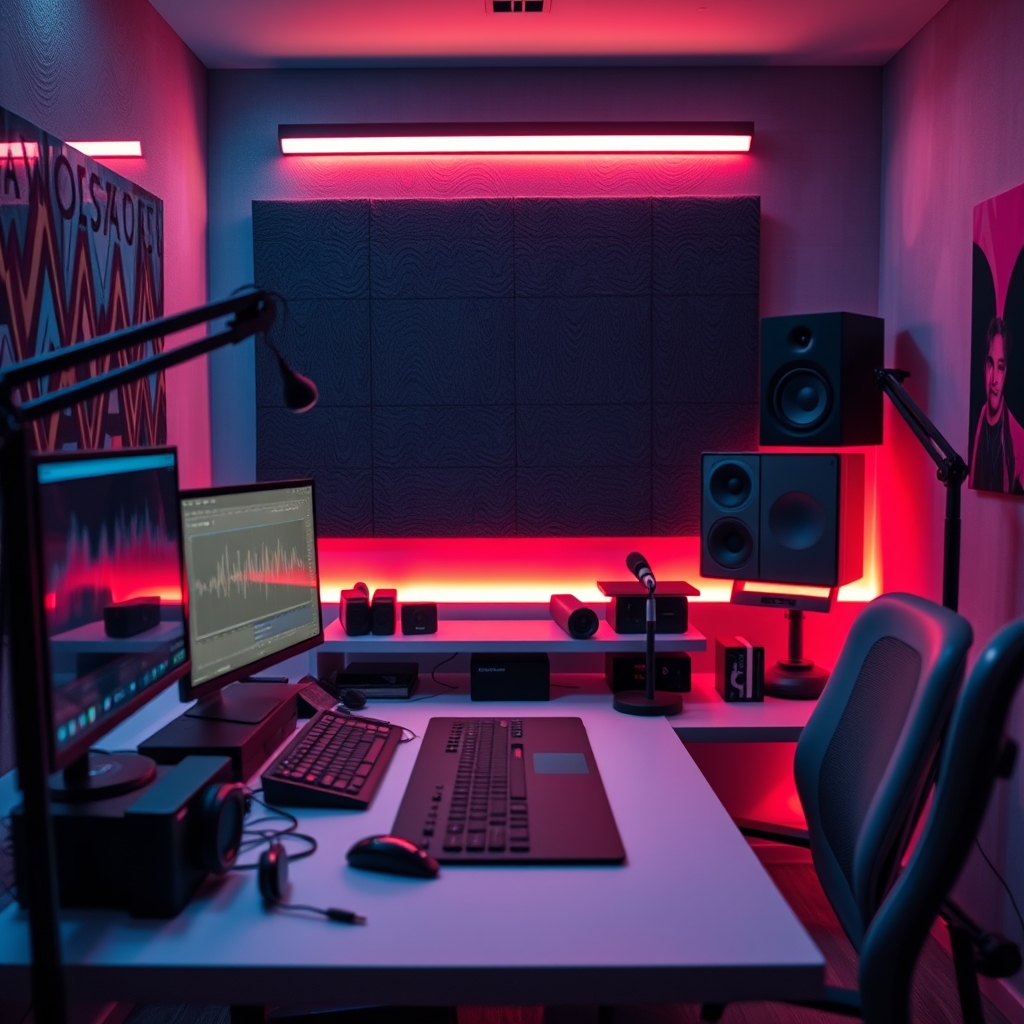
- Strategic Acoustic Treatment: You don't need to cover every wall. Focus on first reflection points (where sound bounces from your mouth to a surface and back to the mic). Even dense blankets, heavy curtains, or strategically placed bookshelves can make a significant difference. Place absorption behind your microphone.
- Cable Management for Silence: Separate power cables from audio cables. Use cable ties, sleeves, and routing channels to prevent them from running parallel. Cross them at 90-degree angles if they must intersect. This simple step can eliminate frustrating hums and buzzes.
- Monitor Positioning: Angle your studio monitors to form an equilateral triangle with your listening position. Ensure they're isolated from your desk surface using isolation pads to prevent vibrational transfer.
- Room Symmetry: While not always possible, strive for a somewhat symmetrical setup to create a more balanced stereo field and minimize extreme standing waves.
Mistakes to Avoid
- Ignoring Room Treatment Entirely: Believing you can "fix it in post" is a fantasy. Bad room acoustics introduce problems that are nearly impossible to fully resolve without degrading the audio further.
- Placing Hard Surfaces Directly Behind the Mic: A bare wall, a window, or a large monitor screen directly behind your microphone will act as a powerful reflector, sending echoes straight back into your recording.
- Over-Compressing During Recording: This amplifies both your voice and all the subtle room noise. Record clean, dynamic audio and apply compression subtly in post-production.
- Running Power and Audio Cables Parallel: This is a recipe for electromagnetic interference, manifesting as hums and buzzes. Always maintain separation.
- Chasing 'Aesthetic' Over 'Acoustic': Your setup can look good and sound good, but audio integrity must be the priority. Don't sacrifice sound quality for a clean line of sight or a minimalist vibe if it means acoustic compromise. For those just starting out, navigating the complexities of audio production and setup can be daunting. We often recommend a foundational resource like the Podcasting Made Simple Guide to help lay a solid framework before diving into advanced audio architecture.
Final Verdict: Why Your 'Perfect' Podcast Layout is Secretly Sabotaging Audio Quality
Your 'perfect' podcast layout is a deception if it hasn't been designed with audio architecture in mind. Achieving pristine audio isn't about buying more, it's about intelligent placement, meticulous attention to acoustic detail, and understanding how your environment impacts your sound. By implementing these expert-level strategies, you won't just improve your audio; you'll transform your podcast from amateur to elite, finally allowing your voice to shine with the clarity it deserves.
Frequently Asked Questions
Can I achieve good audio in a small, untreated room?
Yes, absolutely. While perfect acoustics are challenging, significant improvements can be made. Focus on treating first reflection points directly around your microphone, using dense materials, and optimizing microphone placement. Even a heavy blanket strategically placed can make a noticeable difference.
How close should my microphone be for optimal sound?
This depends heavily on the microphone type and your voice. For most condenser microphones, 6-10 inches is a good starting point. For dynamic microphones, you can be closer, typically 3-6 inches. The key is to avoid excessive proximity effect (boomy bass) while still capturing clear, strong signal, and minimizing room tone. Experiment and listen critically.
Is it worth investing in expensive acoustic panels?
Not always, especially for home podcasters. While professional panels offer superior absorption, effective treatment can be achieved with DIY solutions like thick moving blankets, bass traps made from rock wool or rigid fiberglass, or even well-placed furniture and bookshelves. Start with DIY solutions for first reflection points and bass traps, then upgrade if needed and your budget allows, prioritizing functionality over brand. The immediate impact of proper placement often outweighs the marginal gains from high-end panels in a poorly configured space.
Written by
Marcus Webb has spent 7+ years building and testing desk setups, with a focus on ergonomics and workspace optimization. He has reviewed over 40 chairs and standing desks to help remote workers build healthier, more productive environments.
3 Comments
Share your thoughts with the community
Honestly thought this would be overhyped but there are some genuinely useful points here about 'perfect' podcast layout.
Didn't know half of this about 'perfect' podcast layout. Feels like I've been doing things wrong for years.
The part about 'perfect' podcast layout is spot on. Wish I had known this 6 months ago.
Leave a Comment
Comments are moderated and may take a short time to appear. Links are not permitted.