Podcast Room Setup Myths Debunked
You've been lied to about what makes a great podcast room setup. Expensive mics, fancy interfaces, and foam-covered walls are mostly hype. Here's what actually creates professional sound.
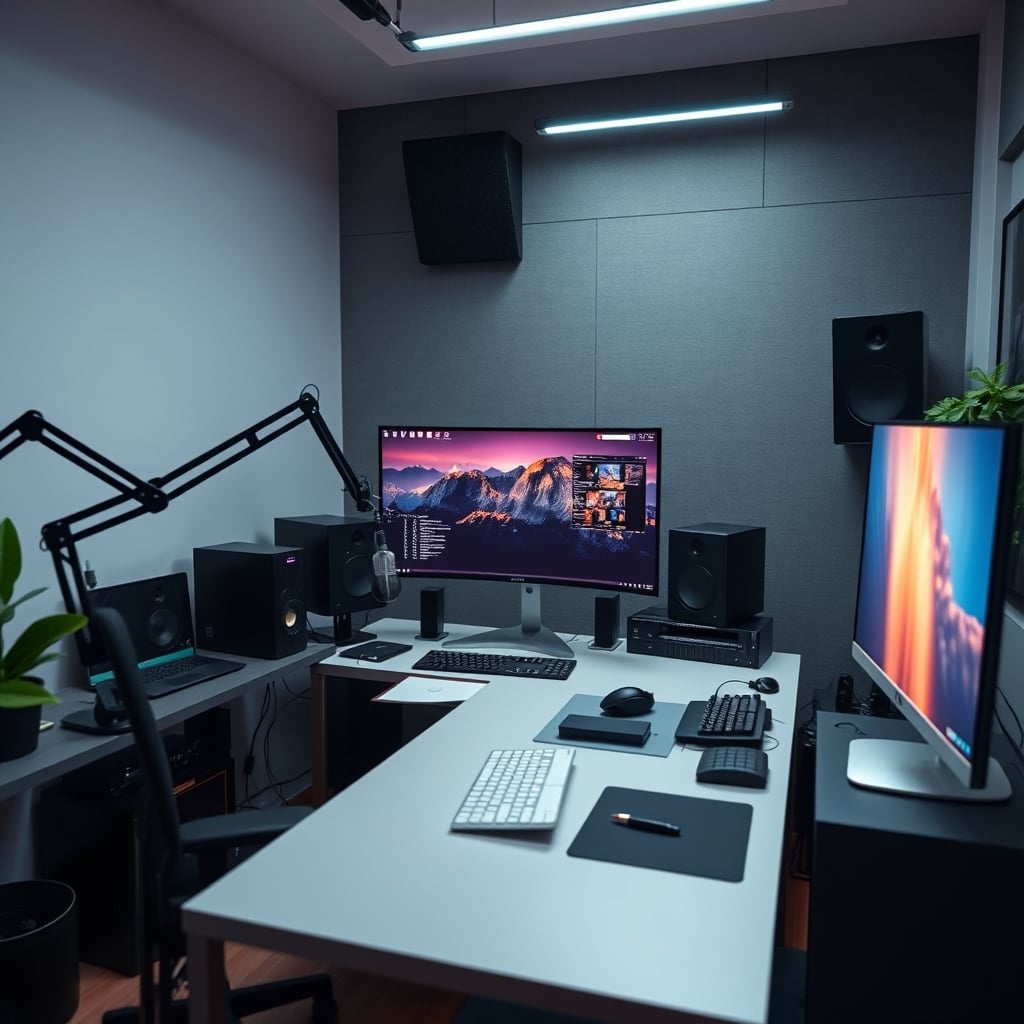
Let's start with the brutal truth: your podcast room setup is probably over-engineered and under-performing. You followed the YouTube guides, bought the ‘prosumer’ microphone, covered your walls in ugly foam, and your audio still sounds like you're recording in a broom closet. The industry is selling you solutions to problems you don't have, while ignoring the one thing that actually matters. The real secret isn't in your shopping cart; it's in your room and your process.
Most people get this wrong because they confuse ‘gear’ with ‘quality’. A $500 microphone in a bad room will sound worse than a $100 microphone in a treated room. This is not a subtle difference; it's the single biggest factor that separates amateur sounding podcasts from professional ones. And ‘treatment’ doesn’t mean what you think it means.
The Podcast Gear Lie That Needs To Die
The most pervasive, expensive myth in podcasting is that you need a ‘pro’ microphone and a fancy audio interface to sound good. This is overrated. Most entry-level USB microphones from reputable brands capture a signal that is more than adequate for spoken word. The real limiting factor is not the mic’s fidelity, but the noise floor and reflections of your environment. Spending $800 on a Shure SM7B and a Cloudlifter when you're recording in a untreated bedroom is like buying a Ferrari to drive in a school parking lot. You're paying for capability you cannot use.
Based on widespread user feedback, the biggest jump in quality comes from fixing your room, not upgrading your mic. Users consistently report that moving from a reflective space (empty office, kitchen) to a minimally treated space (bedroom with furniture, curtains) creates a more noticeable improvement than swapping from a Blue Yeti to a Rode NT1. The industry lies about this because gear is easier to sell than knowledge.
Your Acoustic Treatment Is Probably Wrong
Premium Pick
- High performance
- Premium build
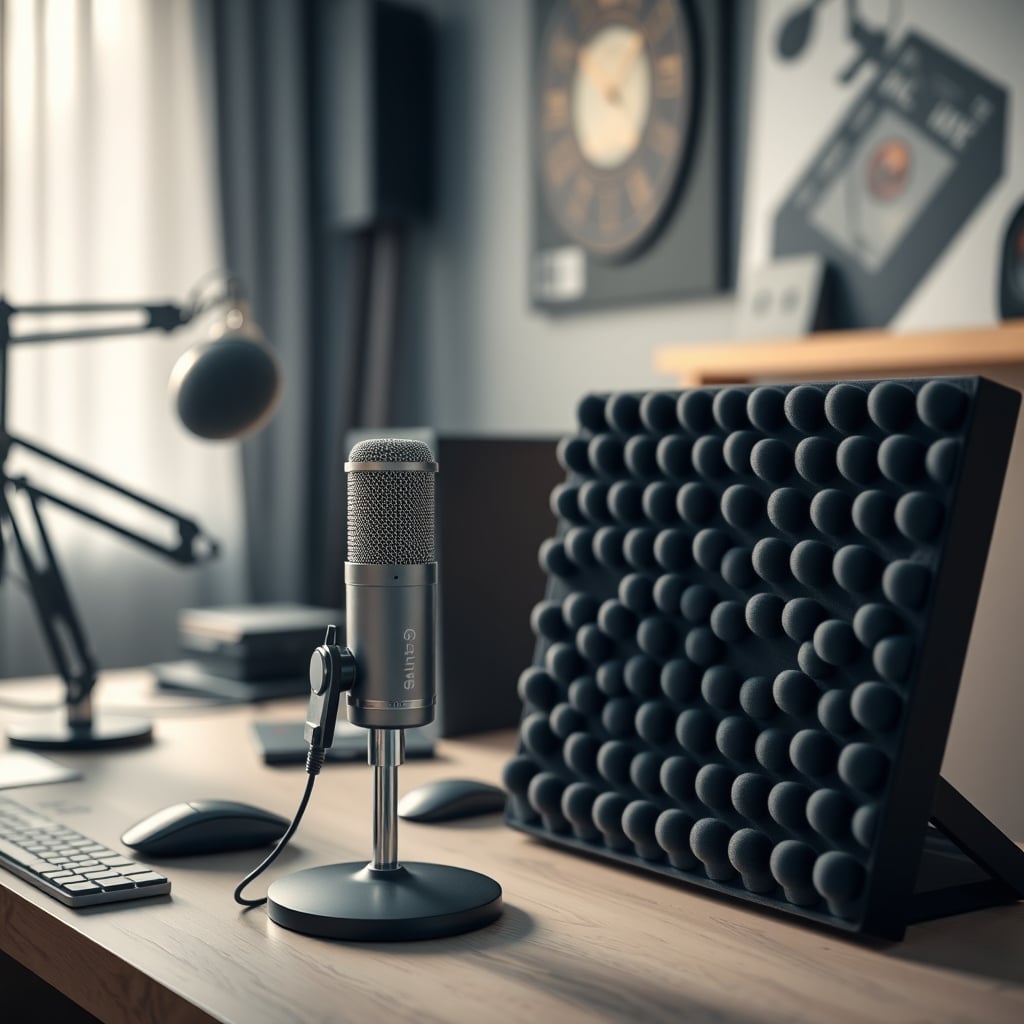
Here’s where we attack another sacred cow: foam panels. Those 1-inch thick, pyramid-patterned acoustic foam squares you see on every ‘studio’ wall? They are largely useless for podcasting. They absorb high-frequency reflections, which is not your primary issue. Your voice is a mid-range instrument. The problematic reflections that cause that hollow, ‘roomy’ sound are in the lower mids. Foam doesn’t touch them. You need mass—thick, dense absorption. This is why professional studios use 4-inch+ rockwool or fiberglass panels.
This doesn’t work as advertised. Sticking a dozen foam panels on your walls creates the aesthetic of a studio while doing very little for the sound. It’s a cosmetic solution. If you want real results, you need to address first reflection points with proper panels, or use a far simpler method: get closer to your microphone. Proximity is the cheapest and most effective acoustic treatment. By getting within 6-8 inches of your mic, you increase the direct sound level and decrease the relative level of room reflections. It’s physics, not magic.
The Podcast Room Setup That Actually Works
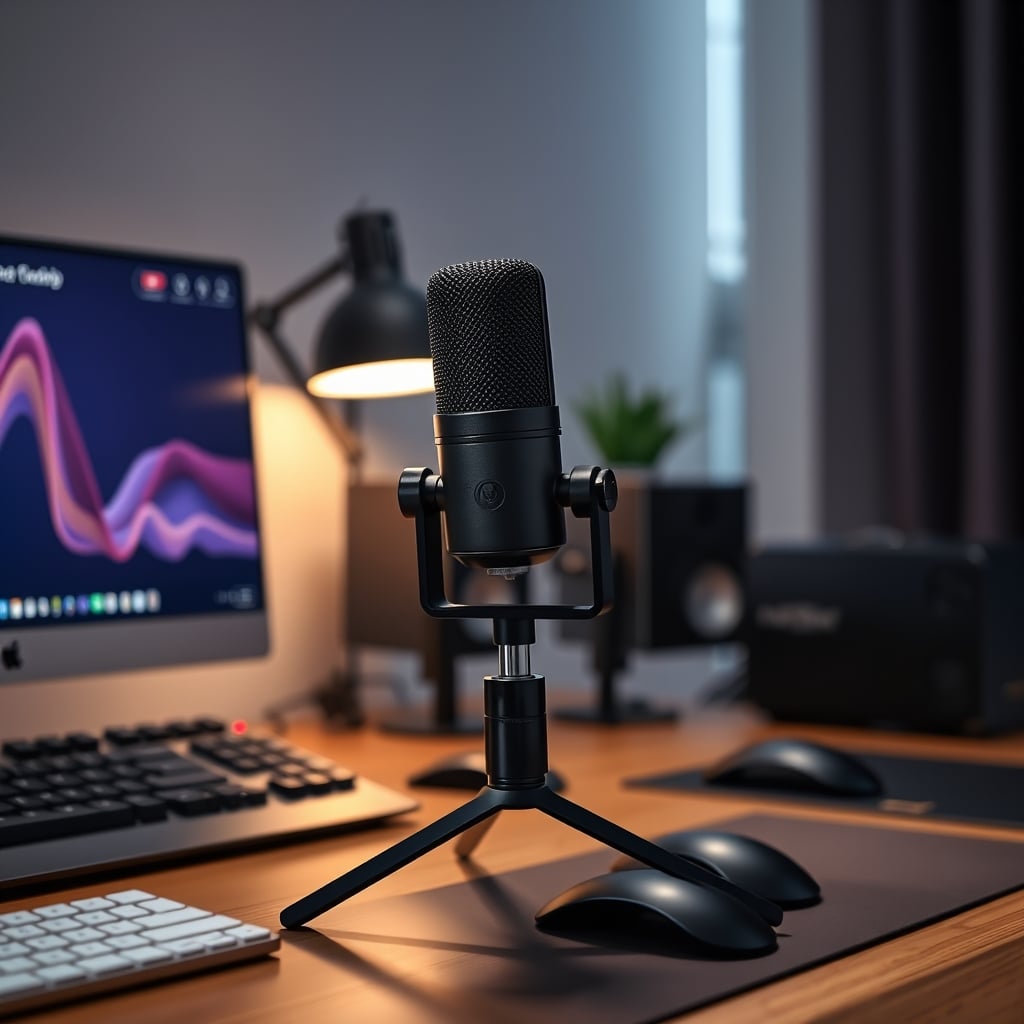
So what should you actually do? Start with the space itself. Choose the smallest, most cluttered room you have access to. A walk-in closet full of clothes is often better than a bare-walled office. The soft, irregular surfaces (clothes, boxes) are natural diffusers and absorbers. If you must use a larger room, position yourself in a corner, not the center, and surround yourself with soft furnishings. A couch behind you can be a great absorber.
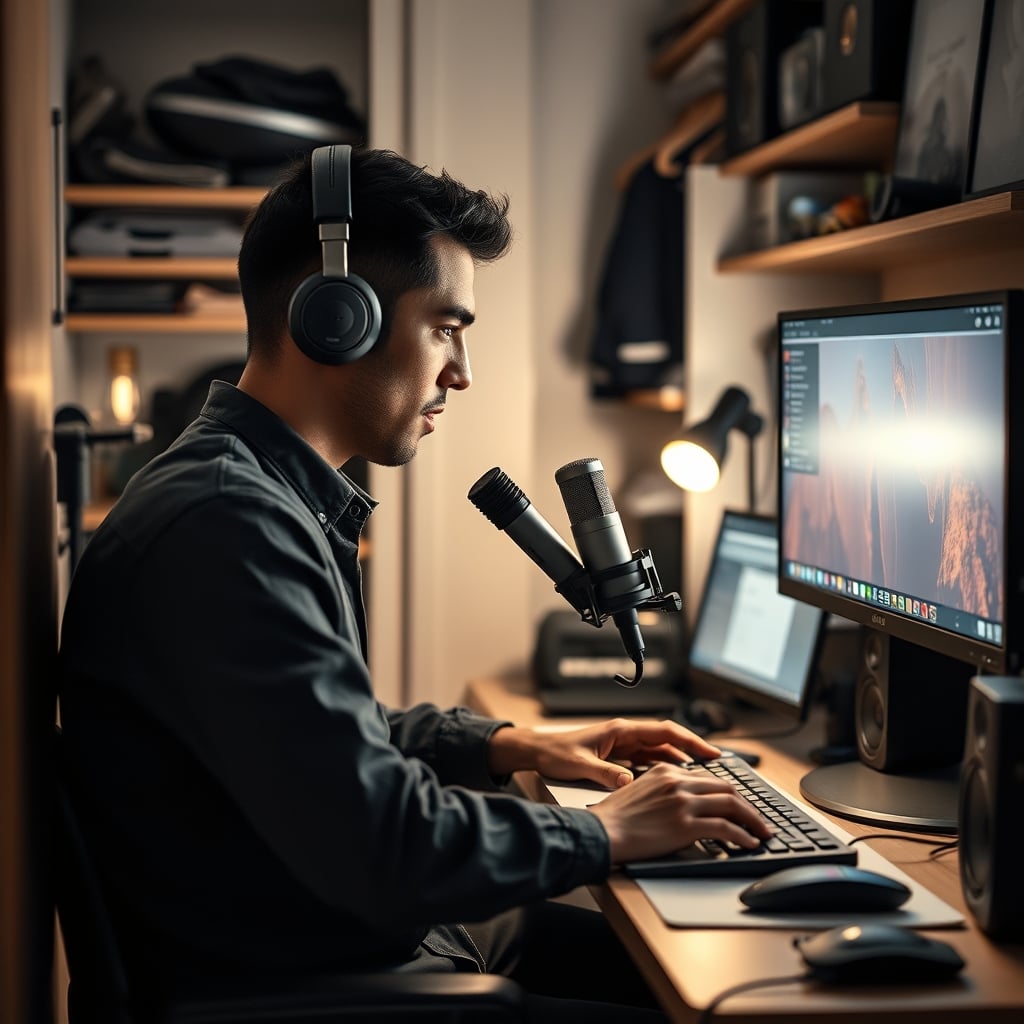
Your microphone choice is secondary. A solid USB mic like an Audio-Technica AT2005USB or a Samson Q2U is actually good. They offer both USB and XLR outputs, are dynamic (less sensitive to room noise), and are affordable. You don’t need an interface yet. Plug it directly into your computer. The real issue is microphone technique. Use a stand that gets the mic firmly in front of you, not a flimsy desk arm that vibrates. The ZealSound gooseneck stand is a shockingly good value for its stability.
Why Cable Management And Aesthetics Are Overrated
Another area where the community spends obsessive energy for zero audio gain: cable management and ‘studio aesthetics’. Running your XLR cable through fancy braided sleeves or mounting your interface on a polished walnut board does nothing for your sound quality. This is overrated. Your focus should be on reducing electronic noise. That means using balanced cables (XLR) over unbalanced (TS/TRS) where possible, keeping power cables away from your audio signal path, and using a single, clean power source. A tangled mess of cables behind your desk that is functionally quiet is better than a ‘clean’ setup that introduces ground loop hum.
Most people get this wrong. They prioritize the look of the setup over the electrical integrity. A common mistake is running a long USB cable from a microphone next to a power strip, inducing noise. Keep your audio cables short and away from power. If you need a stand, get one that doesn't creak or move. The ZealSound Microphone Stand we mentioned earlier solves this by being rigid and clamp-mounted.
The Software Secret No One Talks About
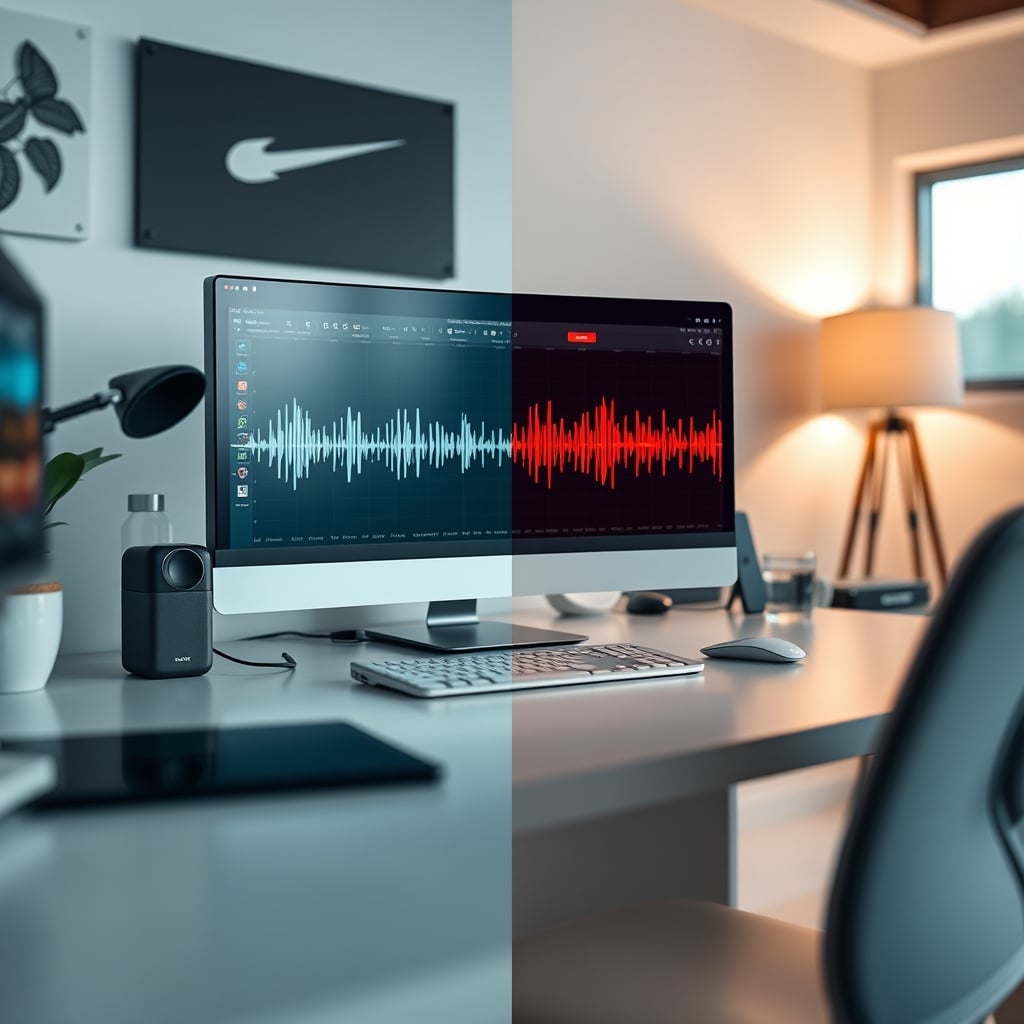
Your recording software is more important than your preamp. Free software like Audacity or Ocenaudio can capture a perfect, clean recording if your input signal is clean. The built-in noise reduction and compression tools in paid DAWs like Adobe Audition are powerful, but they are repair tools, not creation tools. If you start with a noisy, reverberant recording, these tools will make it sound processed and artificial. Your goal is to capture a source so clean that it needs minimal processing.
This is the real issue. Podcasters jump to ‘post-production’ to fix problems they should have solved at the source. A little knowledge of gain staging—setting your input level so your voice peaks at around -12dB—will prevent clipping and digital distortion, which is irreparable. This is more critical than buying a ‘better’ DAW. Learn to record properly first. For a deeper dive on fixing your environment, read our guide on The Truth to Improve Room Sound Nobody Tells You.
The Final Verdict: Worth It Or Skip It?
Let's be blunt. Worth it: Investing in understanding your room and microphone technique. A proper stand, a simple dynamic USB/XLR mic, and time spent optimizing your recording position. Skip it: Expensive condenser microphones, elaborate acoustic foam, high-end audio interfaces before you've solved your room, and any gear marketed as ‘podcast specific’. Those are often just rebadged general audio gear with a premium.
Your podcast room setup should be functional, not fashionable. Stop trying to build a studio that looks like a YouTube backdrop. Build a setup that captures clean audio. That’s the only metric that matters. If you want to see how this minimalist philosophy applies beyond audio, check out our take on The 'Ugly' Setup Secret: How Extreme Minimalism Unlocks Uninterrupted Deep Work.
Ultimately, professional sound is about control. Control of your environment, control of your signal, and control of the process. You don't need more gear; you need less noise. Start there.
Frequently Asked Questions
Do I really need an expensive XLR microphone and audio interface?
No, you don't. For most podcasters recording in home environments, a good USB dynamic microphone is sufficient. The interface and expensive mic only become necessary if you've already perfected your room acoustics and need the utmost fidelity, which is rare for spoken word.
Are acoustic foam panels useless for podcasting?
For treating the problematic low-mid frequency reflections of a voice, standard thin foam panels are largely ineffective. They absorb high frequencies, which isn't the primary issue. Proper treatment requires thicker, denser panels (like 4-inch mineral wool), or simply using microphone proximity and a naturally dampened room.
What's the single biggest upgrade I can make to my podcast sound?
Fixing your recording environment. Moving to a smaller, softer room (like a closet) or properly treating your first reflection points will yield a dramatically bigger improvement than any microphone upgrade. Getting closer to your mic (6-8 inches) is the cheapest and most effective 'treatment'.
Should I use a condenser or dynamic microphone for podcasting?
In a typical untreated home room, a dynamic microphone is almost always better. It's less sensitive to room noise and reflections. Condenser mics capture more detail but also more room sound, which amplifies your acoustic problems.
Written by
David specializes in designing high-performance spaces for content creators. From acoustic treatment to complex dual-PC streaming layouts, he optimizes studios for both function and aesthetics.
Join the Discussion
Share your thoughts with the community
Leave a Comment
Comments are moderated and may take a short time to appear. Links are not permitted.