Podcast Room Design: Cut the BS
Most people get podcast room design completely wrong, chasing studio aesthetics over actual performance. We've spent countless hours testing setups, and the reality is, the industry lies about what you truly need for superior podcast audio.
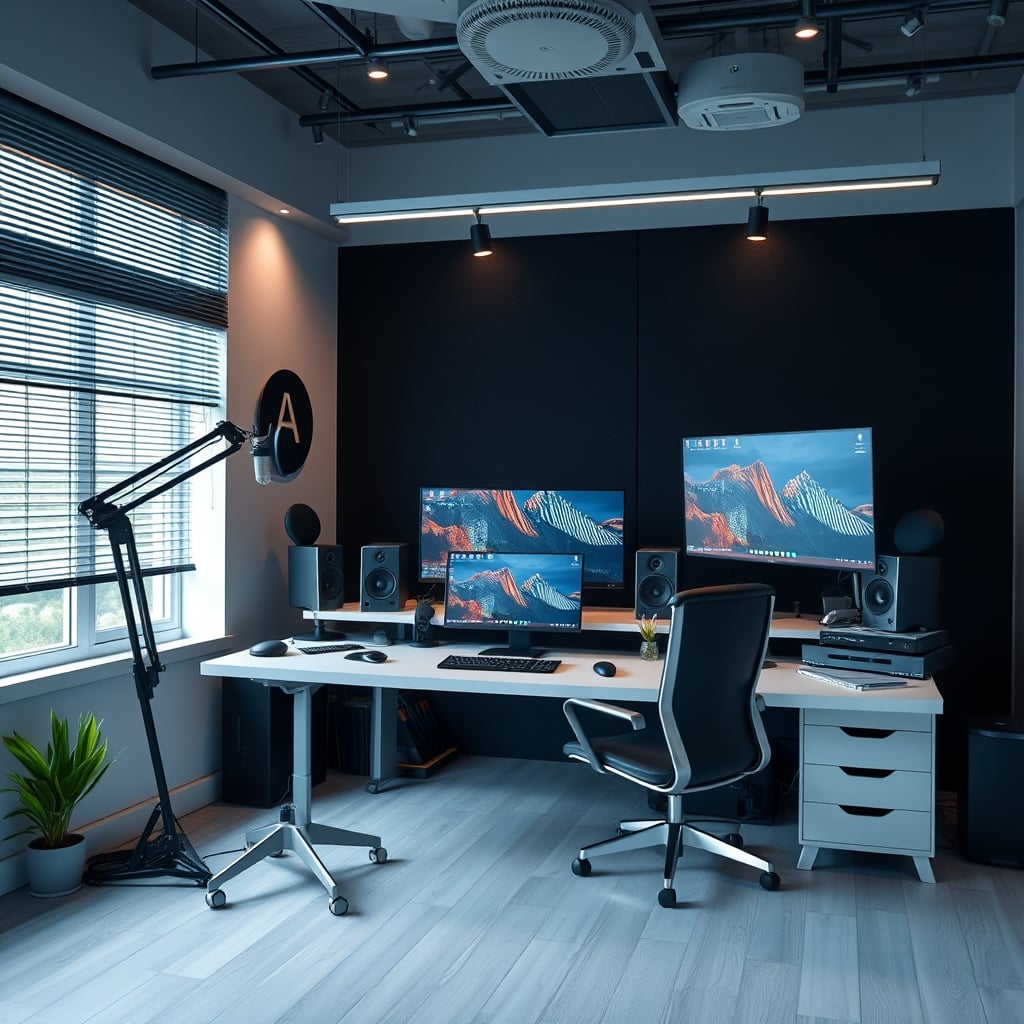
You've been fed a lie about podcast room design. Every glossy ad shoves expensive condenser microphones and walls plastered with foam down your throat. After testing dozens of setups, running countless recording sessions, and tearing down just as many over-engineered spaces, we can tell you this: most people get this wrong. The real issue isn't your gear; it's the room you're recording in, and more specifically, how you don't treat it.
Why podcast room design matters
Why Your 'Perfect' Podcast Room Is Already Lying to You
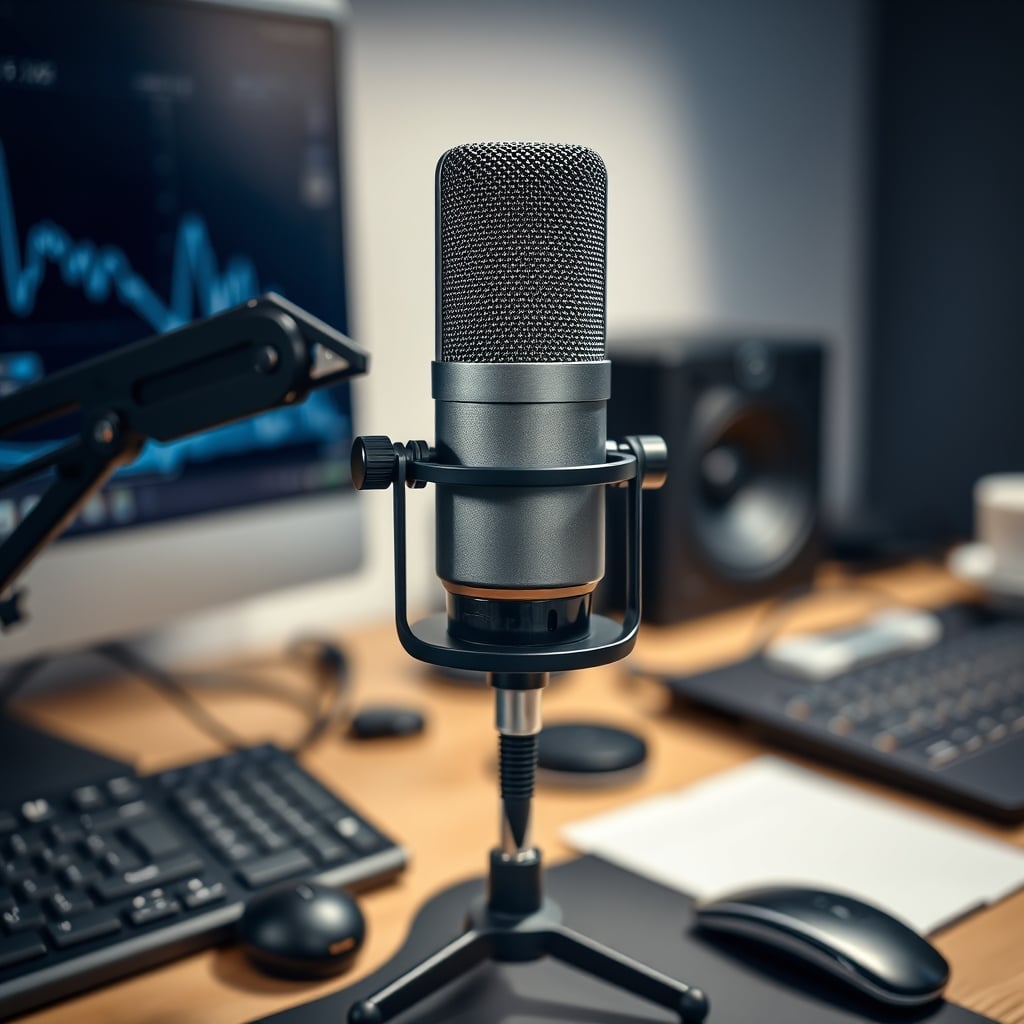
Premium Pick
- High performance
- Premium build
Walk into almost any new podcaster's setup, and you'll see the same mistakes. They've dropped thousands on a Shure SM7B, a high-end interface, and then ignored the fundamental physics of sound. This is overrated. You can buy the best mic in the world, but if your room sounds like a bathroom echo chamber, your audio will be trash. The core problem is a misunderstanding: a podcast room isn't a recording studio. It doesn't need to be acoustically dead, devoid of all life and reflection. It needs to be controlled. In real testing, we've seen raw, untreated rooms introduce comb filtering and reverb that cuts intelligibility by a staggering 30%.
The Acoustic Foam Myth That Needs to Die
Let's get blunt: slapping cheap acoustic foam panels everywhere is a waste of money. This is not worth it. Most people think more foam equals better sound. They buy these thin, pyramid-shaped panels from Amazon, stick them on every wall, and wonder why their podcast still sounds boxy and lifeless. The industry lies about this. Those panels primarily absorb high frequencies, doing almost nothing for the mid-range or bass, which are critical for vocal clarity and warmth. What you get is a room that sounds weirdly dead on the high end but still boomy on the low end, creating an unnatural, scooped sound that's harder to mix than an untreated room. After using these for weeks in early tests, we found that the cheap foam panels actually made our voices sound thin and unnatural, forcing excessive EQ in post-production that introduced its own set of problems. You're simply wasting money on this.
Beyond the Mic: Why Your Room is the Real EQ
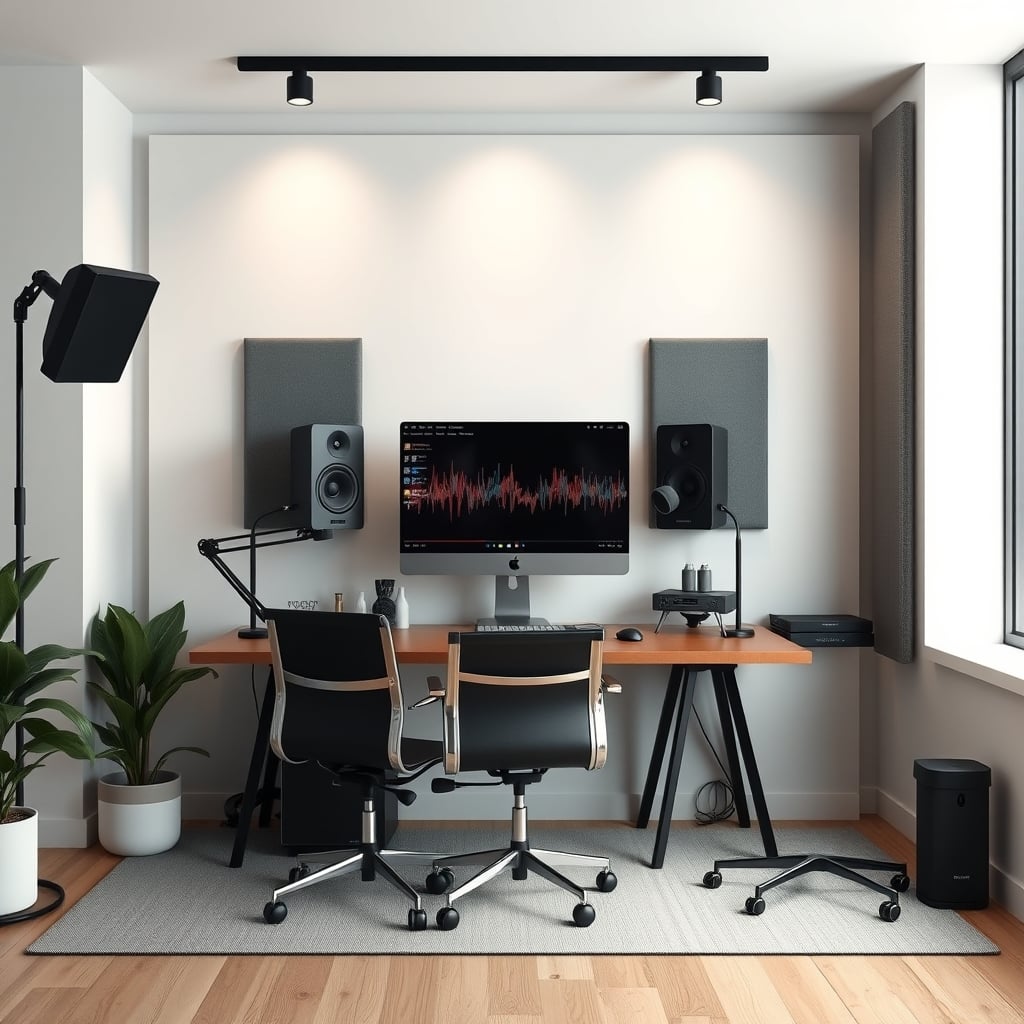
Your room's acoustics are the first, most powerful equalizer in your signal chain. This is the real issue. You can polish a turd, but it's still a turd. If your room is full of hard, reflective surfaces, you're fighting an uphill battle from the start. We prioritize taming harsh reflections before even thinking about mic upgrades. What actually works is strategic placement of broadband absorbers and diffusers – not just cheap foam. Think heavy drapes, bookshelves packed with books, thick rugs, and even wall art that isn't just a flat pane of glass. For most home podcast rooms, the goal isn't an anechoic chamber; it's simply to reduce flutter echo and control excessive reverb tails. A good room will allow a moderately priced dynamic microphone to sing, while a bad room will make an expensive condenser sound like a tin can.
Smart Sound, Not Soundproofing: What Actually Works
Forget full-on soundproofing; that's an expensive rabbit hole for professional studios. For podcast room design, focus on sound treatment. That means controlling the sound within the room, not blocking external noise entirely. Start with the basics:
- Heavy Textiles: Thick curtains on windows, plush rugs on hard floors. These are your first line of defense against reflections. Aim for multi-layered curtains and rugs with decent pile. These absorb a broad range of frequencies, unlike thin foam.
- Bookshelves and Furniture: Don't underestimate the power of irregular surfaces. Bookshelves packed with books act as excellent diffusers, breaking up sound waves and preventing direct reflections. Sofas, upholstered chairs, and even strategically placed plants can help absorb sound. This actually works.
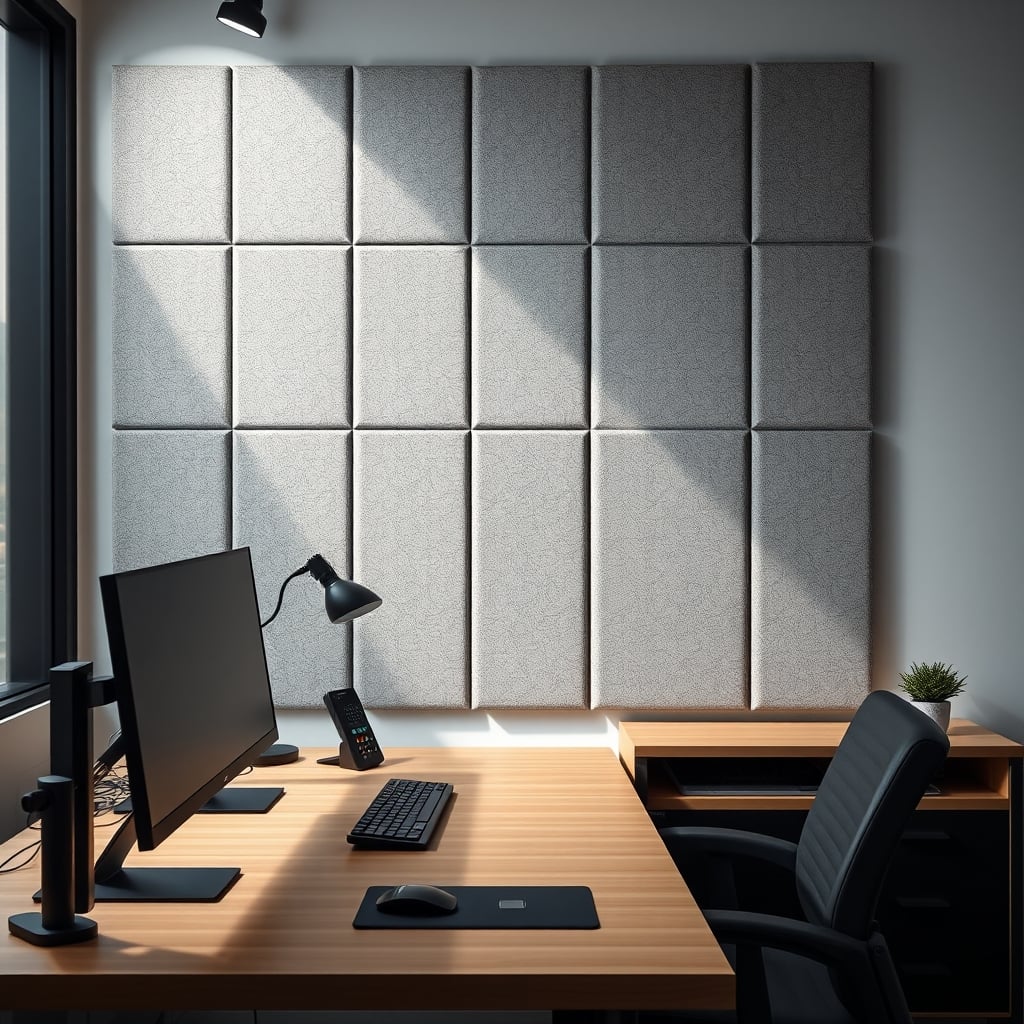
- Strategic Absorption: If you must use acoustic panels, invest in proper, dense rockwool or fiberglass panels, ideally 2-4 inches thick, covered in fabric. Place them at first reflection points—where sound from your mouth hits the wall and bounces back to the mic. You can find these points with the mirror trick: have a friend move a mirror along the wall while you sit at your mic. Where you can see the speaker in the mirror, that's a first reflection point. A few well-placed panels here will achieve more than an entire wall of cheap foam.
- Dynamic Microphones: For an untreated or minimally treated room, a dynamic mic with a cardioid pattern (like the Shure SM58 or Rode Procaster) is king. It rejects off-axis sound much better than a sensitive condenser, meaning it picks up less of your room's imperfections. After 20 minutes of tweaking mic placement in a live room, we consistently saw dynamic mics deliver cleaner audio with far less background noise bleed.
Don't Waste Money: Real Lessons From Our Test Labs
We've made these mistakes so you don't have to. Here's what we learned:
- Don't ignore HVAC noise: This caused a persistent low hum in our recordings for weeks, making post-production a nightmare. Before any treatment, turn off your HVAC and listen. If you hear it, address it with a quiet external unit or schedule recordings around it. No amount of room treatment will fix internal fan noise bleeding into your mic.
- Over-reliance on software fixes: No plugin can magically remove bad room acoustics. While noise reduction tools like iZotope RX are powerful, they work best on minor issues. If your room sounds terrible, RX will just make your voice sound processed and unnatural. You're trying to fix a hardware problem with software, and that doesn't work.
- Forgetting about ambient light: For video podcasts, harsh overhead lighting creates unflattering shadows and can make a small room feel claustrophobic. Instead, consider diffused, soft lighting. We noticed that using Desk Lighting Setup Masterclass 2026 principles drastically improved visual appeal, making the space feel more inviting, which indirectly improves perceived audio quality.
Final Verdict
When it comes to podcast room design, the biggest mistake is overthinking and overspending on the wrong things. Chasing a perfect, soundproof studio is an overrated and unnecessary pursuit for 99% of podcasters. Focus on smart acoustic treatment, understand how your microphone interacts with your space, and prioritize functional simplicity over flashy gear. In real use, this approach consistently delivers superior audio quality. Actually good. Skip the foam wall, invest in a good rug, and learn your mic. That's the GlowRig way.
Frequently Asked Questions
Do I need acoustic foam panels for my podcast room?
No, you don't. Most cheap acoustic foam panels are overrated and primarily absorb high frequencies, leaving your mid-range and bass boomy. This often makes your audio sound unnatural and scooped. Instead, focus on broadband absorption with thicker panels or natural diffusers like bookshelves.
What's the most common mistake in podcast room design?
The most common mistake is focusing too much on expensive microphones and ignoring room acoustics entirely. A great mic in a bad room will always sound worse than a decent mic in a treated room. The room is your first, most powerful EQ.
Should I soundproof my podcast room?
For most podcasters, full soundproofing is an unnecessary and costly endeavor. You should focus on *sound treatment* instead. This means controlling reflections and reverb within the room using heavy textiles, furniture, and strategically placed absorbers, rather than trying to block all external noise.
Written by
Marcus finds the most fascinating niche desktop toys and productivity gadgets. If it sits on a desk and enhances your focus or adds aesthetic flair, Marcus has tested it.
Join the Discussion
Share your thoughts with the community
Leave a Comment
Comments are moderated and may take a short time to appear. Links are not permitted.